Whether you’re photographing the night sky, a bird in flight or a bustling city street, your camera needs light in order to create an image. Controlling how much light reaches the sensor is the core of photography, and that’s where the exposure triangle comes in. Learn how to improve your astrophotography or wildlife photography with this simple formula.
What is the exposure triangle?
The exposure triangle is made up of three camera settings: shutter speed, aperture and ISO.
They work together like the three legs of a tripod — if you change one, you need to tweak at least one of the other two in order to keep the photo looking the way you want. Once you get the hang of how they interact with one another, you’ll be able to control each one individually in full manual mode instead of letting the camera’s auto mode do all the thinking.
Aperture
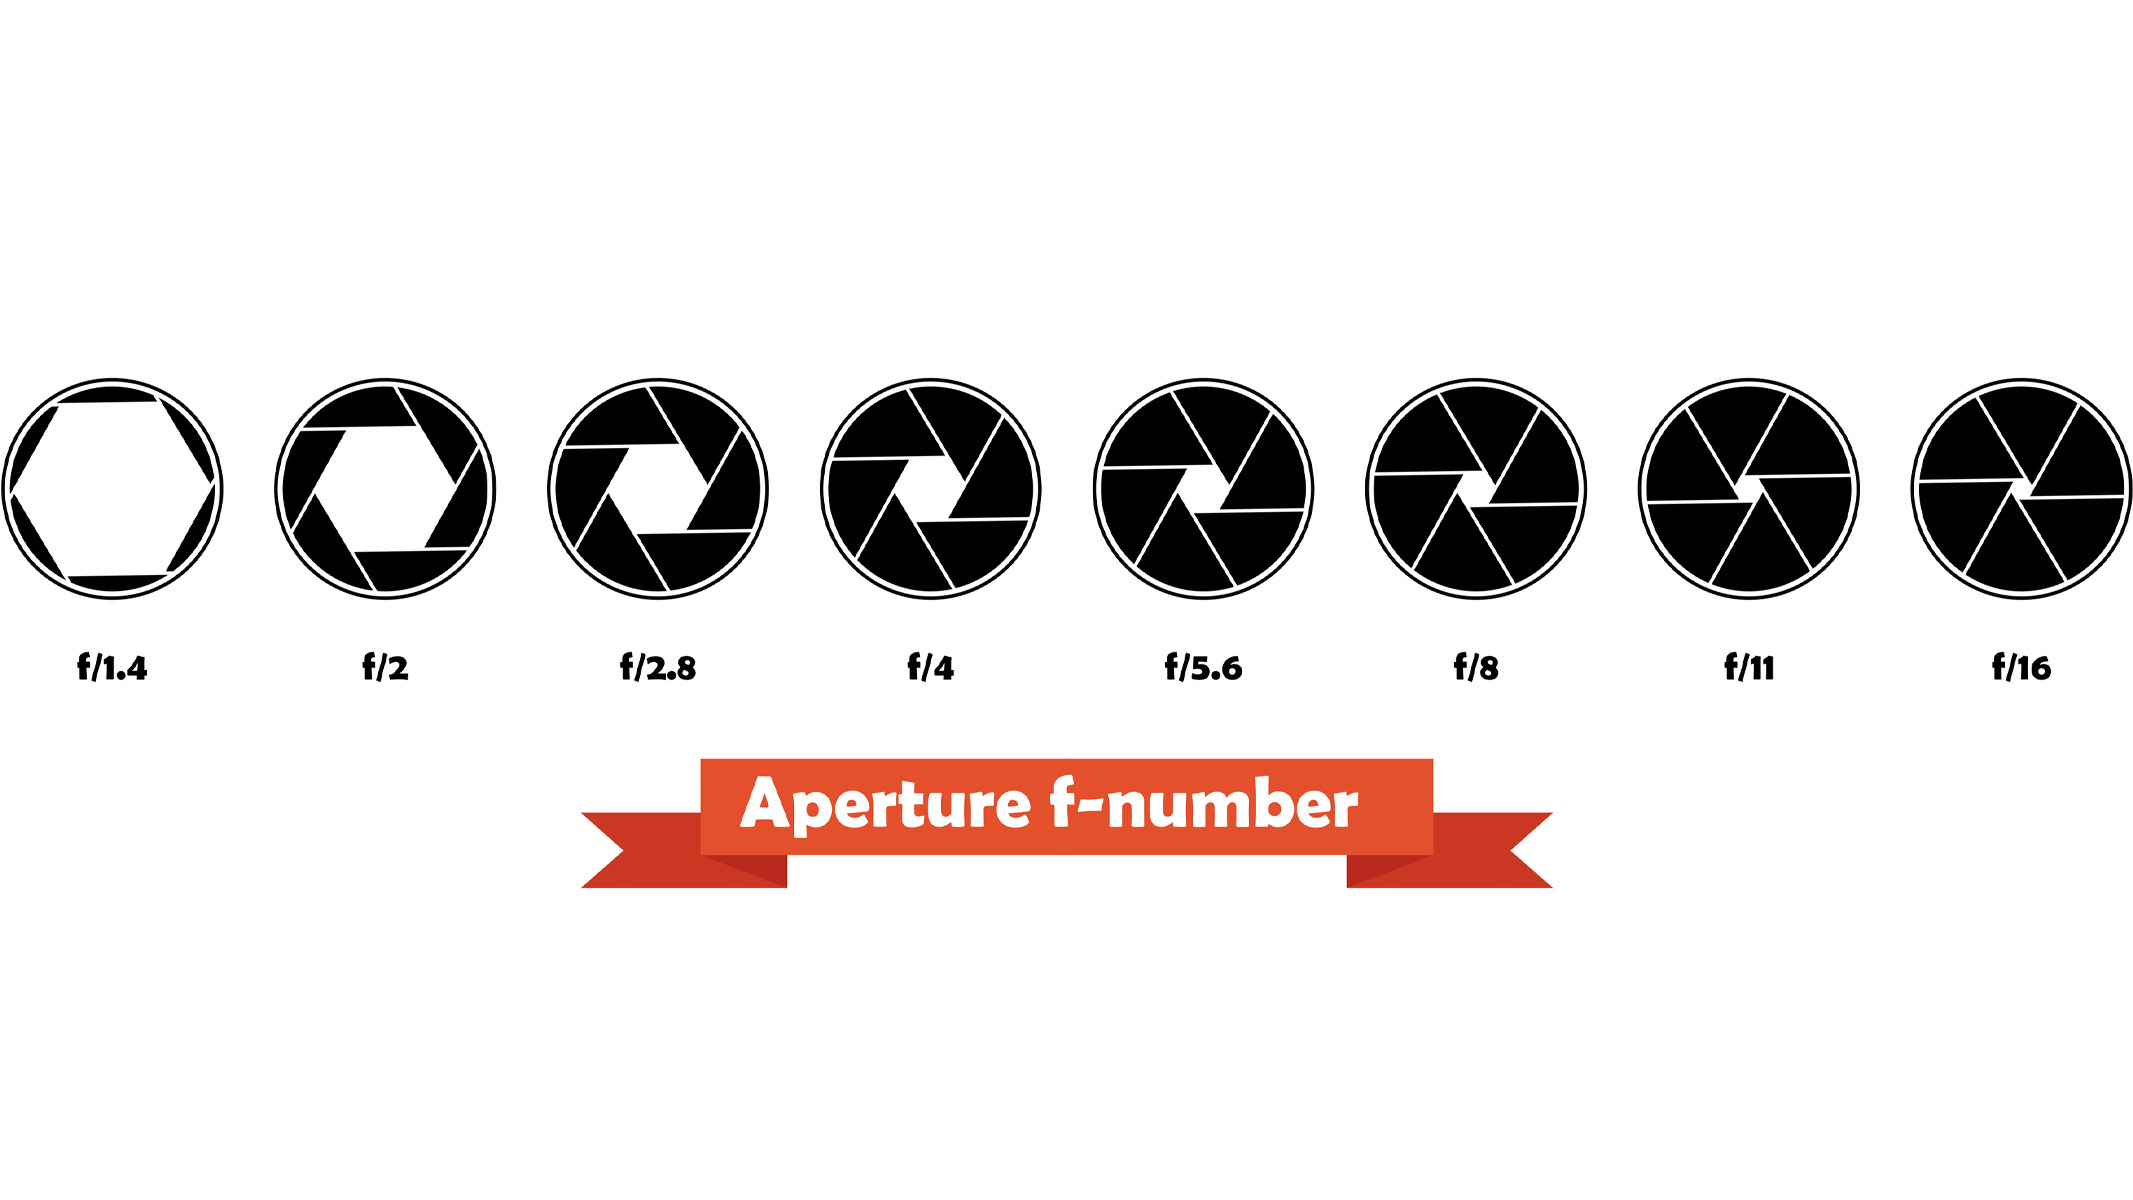
Aperture refers to the size of the opening inside your lens. This controls how much light can get through the lens onto the camera’s sensor. Think of how the pupil in your eye dilates and constricts when the light changes — aperture is the same concept. Each lens has a specific maximum aperture, with the more expensive lenses typically offering wider apertures.
Aperture is measured in f-stops, or f-numbers, like f/1.8, f/5.6 or f/11. Wide apertures have low f-numbers like f/1.8 and are used when there isn’t much light available (eg. astrophotography), as the larger opening lets in more light. Wide apertures also have a smaller depth of field, meaning less of the image is in focus.
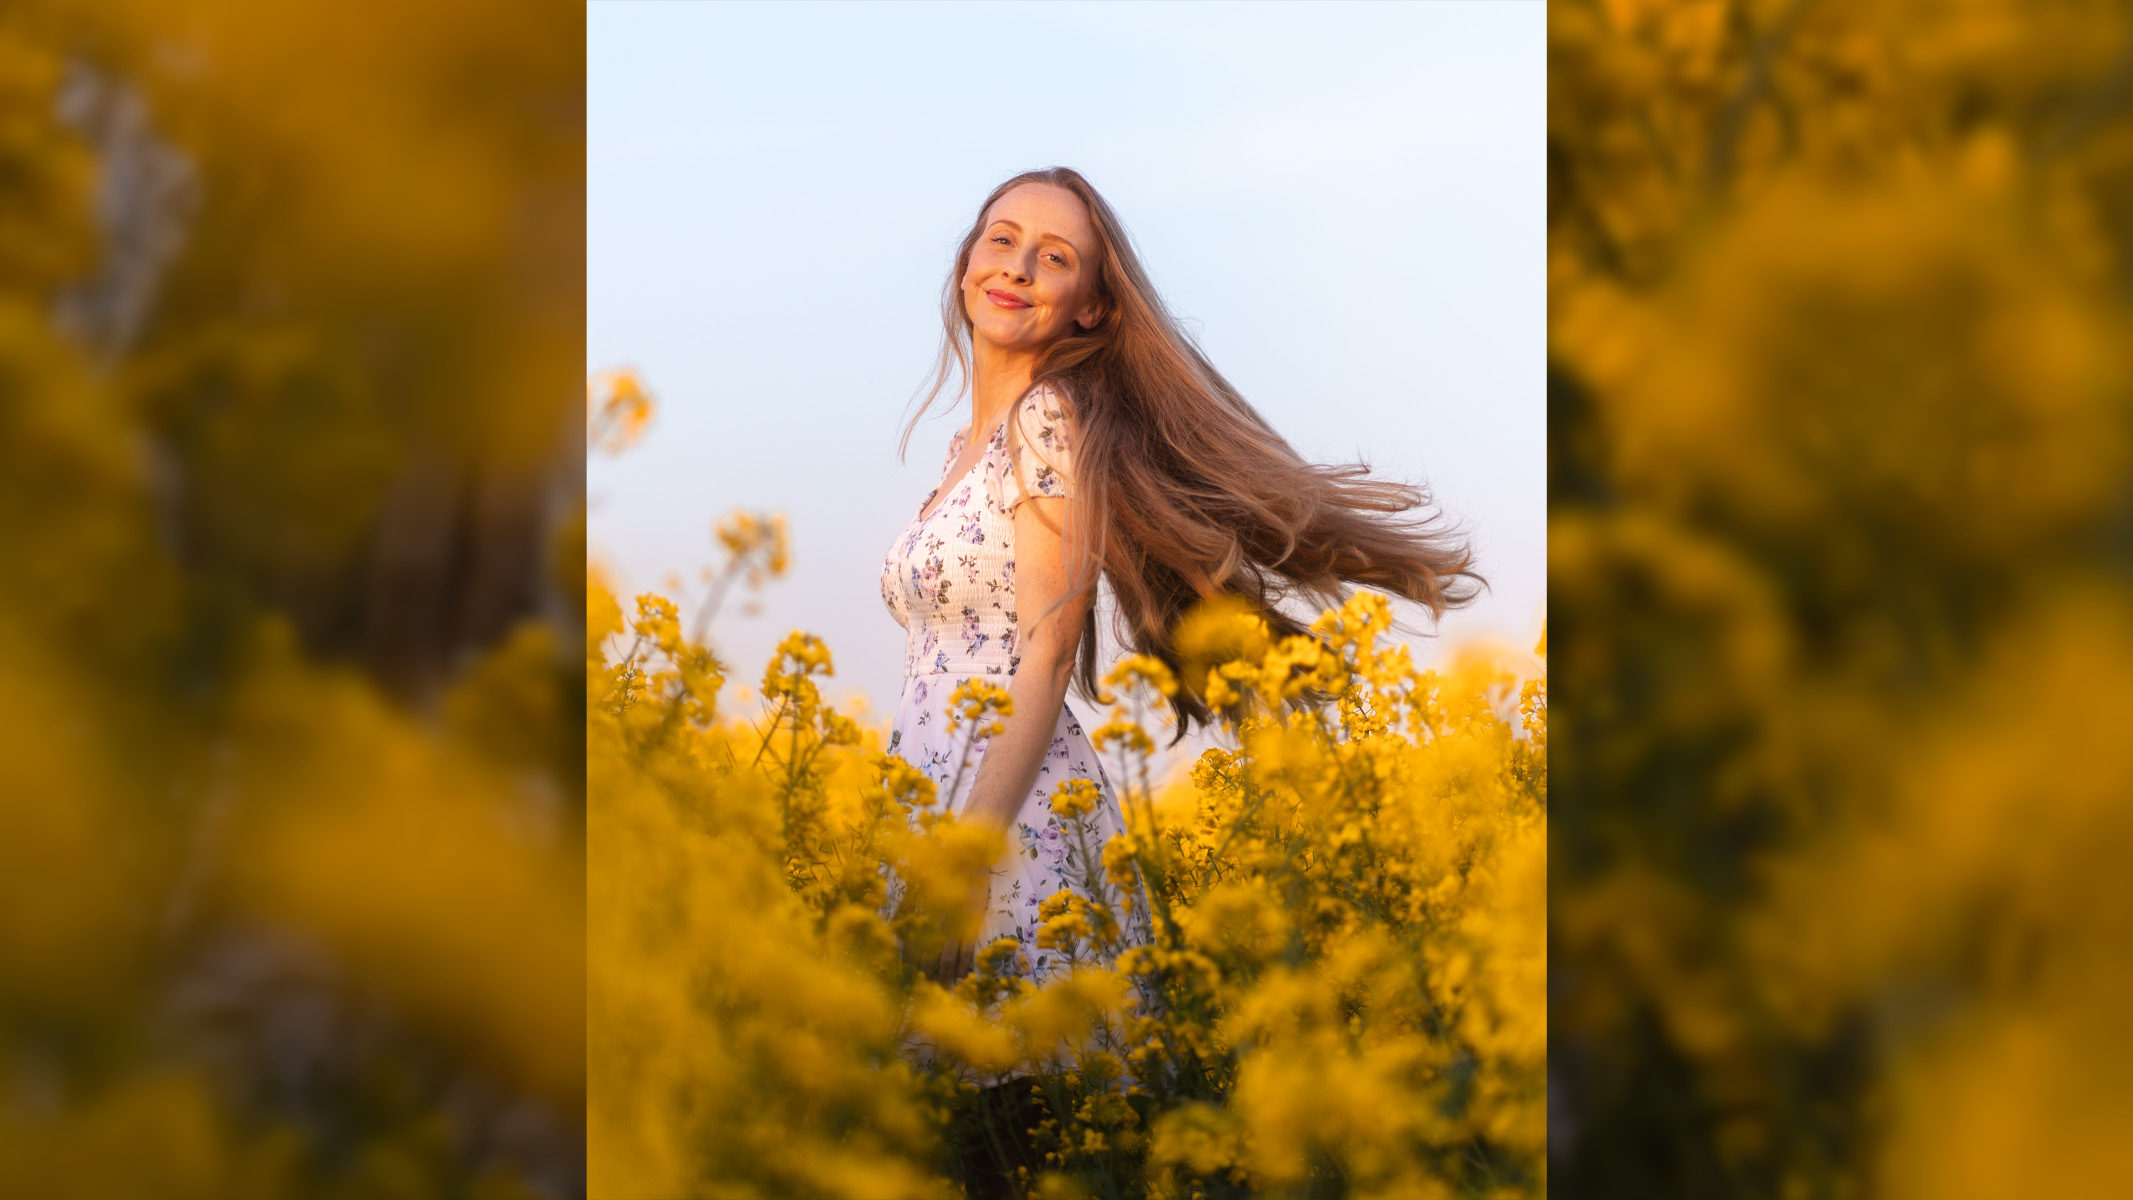
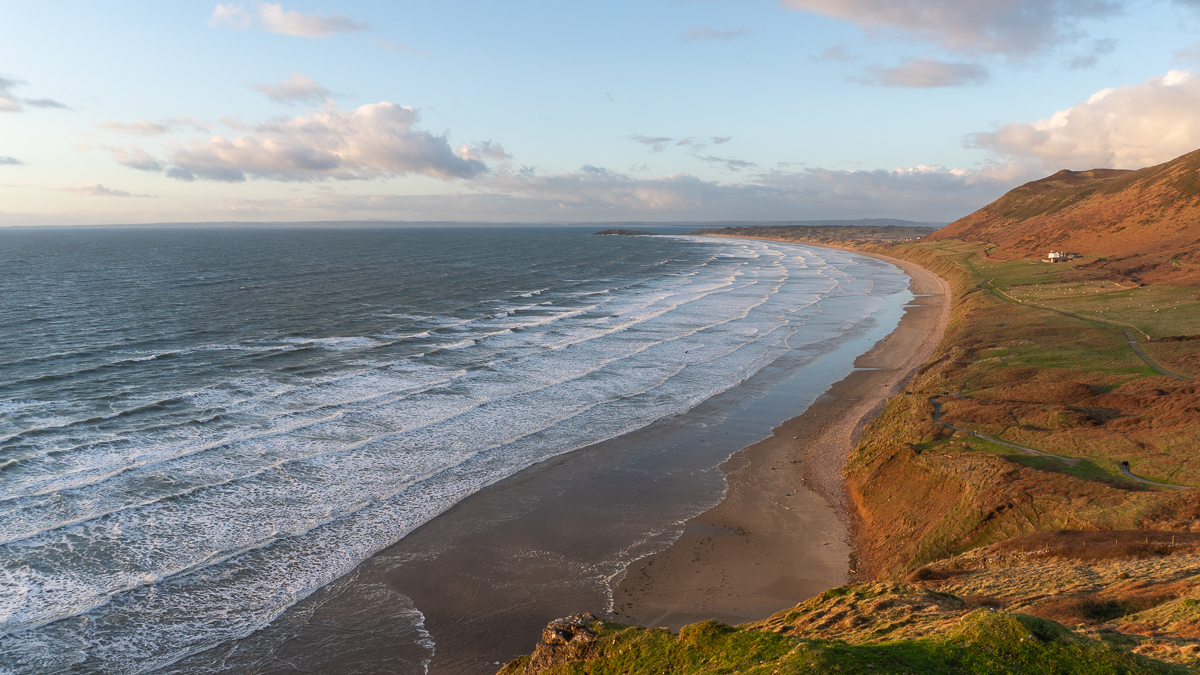
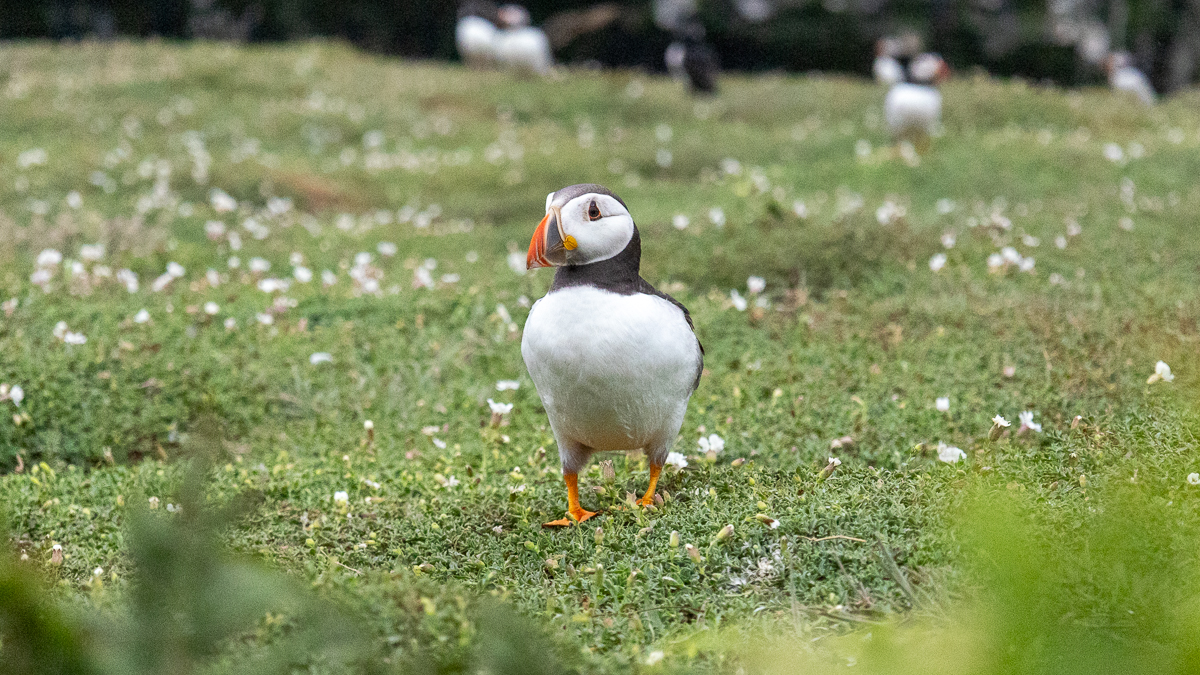
When used for portraits or wildlife images, wide apertures give a smooth, blurry background and foreground to isolate your subject. Narrow apertures like f/16 let in less light but keep more of the image in focus — commonly used for landscape or macro images. But if your aperture is too narrow, you end up with diffraction — this is when the light bends as it squeezes through the tiny opening. It makes your photo look a bit soft, even when it’s technically in focus.
Getting your settings right for macro is another challenge in itself. Everything becomes trickier because you’re working so close to your subject, so the depth of field, even at narrow apertures like f16, gets extremely shallow. And as a result of the narrow aperture letting in less light, balancing the lighting becomes more challenging.
Shutter speed
So we now know that the aperture controls the size of the opening in your lens — the shutter speed is the amount of time the shutter stays open. So if you were to take two images, one at f/1.8 and another at f/16, each with a 1-second shutter speed, the f/1.8 image will be brighter than the f/16 image due to the f/1.8 allowing more light through.
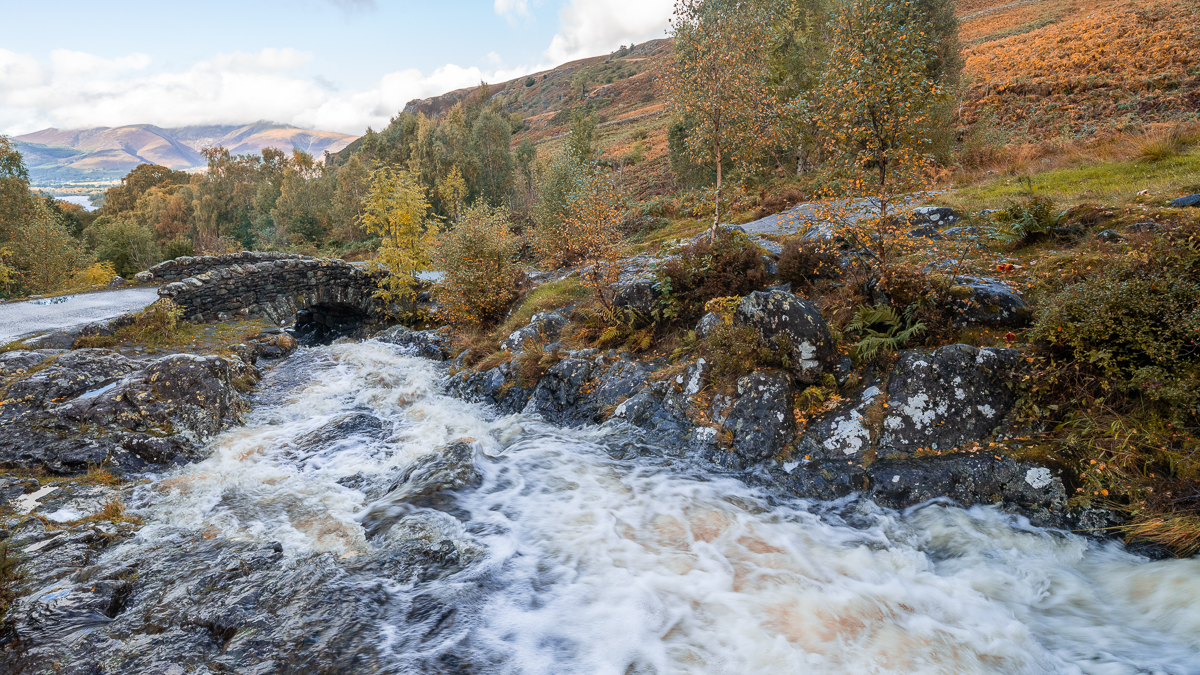
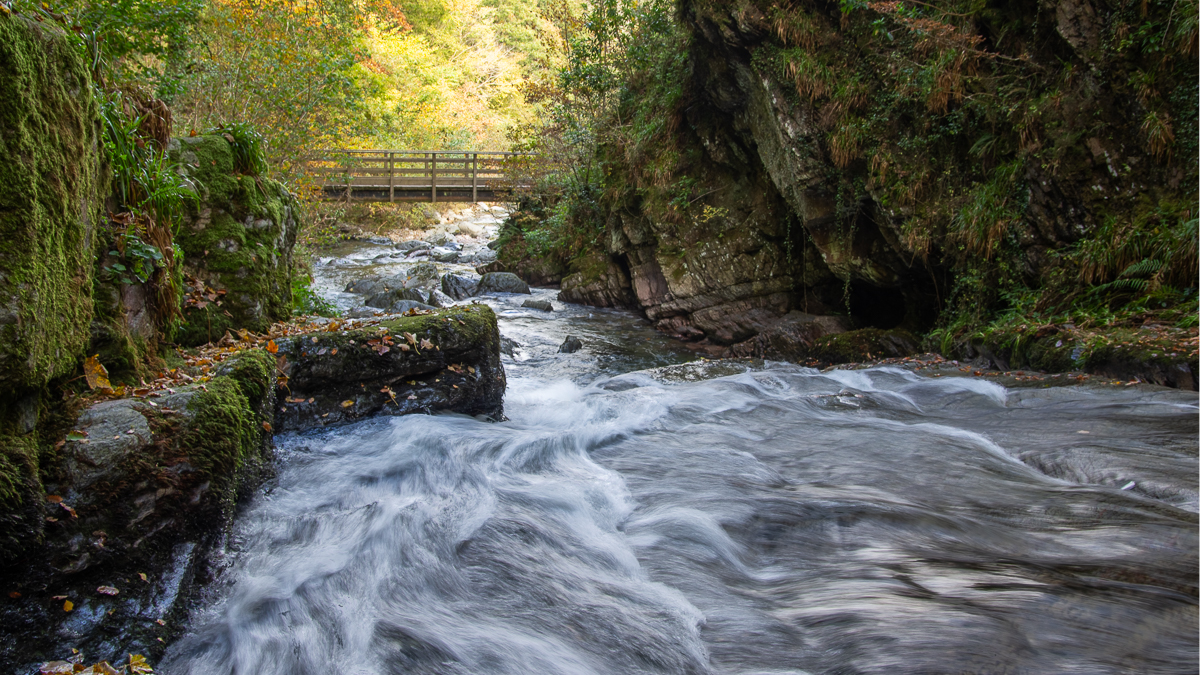
Shutter speed is measured in seconds or fractions of a second. Fast shutter speeds of 1/1000 or quicker freeze the movement, which is ideal for wildlife, sports or any subject that moves unpredictably. Slow shutter speeds (half a second, one second or even minutes) capture motion blur, perfect for smoothing out waterfalls or shooting night trails.
- Example: Let’s say you’re photographing wildlife, but the sun is setting and you are rapidly losing the light. In this instance, slowing down your shutter speed could result in your image being blurry if your camera or subject moves. If, however, you switch to a wider aperture (if your lens allows), you can keep the same shutter speed to ensure your subject stays sharp as the light changes.
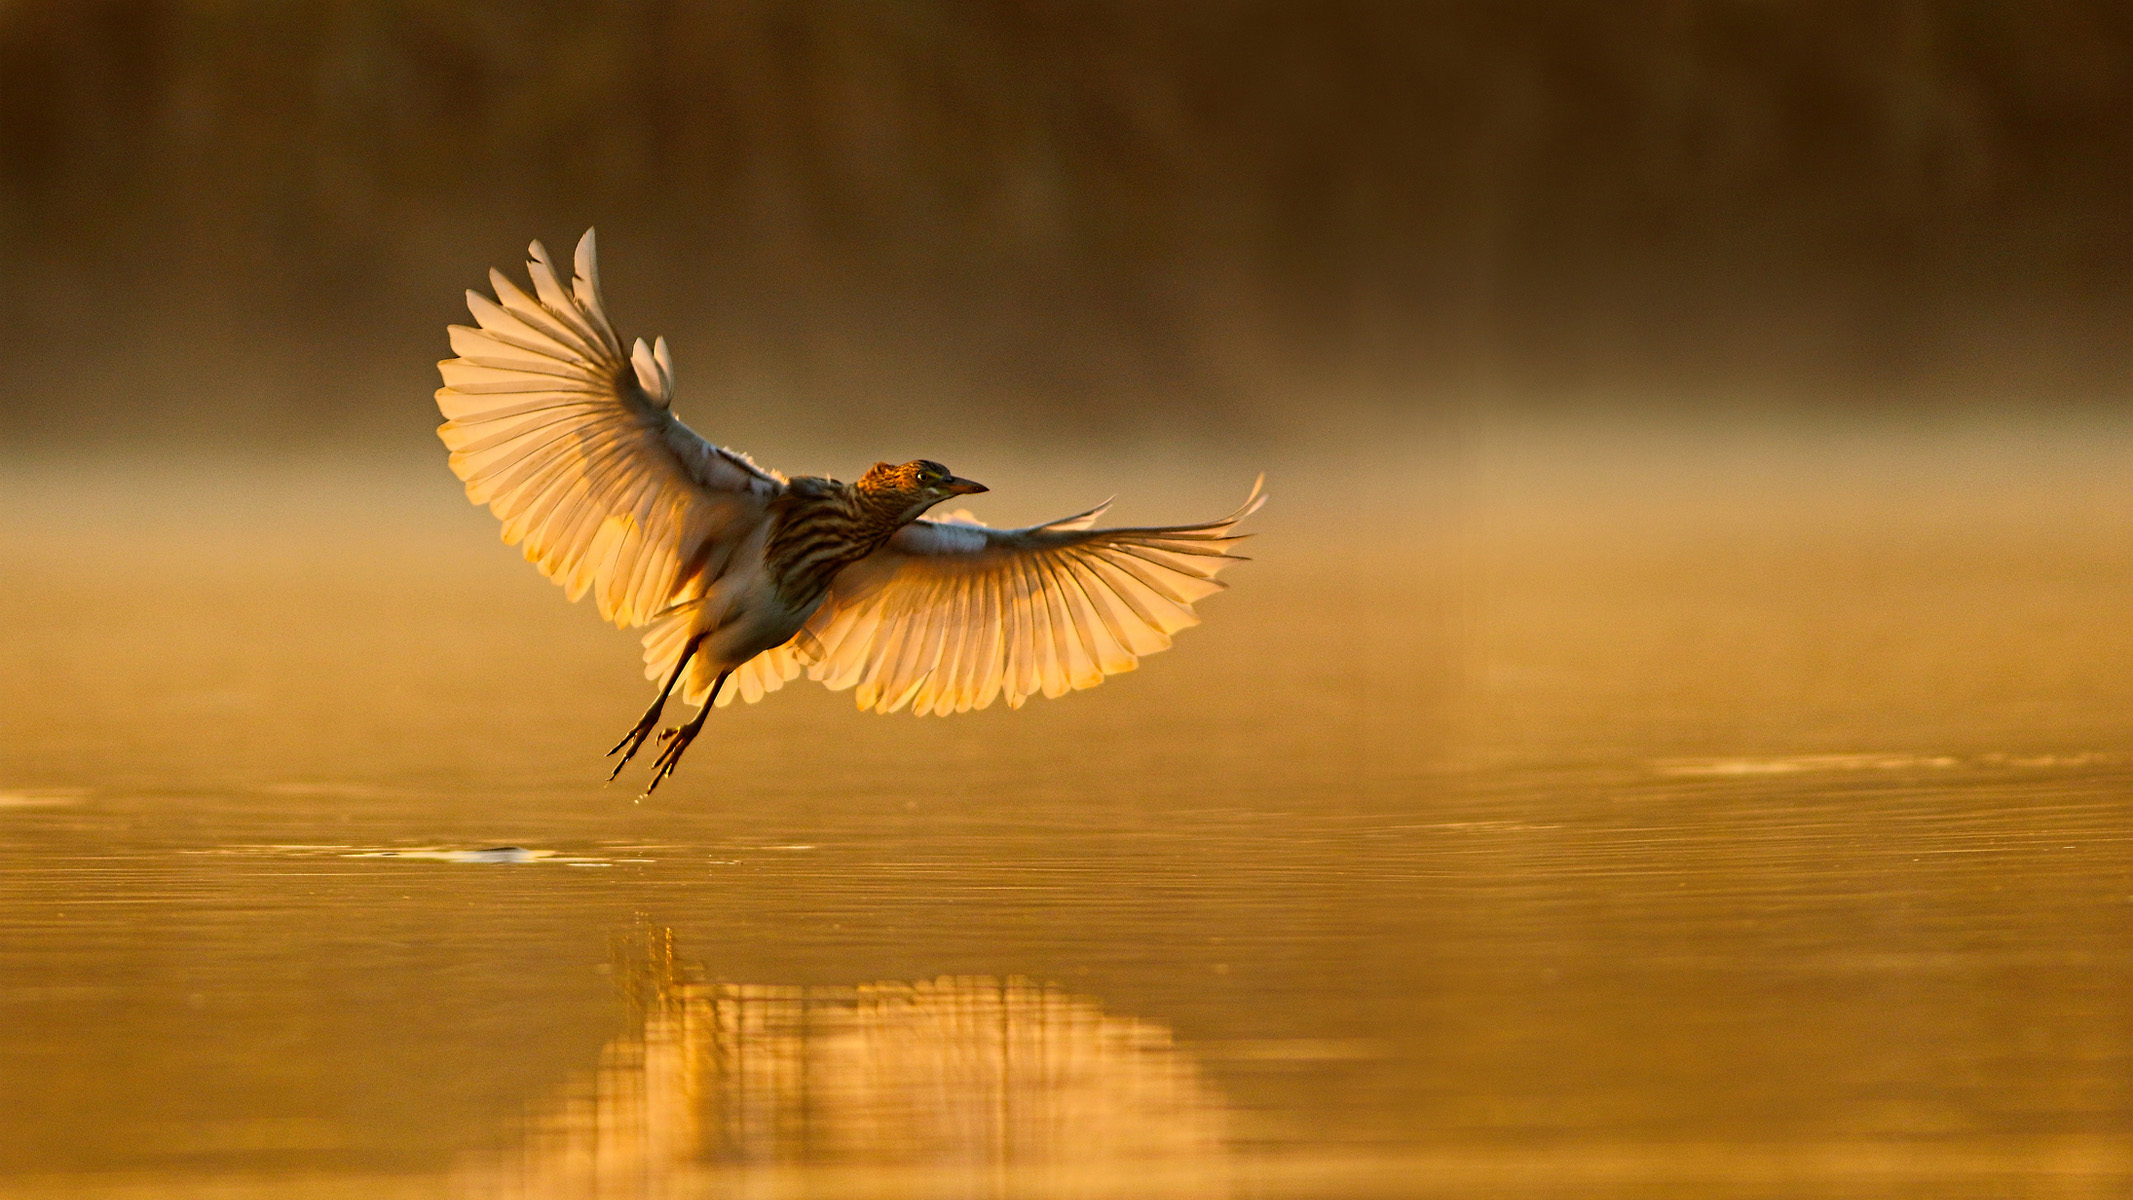
But you know what they say — rules are made to be broken. Many photographers do experiment with slower shutter speeds when photographing wildlife and sports to purposefully convey movement. For example, when photographing a bird in flight, you can use a slightly slower shutter speed to capture a slight blur of their wings while still keeping the eye and body in focus. It’s a creative choice, and can look great when used effectively. This is where the importance of telling a story in your photography outweighs the need to get a technically perfect image.
ISO
ISO measures the sensitivity of the camera’s sensor to light, and should be set based on the quality, or how much light is available to you when shooting.
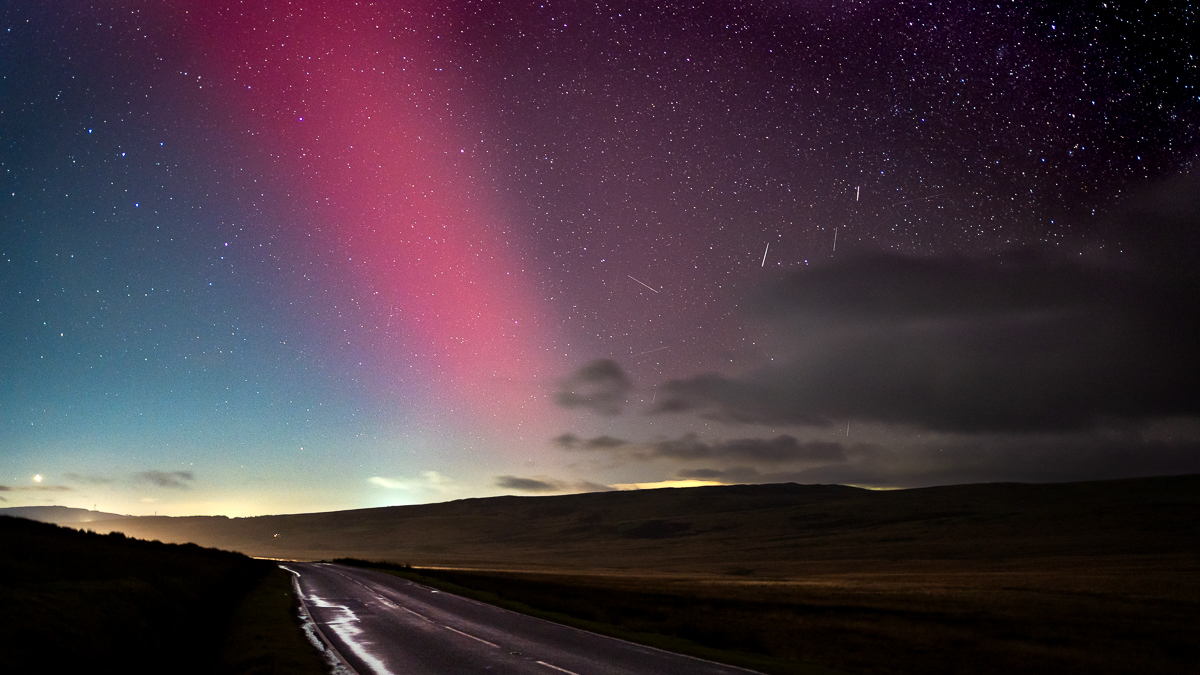
Low ISO (around 100-200) is best for bright, sunny days where lots of light is available. This results in clean, detailed images. High ISO (3,200 and above) works better in low light (like astrophotography), but higher ISO levels can make your images look grainy or noisy if you push it too high. Image noise is a common issue in astrophotography, so you need to make sure your camera performs well at high ISOs.
- Following on from our example above: You’re photographing wildlife at dusk and you’re losing light as the sun sets. You’re using the slowest shutter speed you can while ensuring your subject stays sharp, and you’ve already stopped down to the widest aperture your lens will allow. If your image still looks too dark, increasing the ISO will increase your camera’s sensitivity to the available light, resulting in a brighter image.
Stepping away from auto
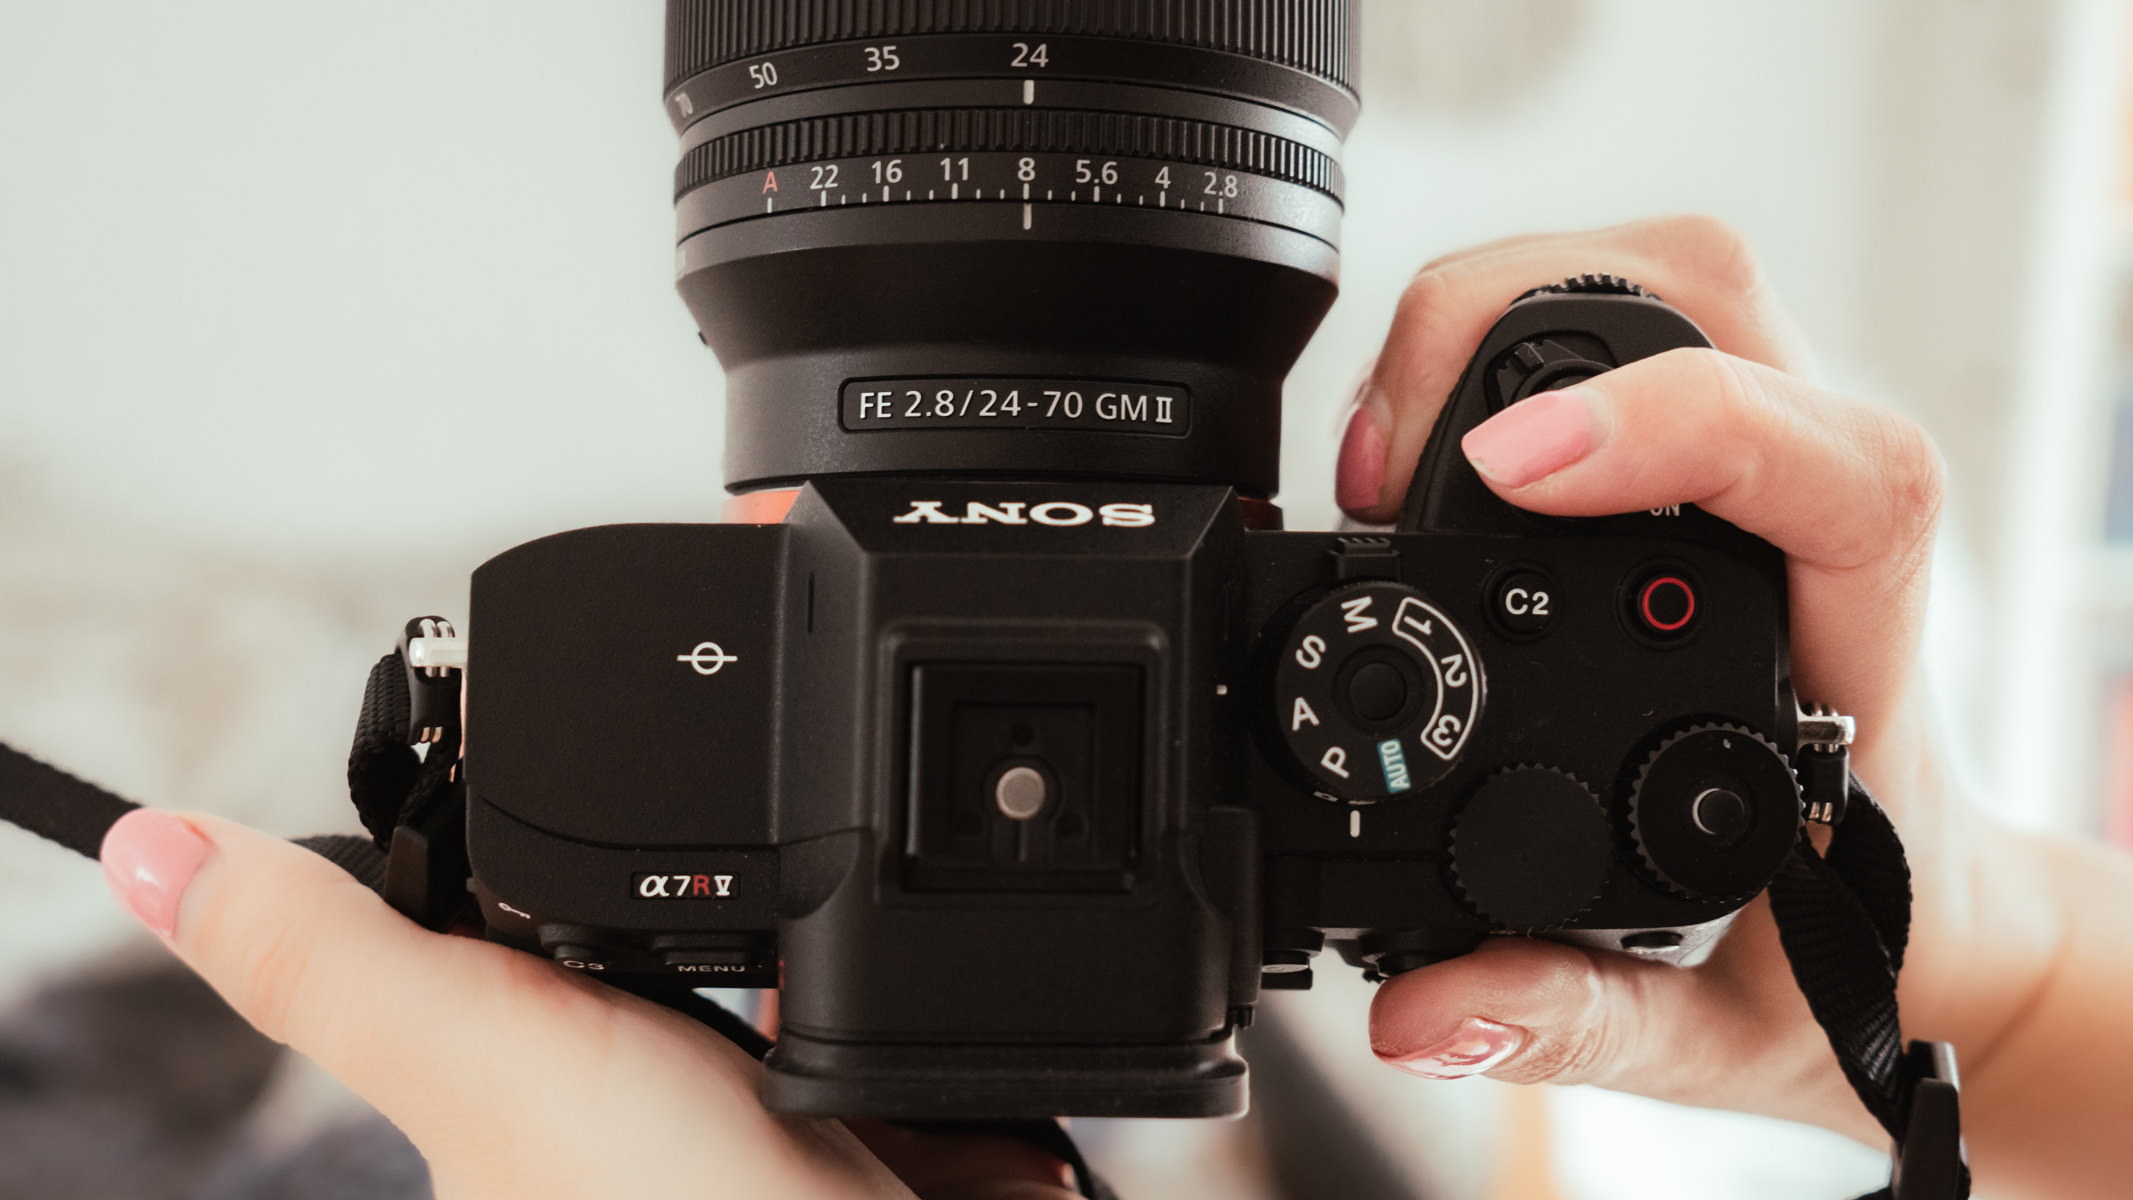
If you’re just starting out and are feeling overwhelmed at the thought of juggling all three settings at once, you don’t have to leap straight into full manual mode.
Every camera has a fully auto mode that selects all three exposure values for you. This is mostly used by complete beginners or anyone who just wants a point-and-shoot style setup for documenting vacations or family snaps.
But there are two other modes in between auto and manual: Shutter Priority (labelled as S/Tv) and Aperture Priority (labelled as A/Av). In these modes, you set either the shutter speed or aperture, respectively, and the camera picks the other two settings. These modes are great while you’re learning, and you’ll get a great picture (no pun intended) of how the three settings work together — particularly if the camera gets it wrong!
Once you’ve mastered them all, you can move up to full Manual mode (labelled as M). In this mode, you control everything. You’ll be able to monitor your exposure levels via your LCD screen and EVF, but we’d also recommend using the histogram to make sure your image isn’t over- or under-exposed.
Recommended gear
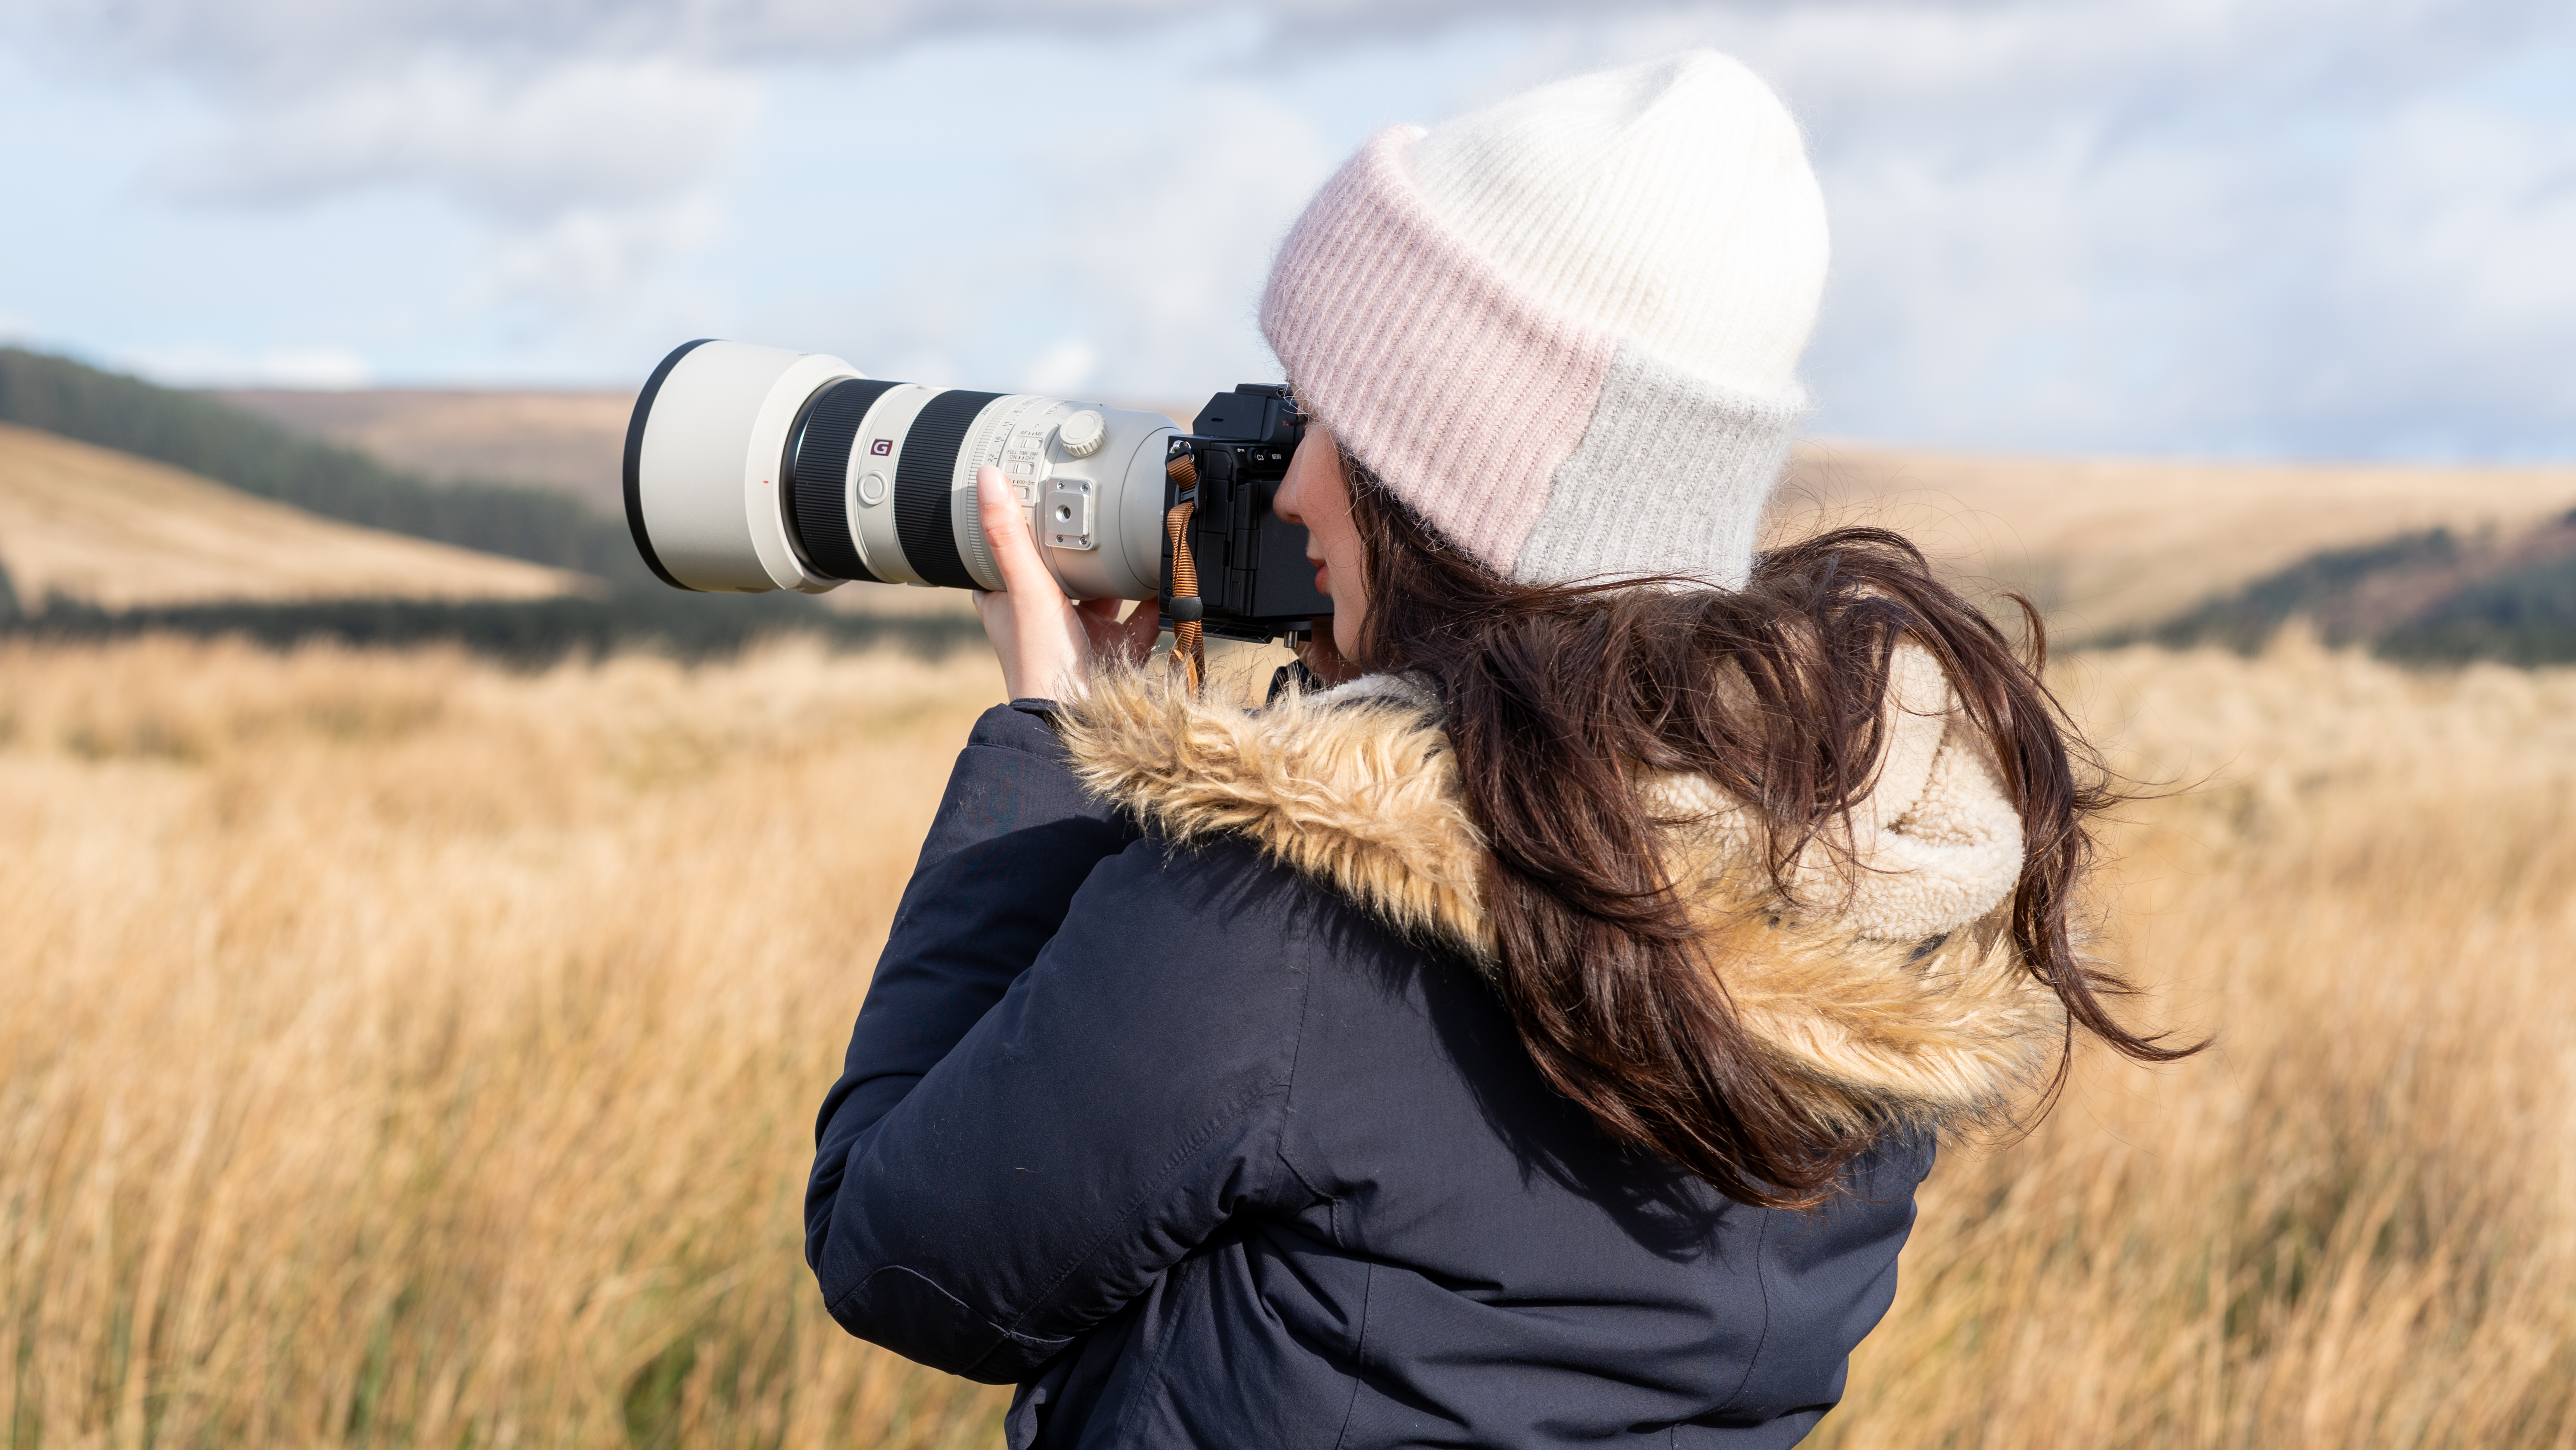
Lenses: If you’re photographing wildlife, sports or astrophotography, you want a lens with a wide aperture. This looks a little different depending on what subject you’re shooting. The best lenses for astrophotography have an aperture of around f/1.8 to capture as much faint starlight as possible. Most wildlife lenses have a maximum aperture between f/4 to f/8 across their zoom range, with the ultra high-end models offering f/2.8 for better low-light performance. As a wider aperture also allows for faster shutter speeds, it’s especially helpful for freezing motion in wildlife and sport photography. You might have heard photographers mention a ‘fast lens’ — this term actually refers to the aperture, not the shutter speed.
Cameras: All cameras can control aperture, shutter speed and ISO, but some make it easier than others. If you plan to shoot in Manual mode, choose a camera with a dedicated dial for each setting. This makes adjustments quick and intuitive. Smaller entry-level models often only have two dials for aperture and shutter speed, meaning you need to head into the menu to adjust the ISO. The best astrophotography cameras excel in low light thanks to their strong high ISO performance, and some also offer extended maximum shutter speed times for tracked long exposures. The best wildlife cameras also benefit from handling noise well, but these cameras typically depend more on a fast burst rate and high resolution.
