A microscope’s job is to magnify the minuscule world around us. We can observe the tiniest objects, organisms and materials, and investigate their form, texture and composition, to witness what would otherwise remain unseen with our eyes alone.
There is a wealth of prepared slides available to start you out on your microscopic journey. However, for those of you with a passion to go exploring around your micro environment with one of the best microscopes for students and best microscopes for kids, we have compiled a list of 10 suggestions of wonderful things for you to look at under your microscope.
As there are a wide range of microscopes available — stereo microscopes for three-dimensional viewing, digital microscopes for capturing still images and videos, microscopes with a top light for viewing solid objects and compound microscopes for higher magnification — we have included a range of specimens, so you can find something interesting to look at no matter what type of microscope you have.
Coins
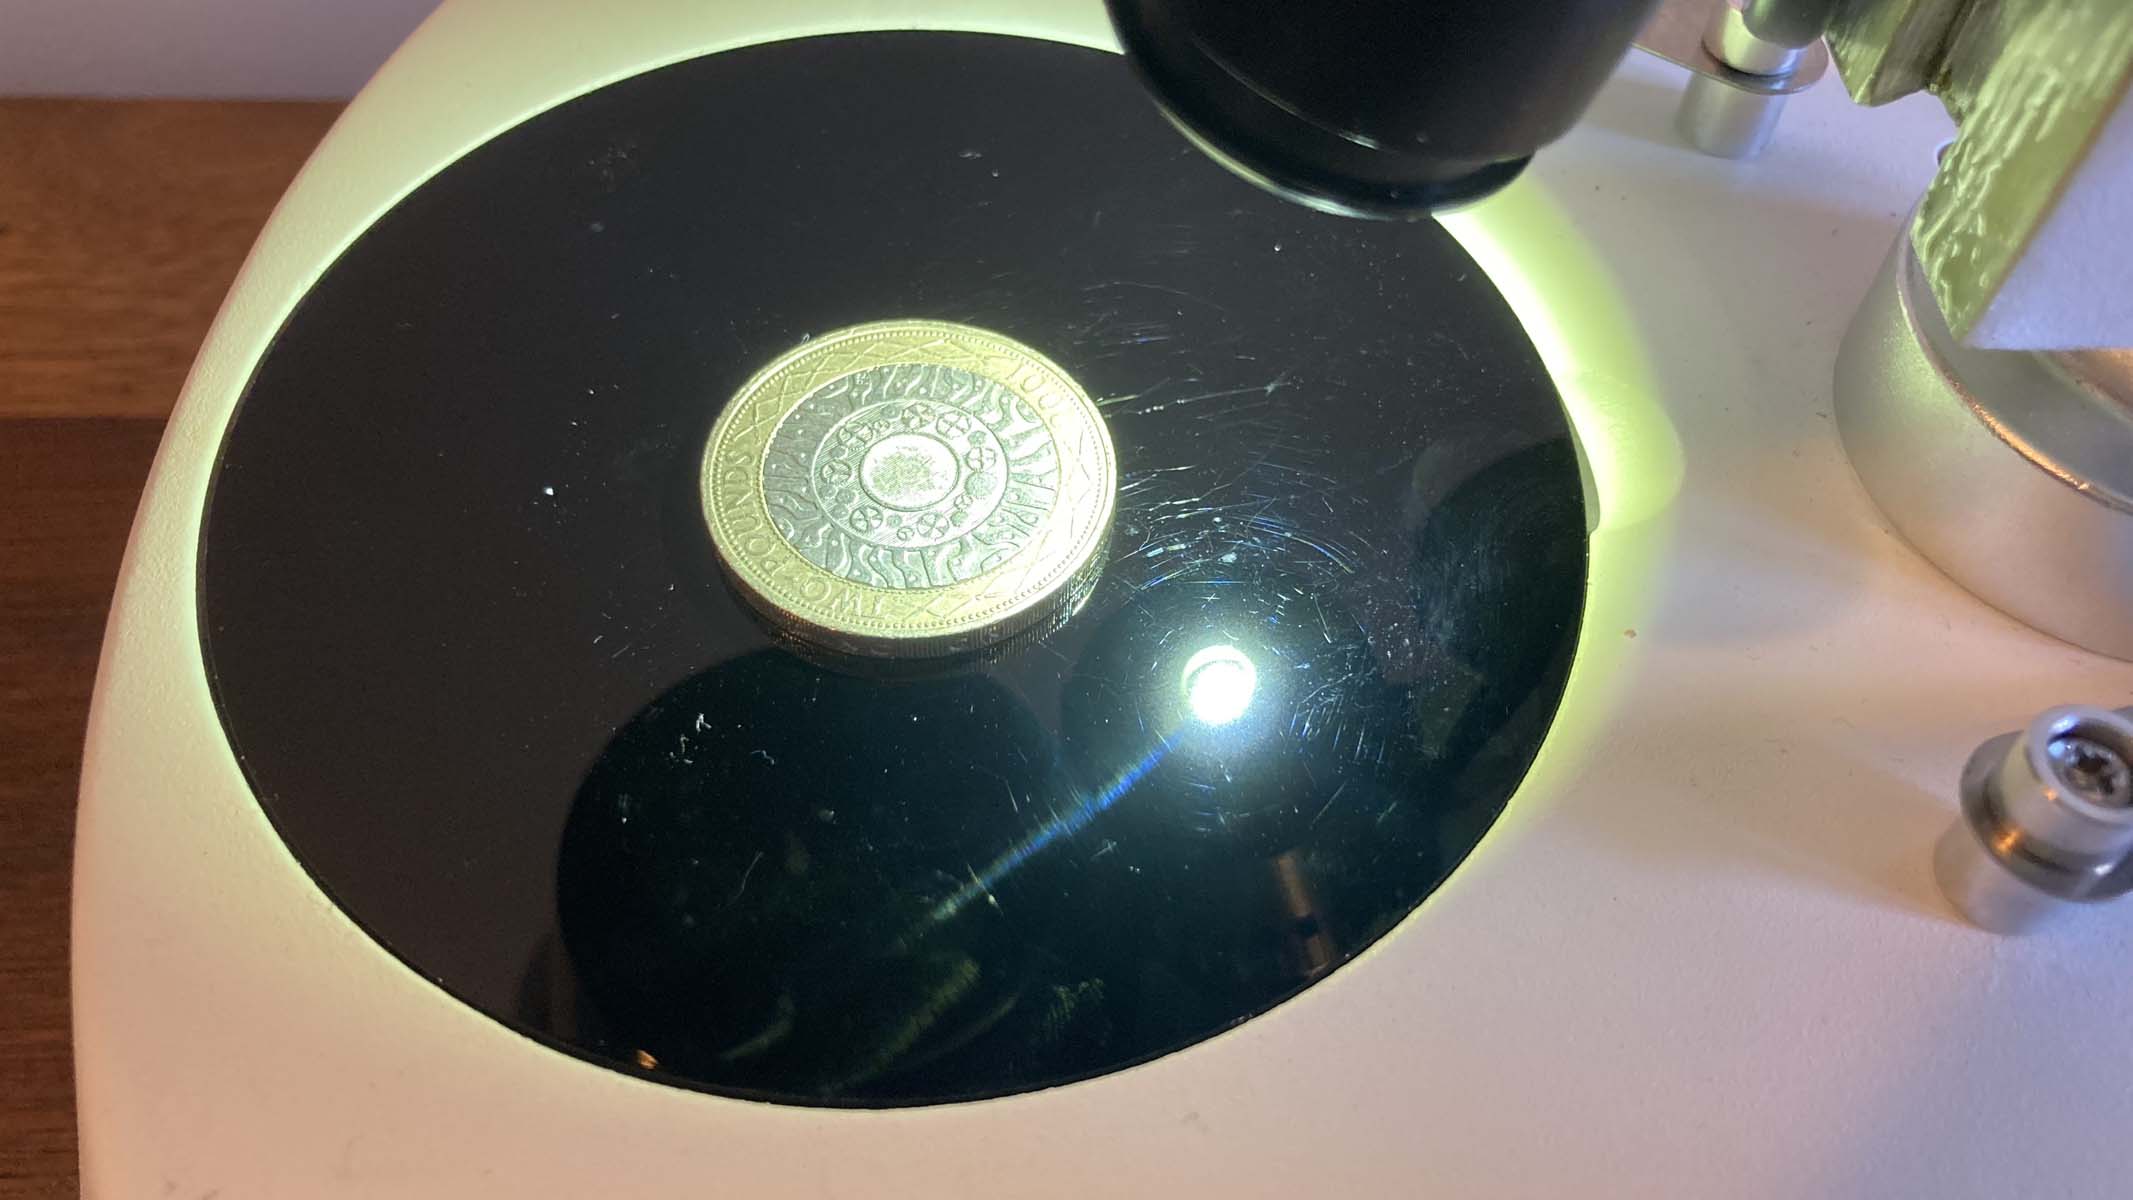
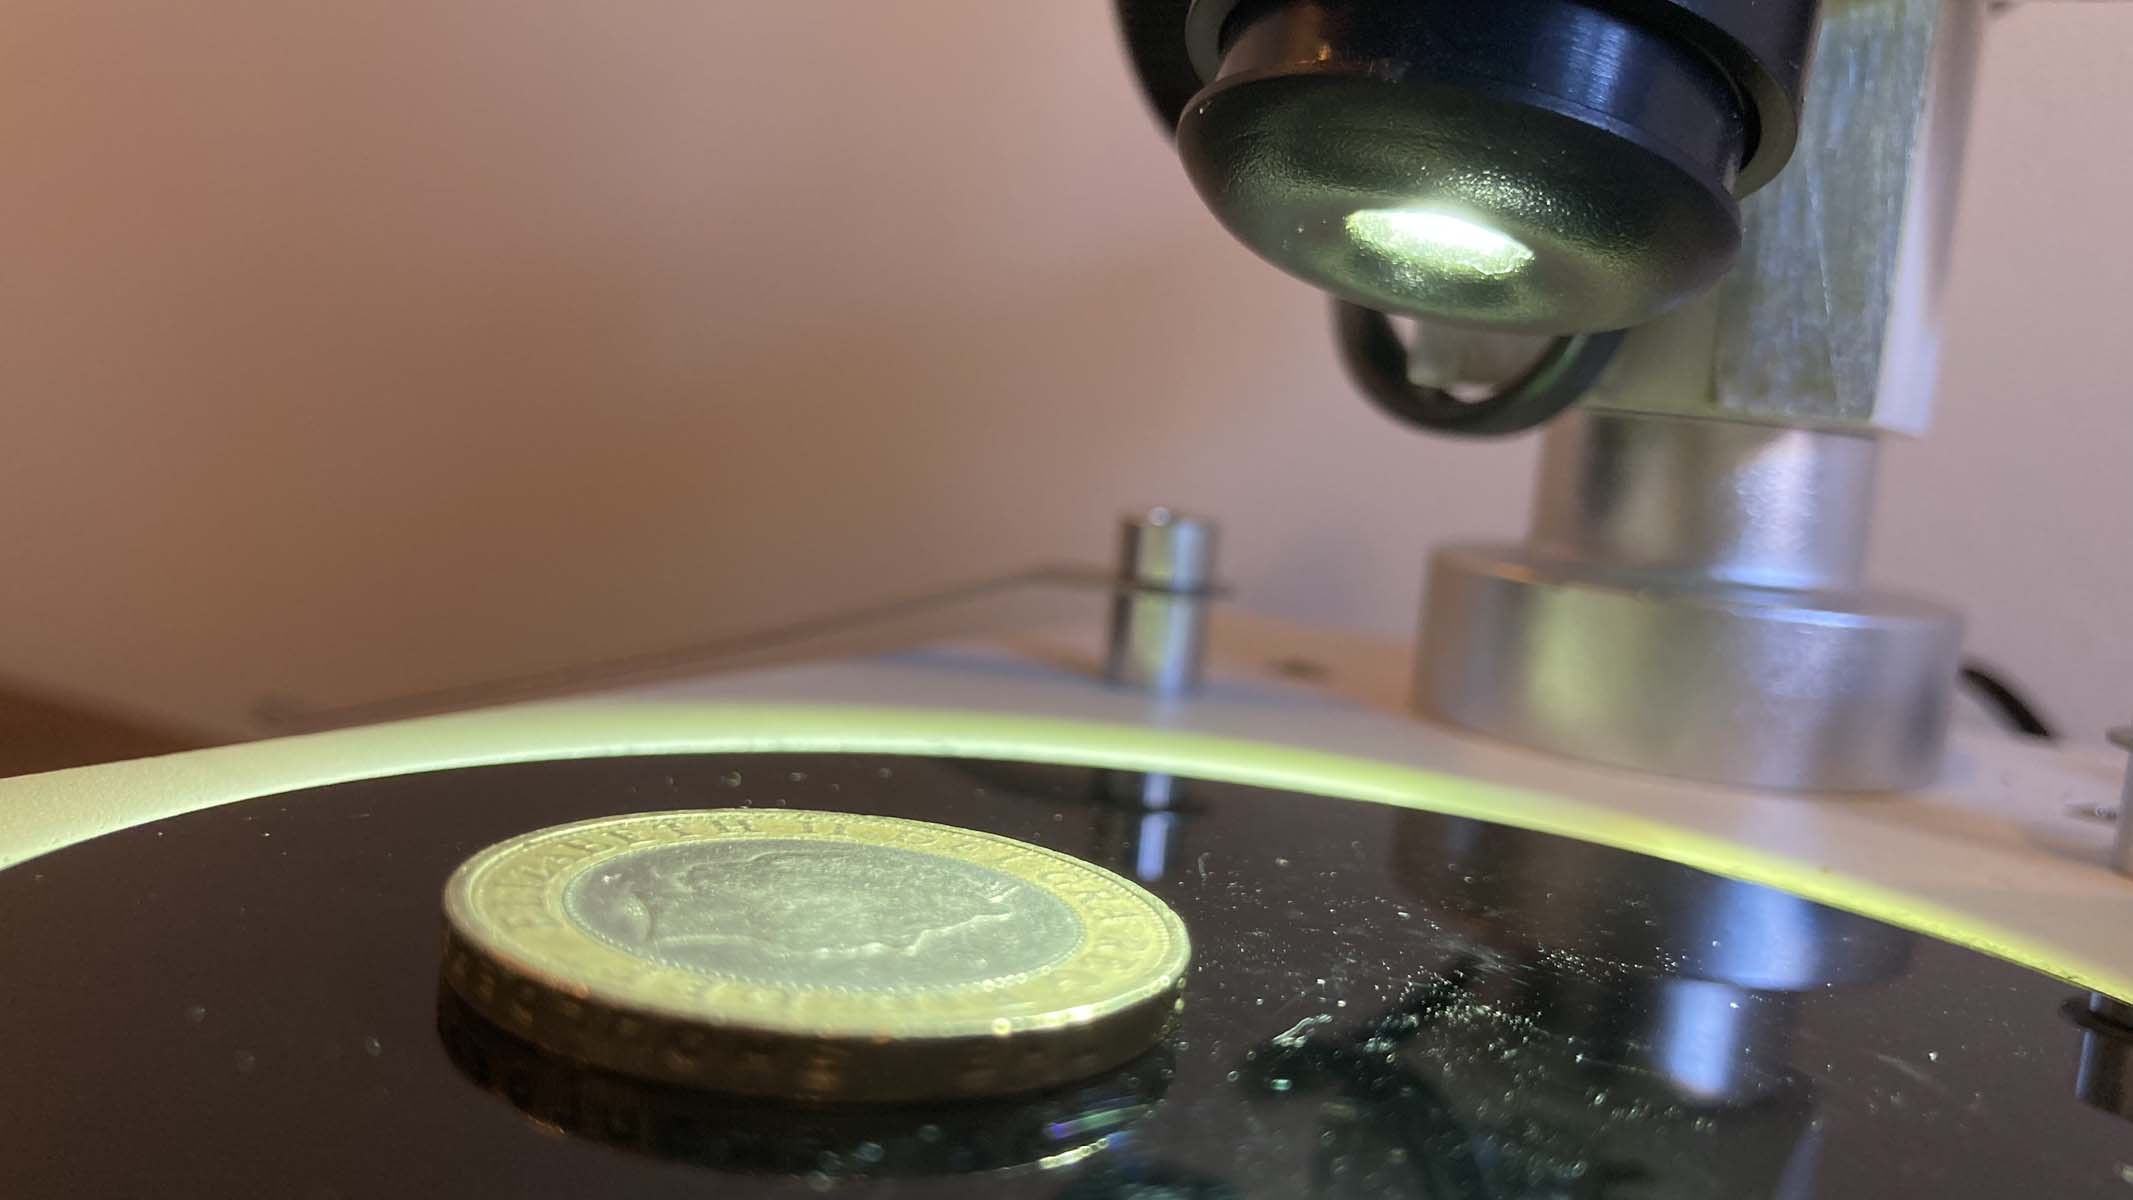
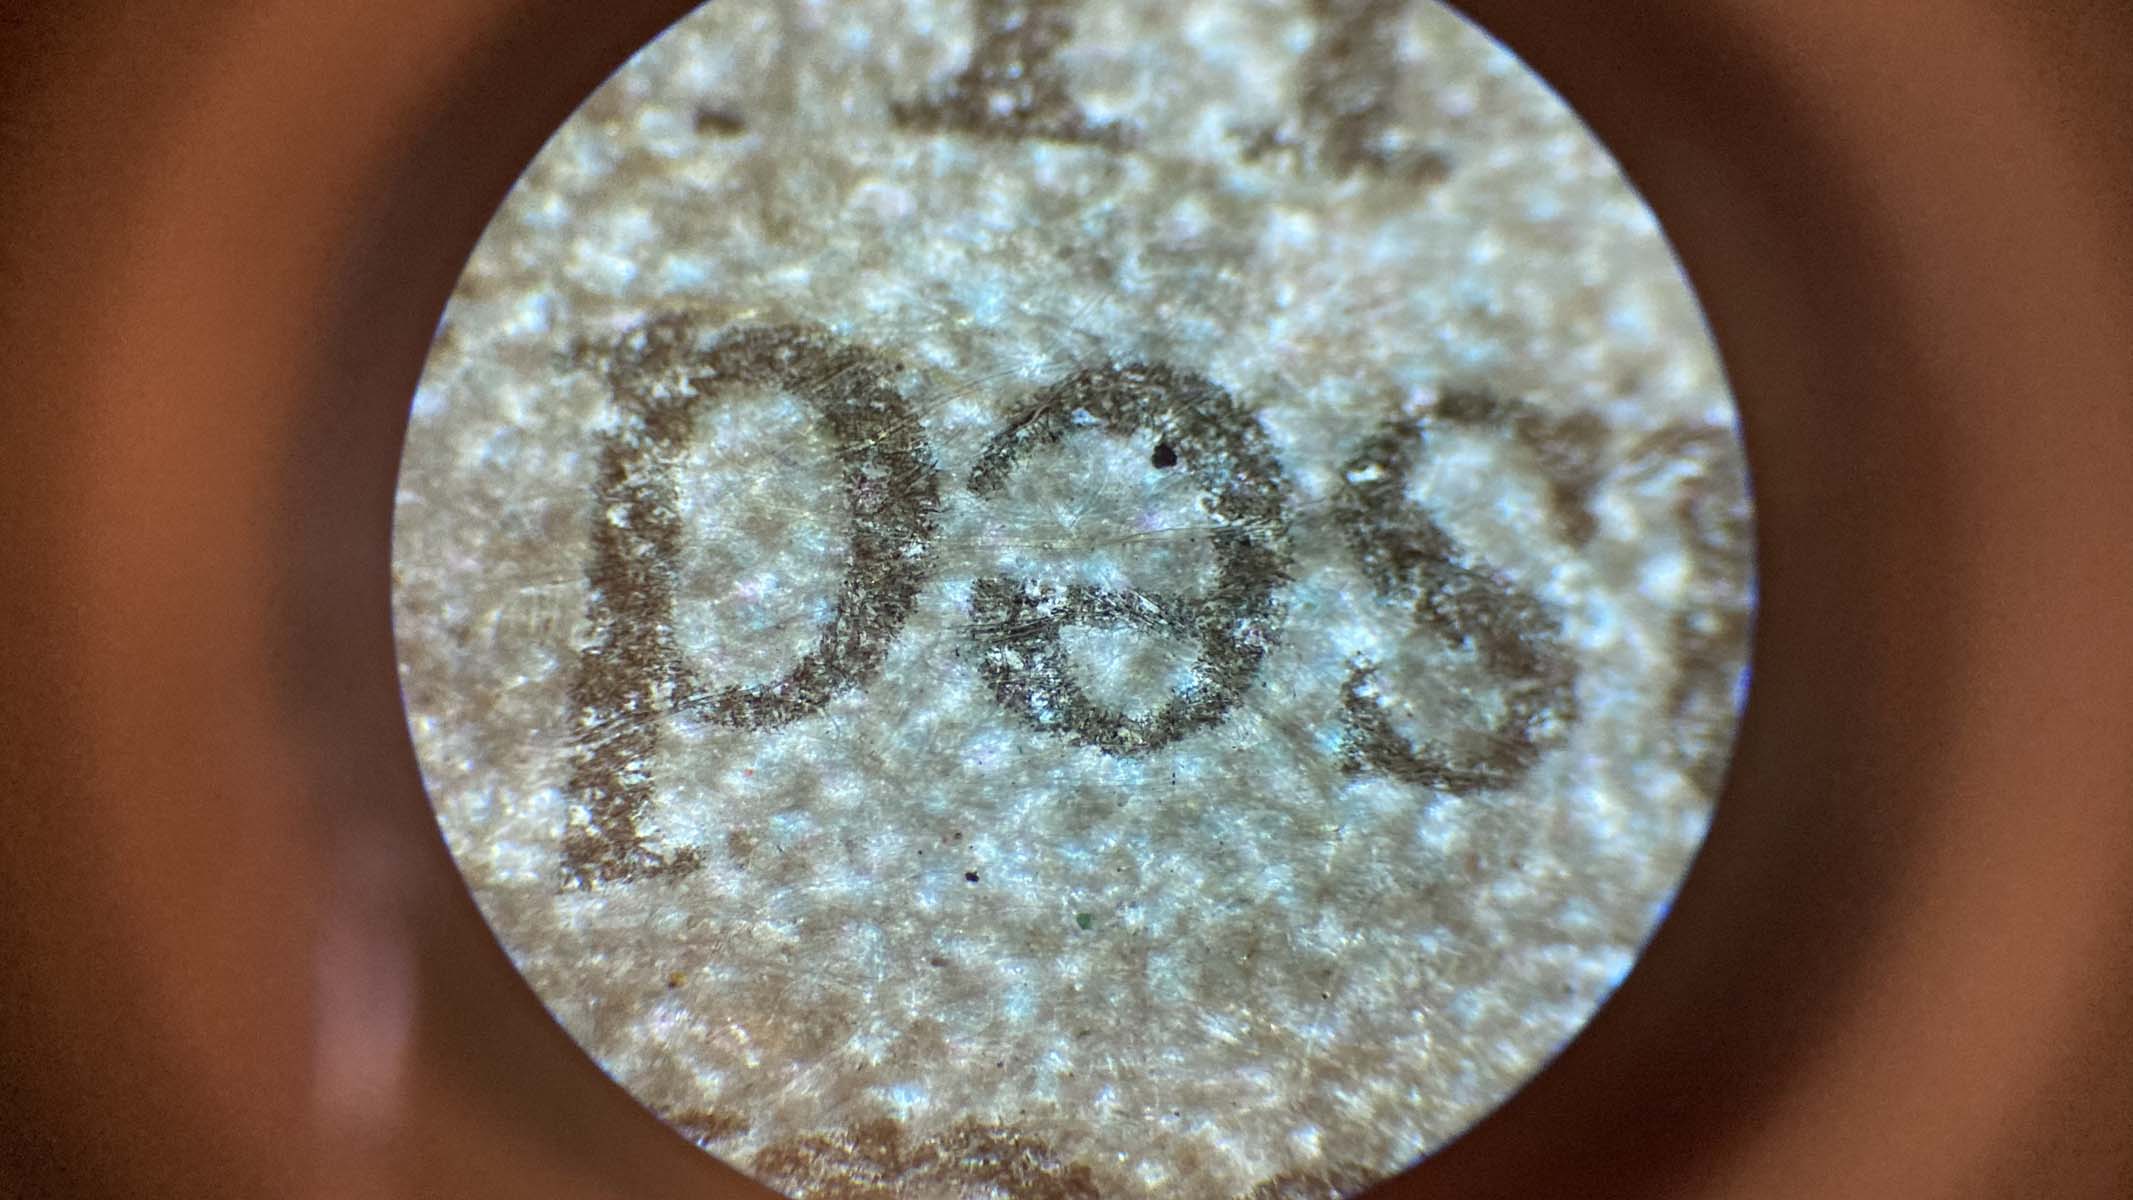
You don’t have to be a numismatist to enjoy looking at coins under a microscope. An enthusiast will be able to find pockets of lead, patterns of lustre and flaws from heating, cooling and striking processes, which can tell a story of how and when the coin was made.
You will need a microscope with a top light, as your coins are solid. A stereo microscope is desirable, as this will enable you to view the three-dimensional patterns in the coin’s surface design. Low magnification is ideal so that you can observe as much of the coin as possible. If you have one, a black stage plate will give enhanced contrast. It’s simple and quick: just place the coin directly onto the stage and focus.
Feathers
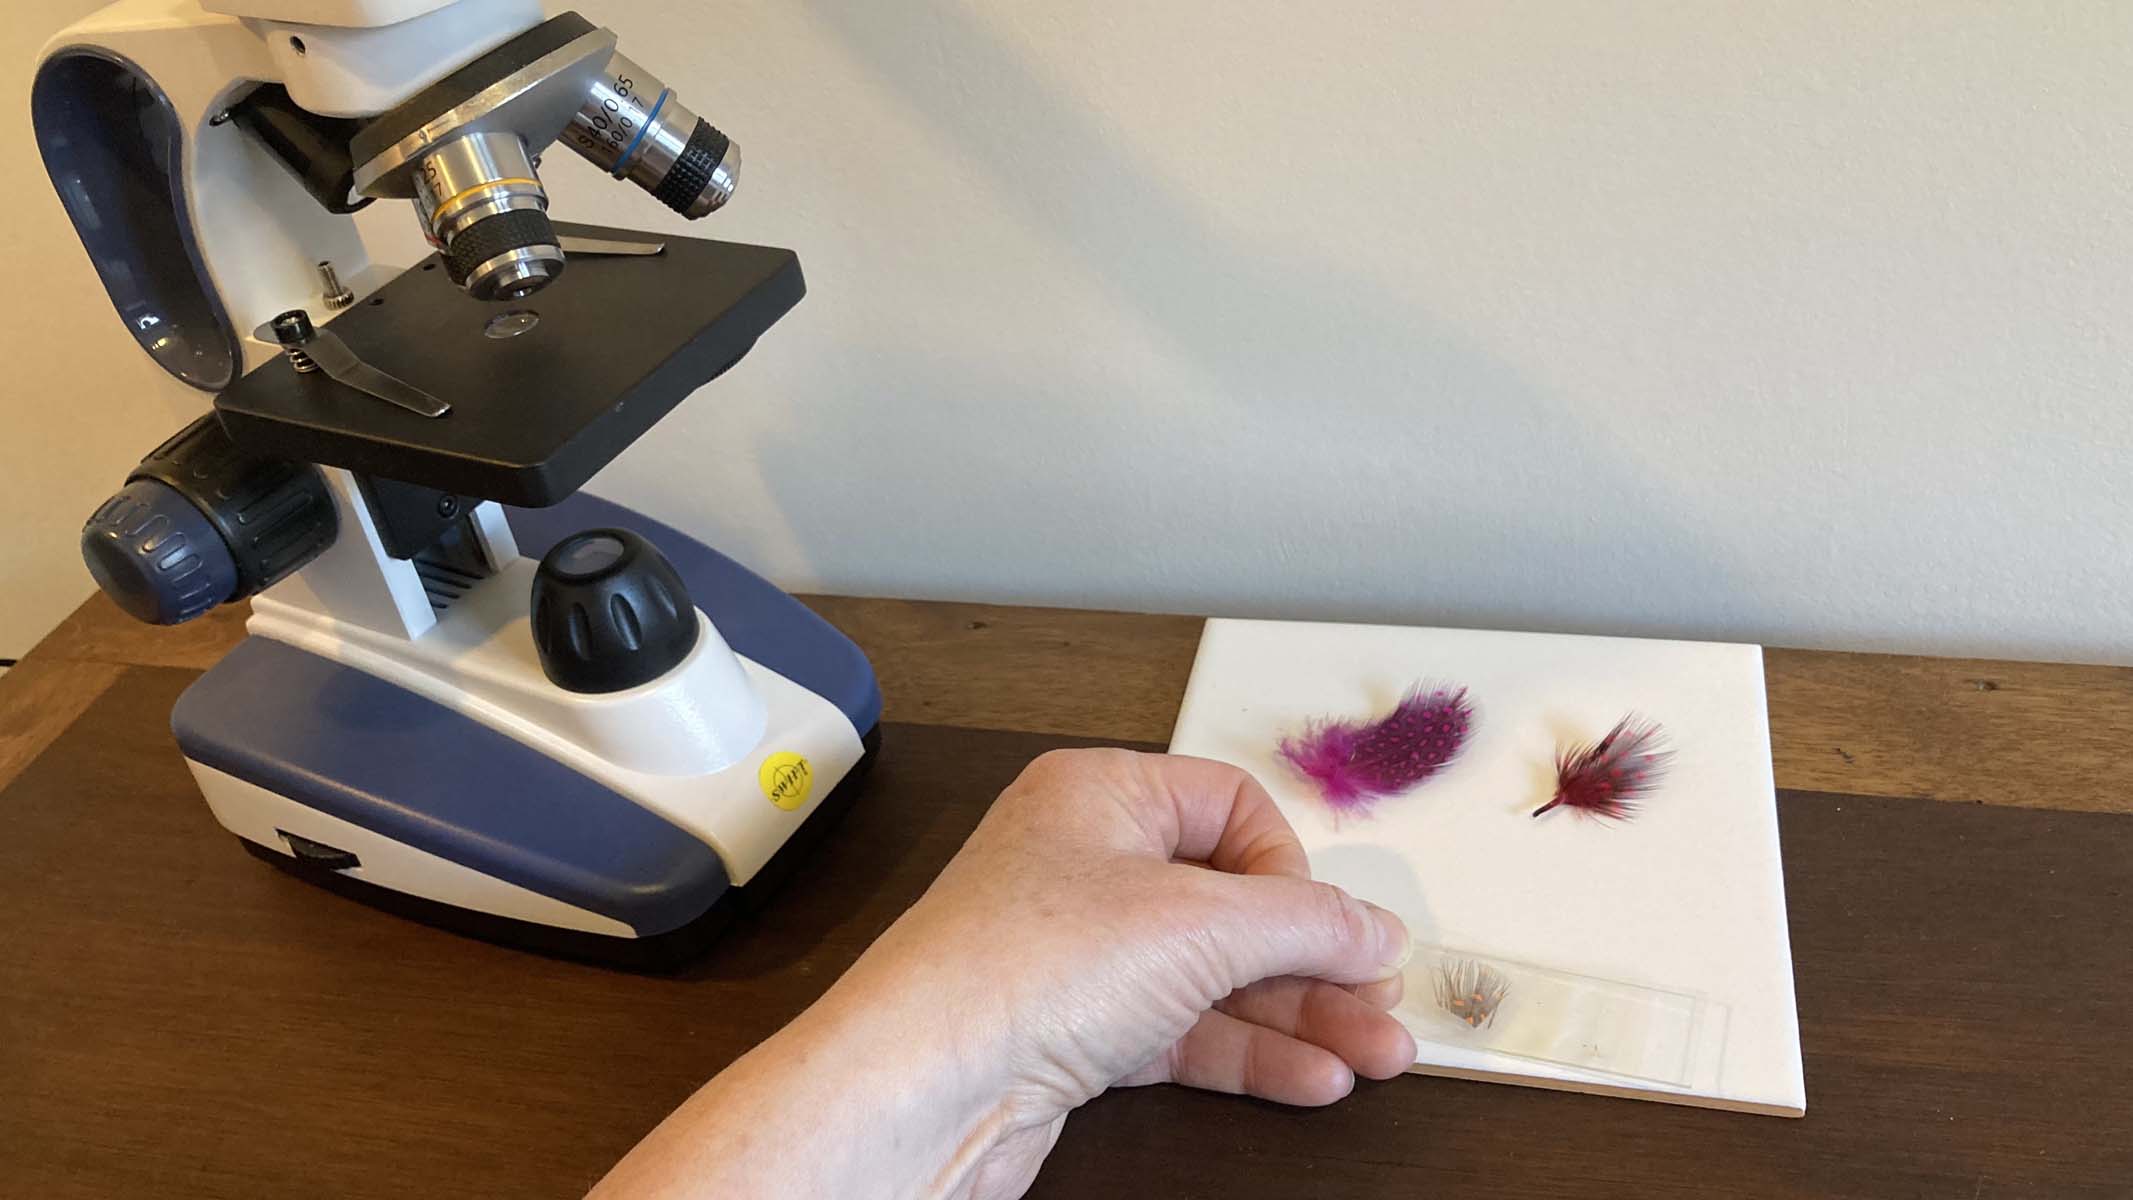
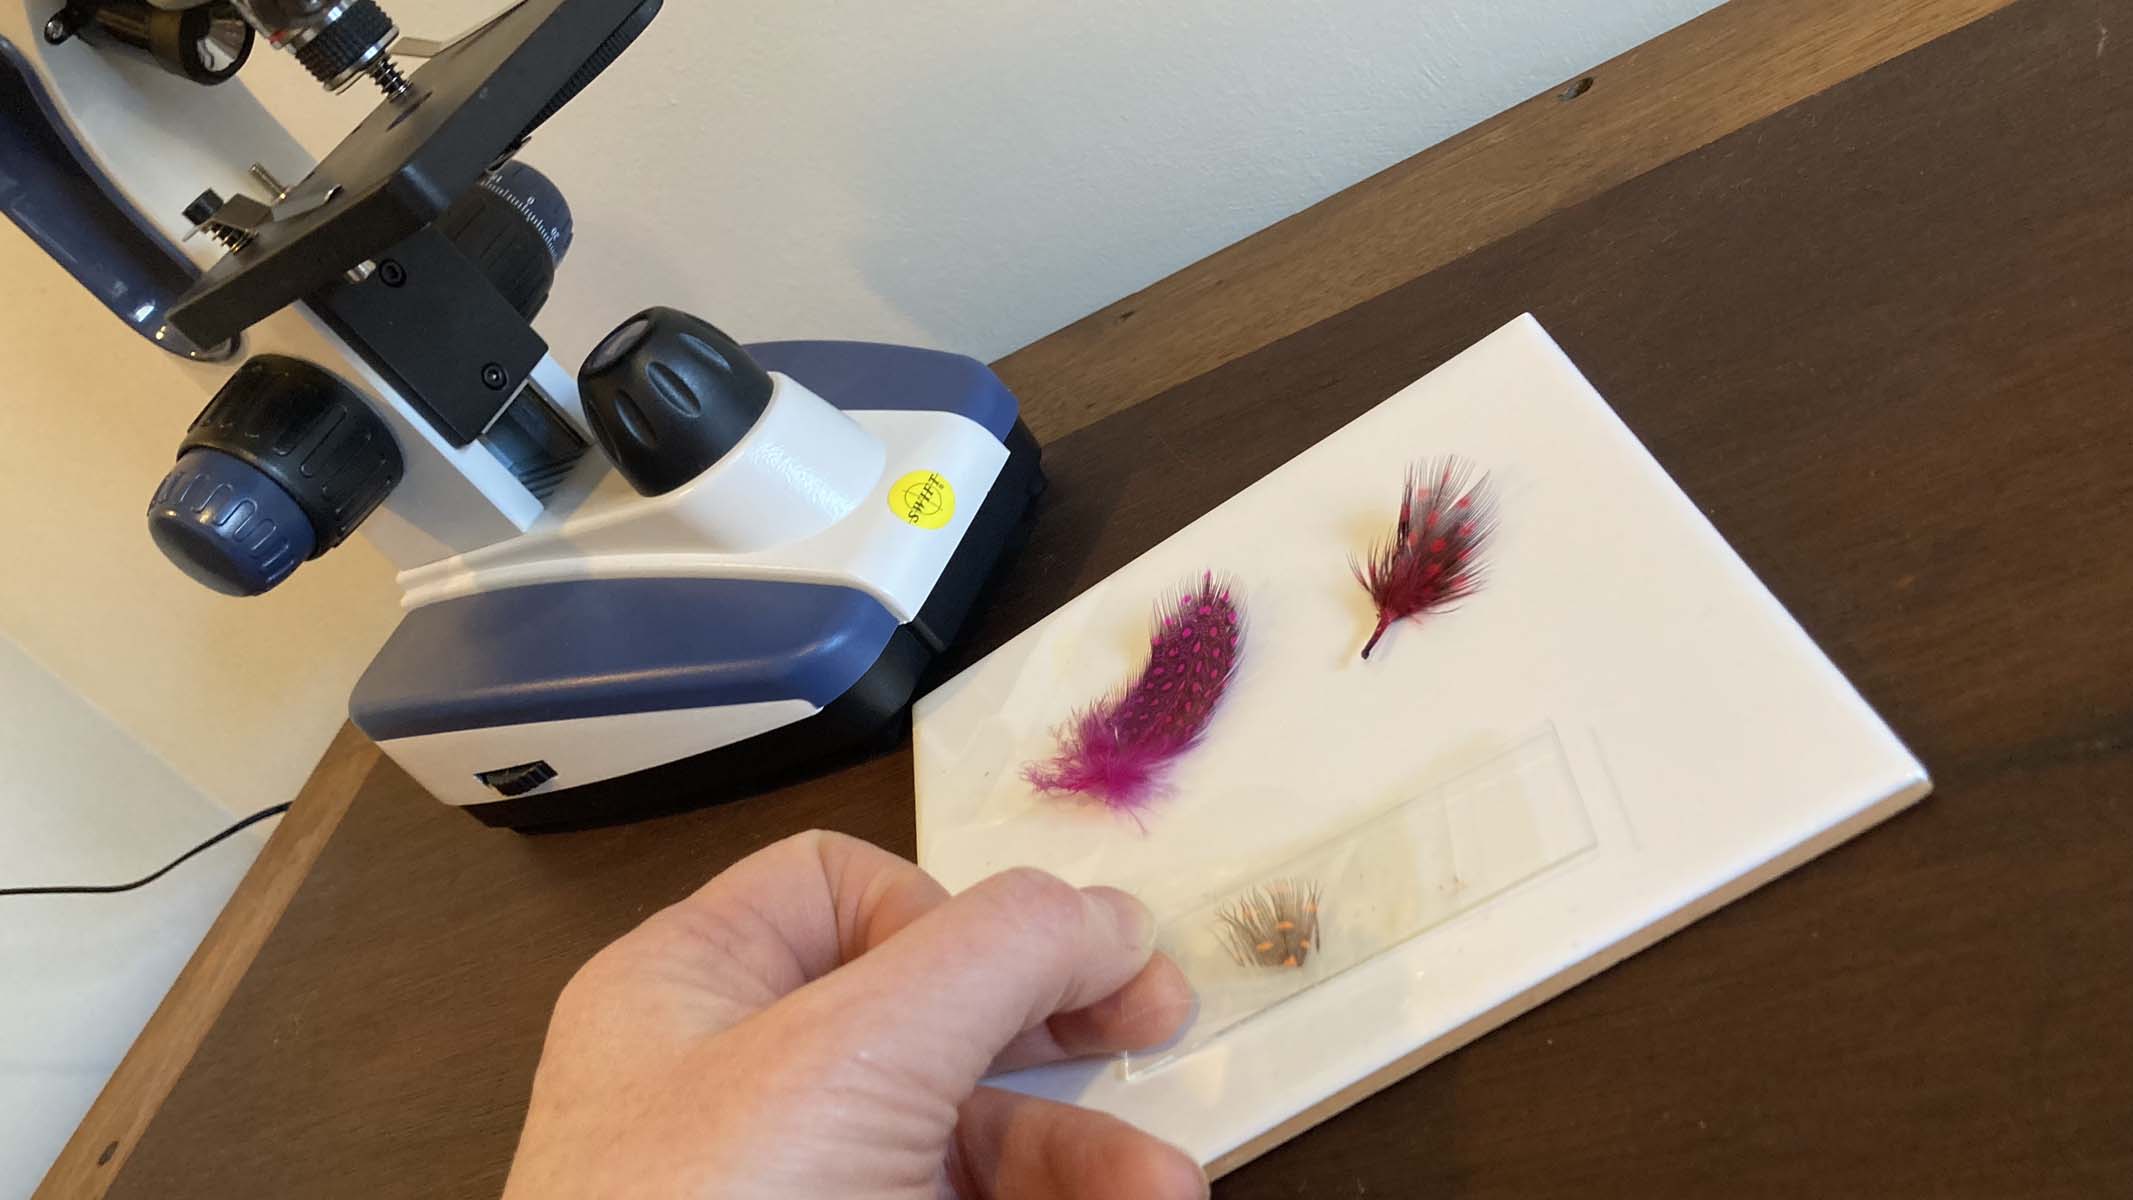
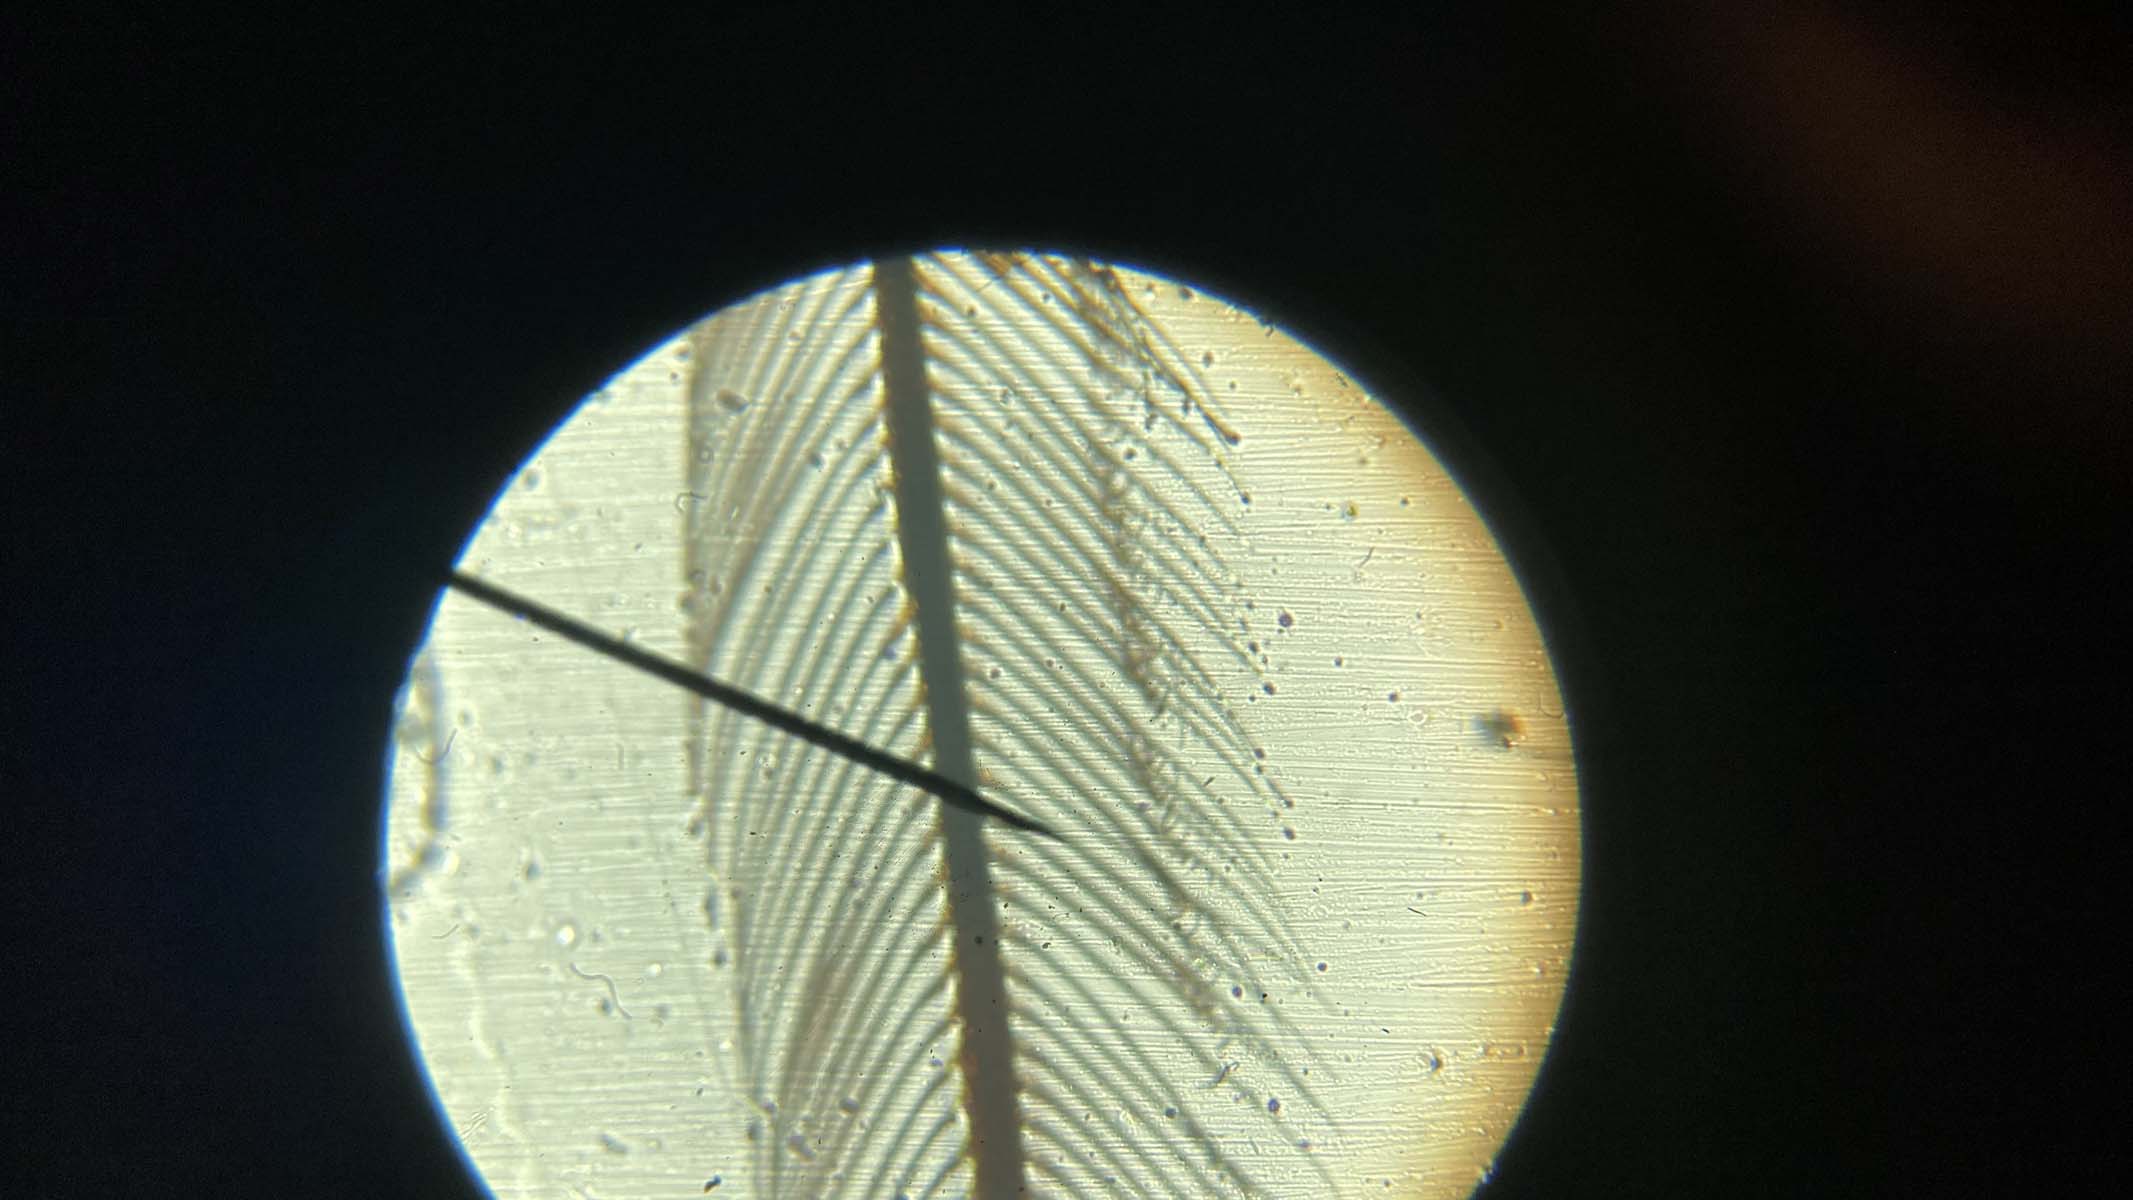
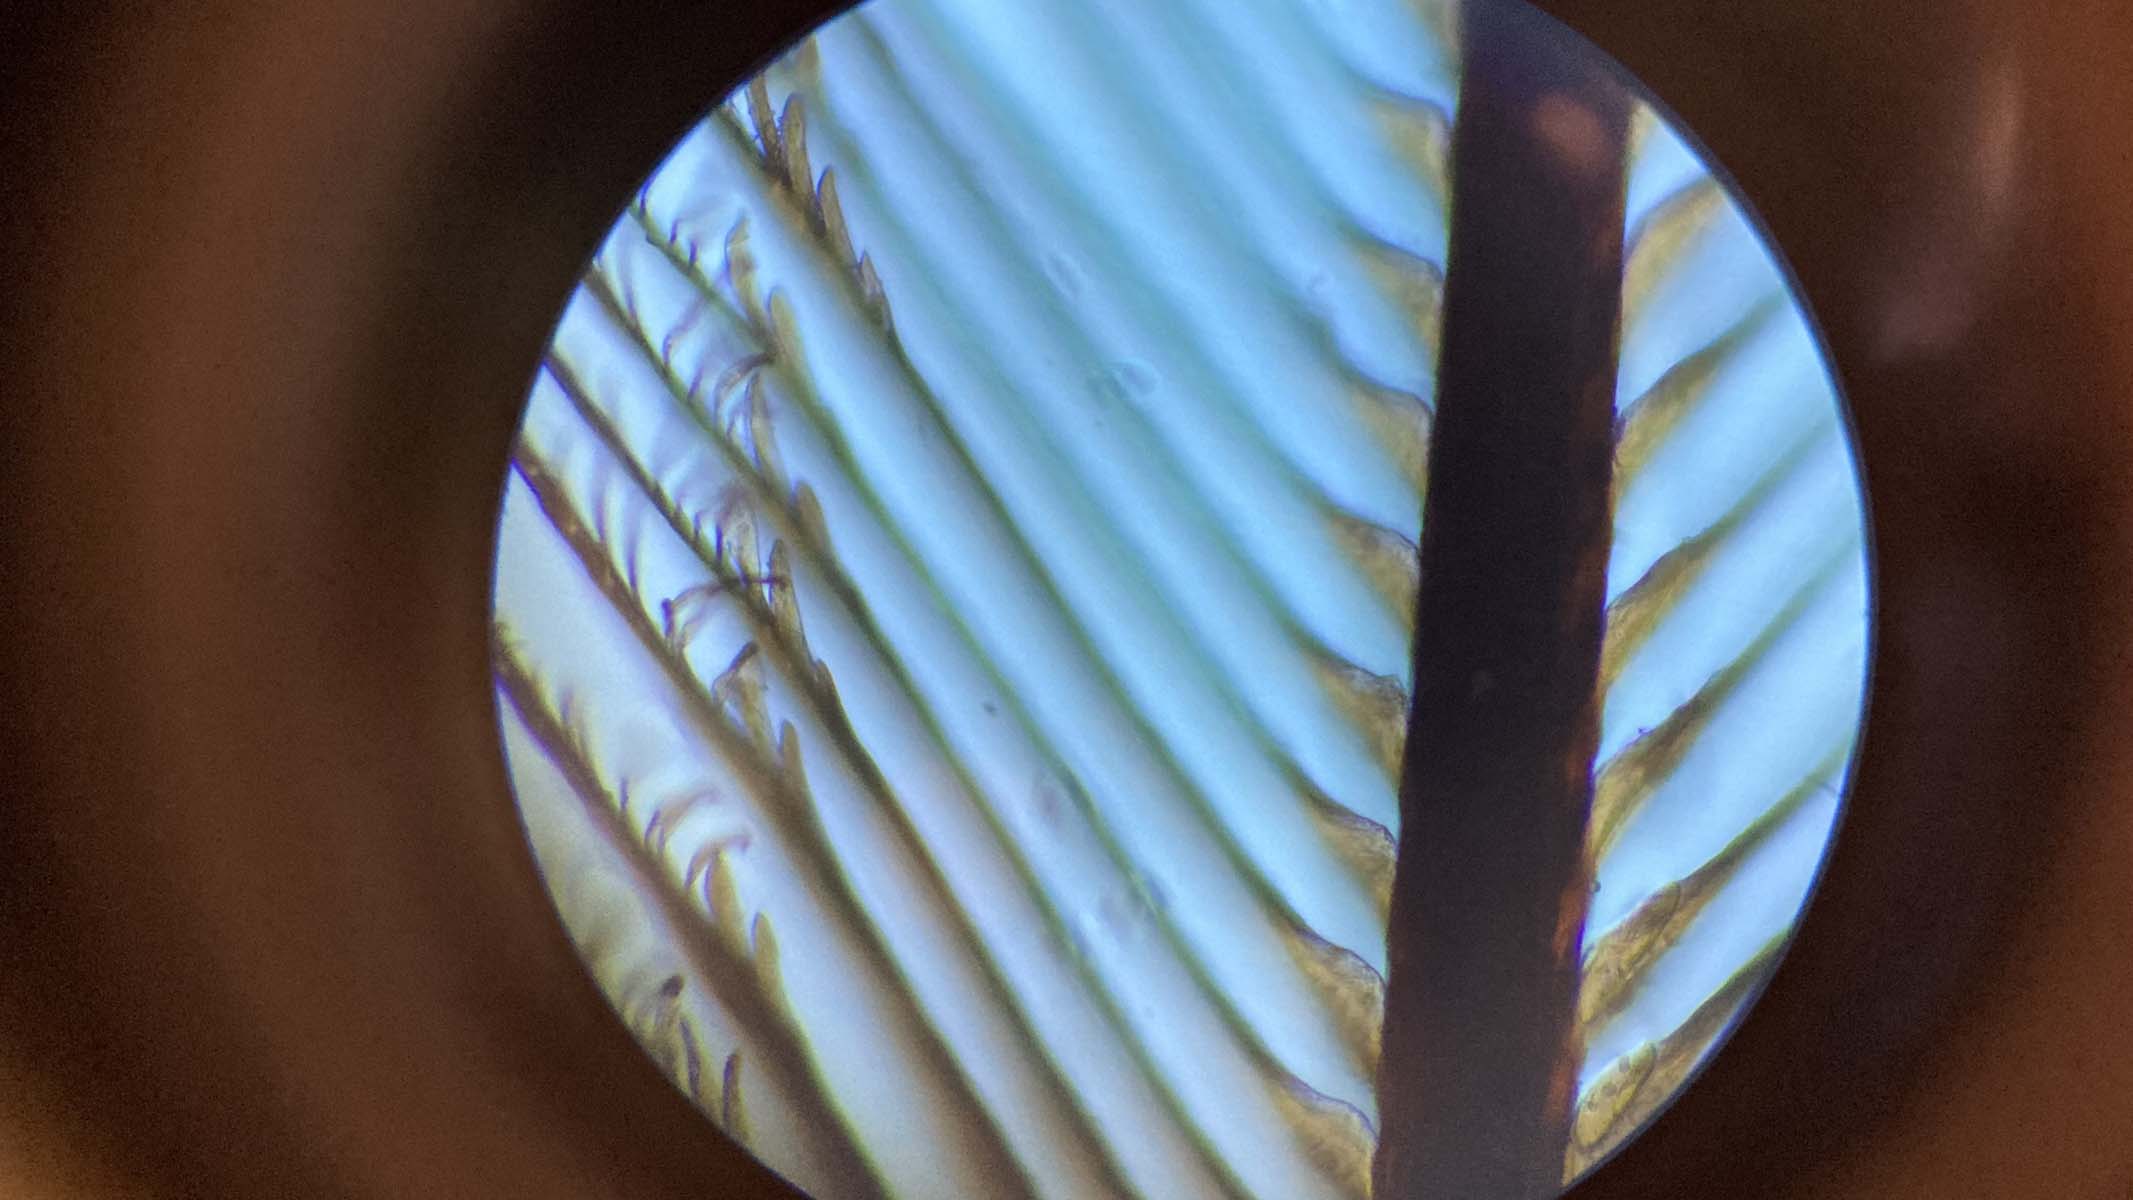
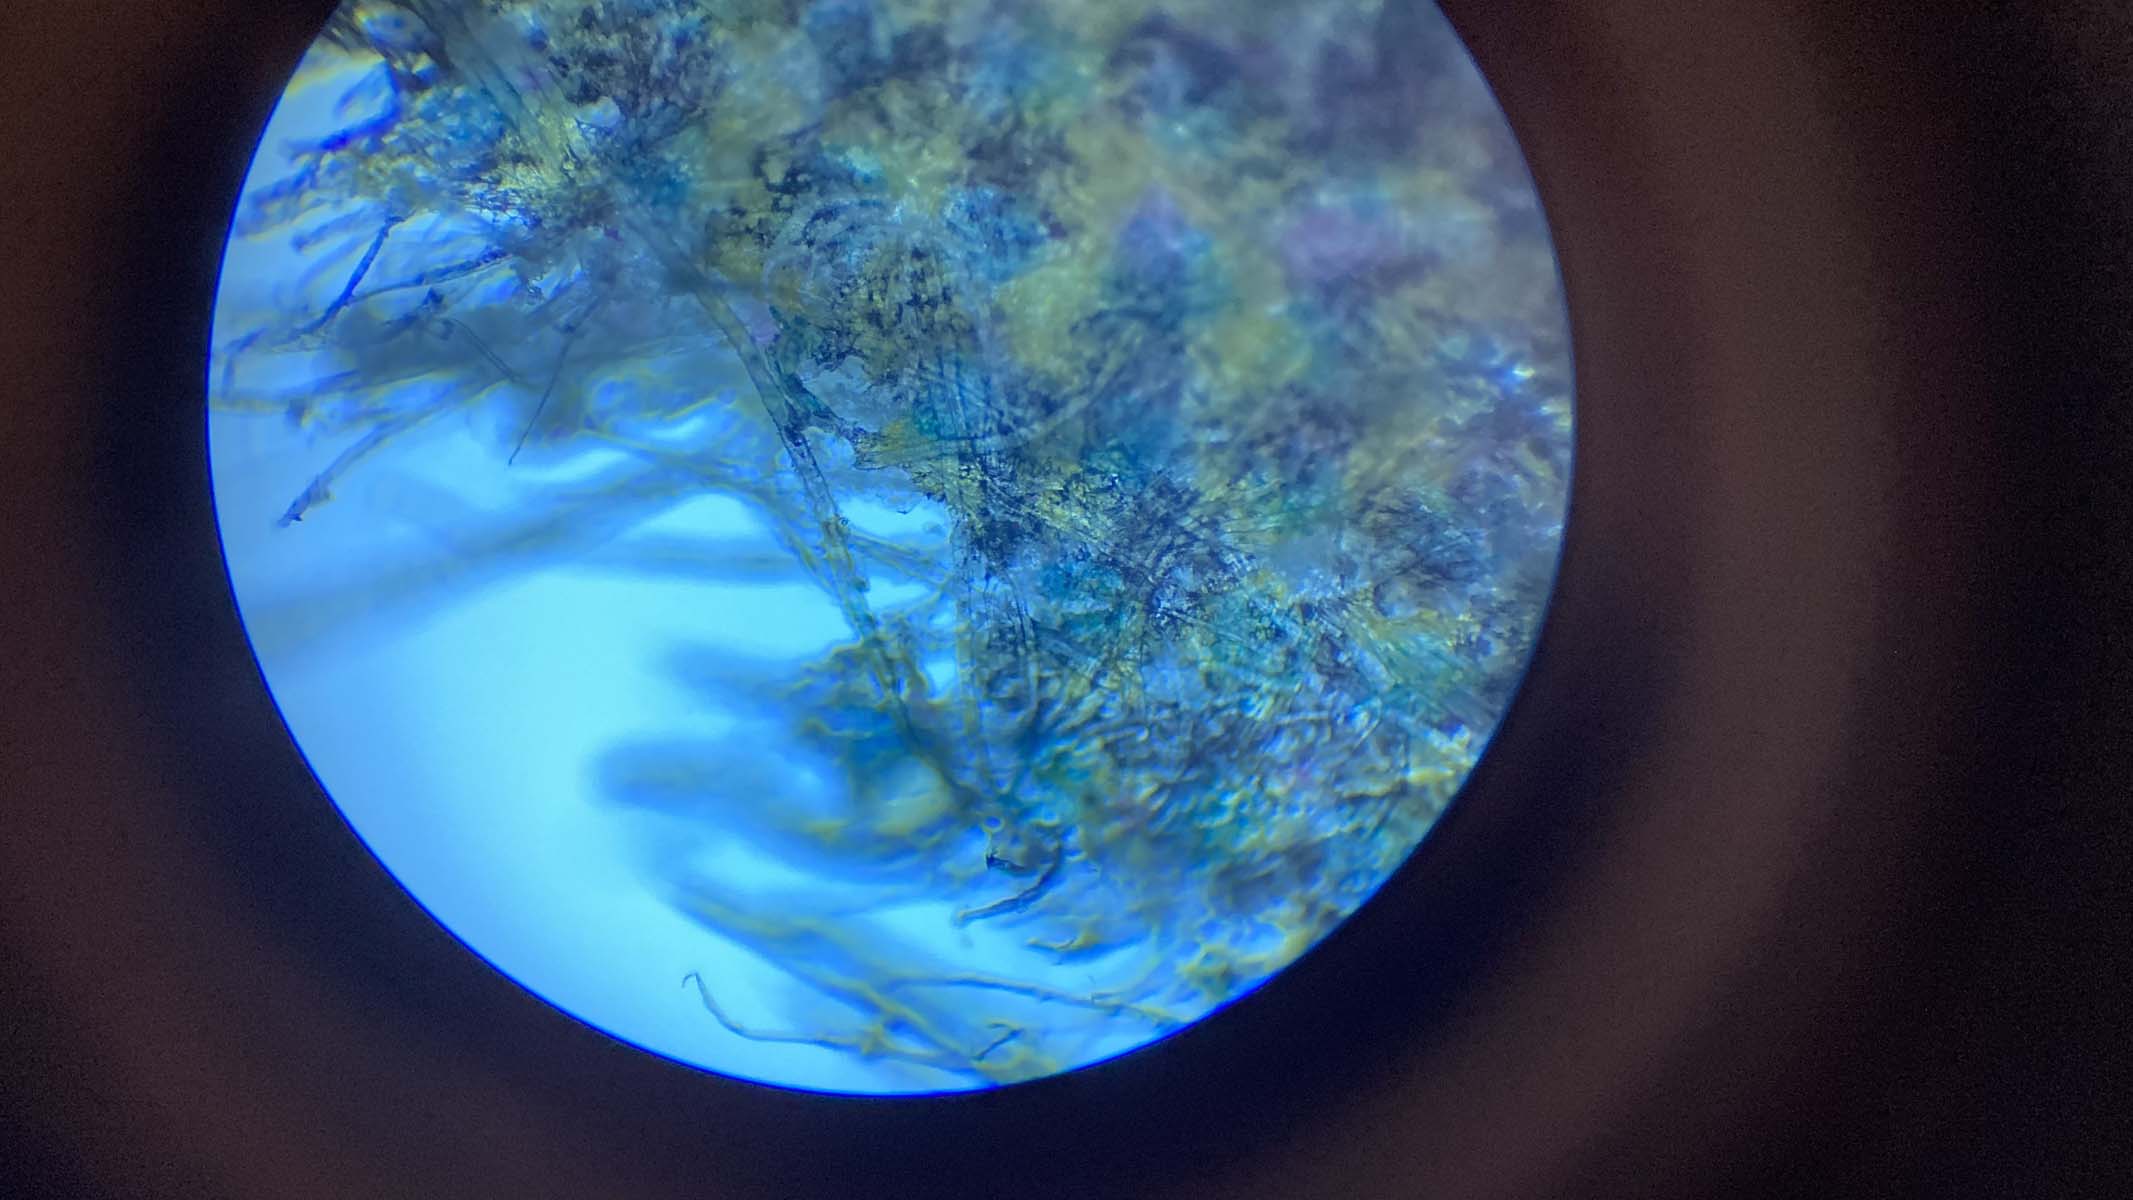
There is so much more to a feather than you can see with the naked eye. We suggest using low magnification to examine the differences in texture between the vane and the afterfeathers. Then prepare a slide and zoom in to see the individual structure of the barbs and barbules, and maybe even some hooklets.
Use Scotch tape to pick up a small sample of your feather and stick this directly onto the slide. Most microscopes are suitable for observing feathers. If yours has a lower LED, the gaps between each barb let light pass through from below, allowing structural outlines to appear, whereas upper light rays will be reflected and show the keratin’s pigment coloring. Stereo viewing will give 3D images.
Newspaper print
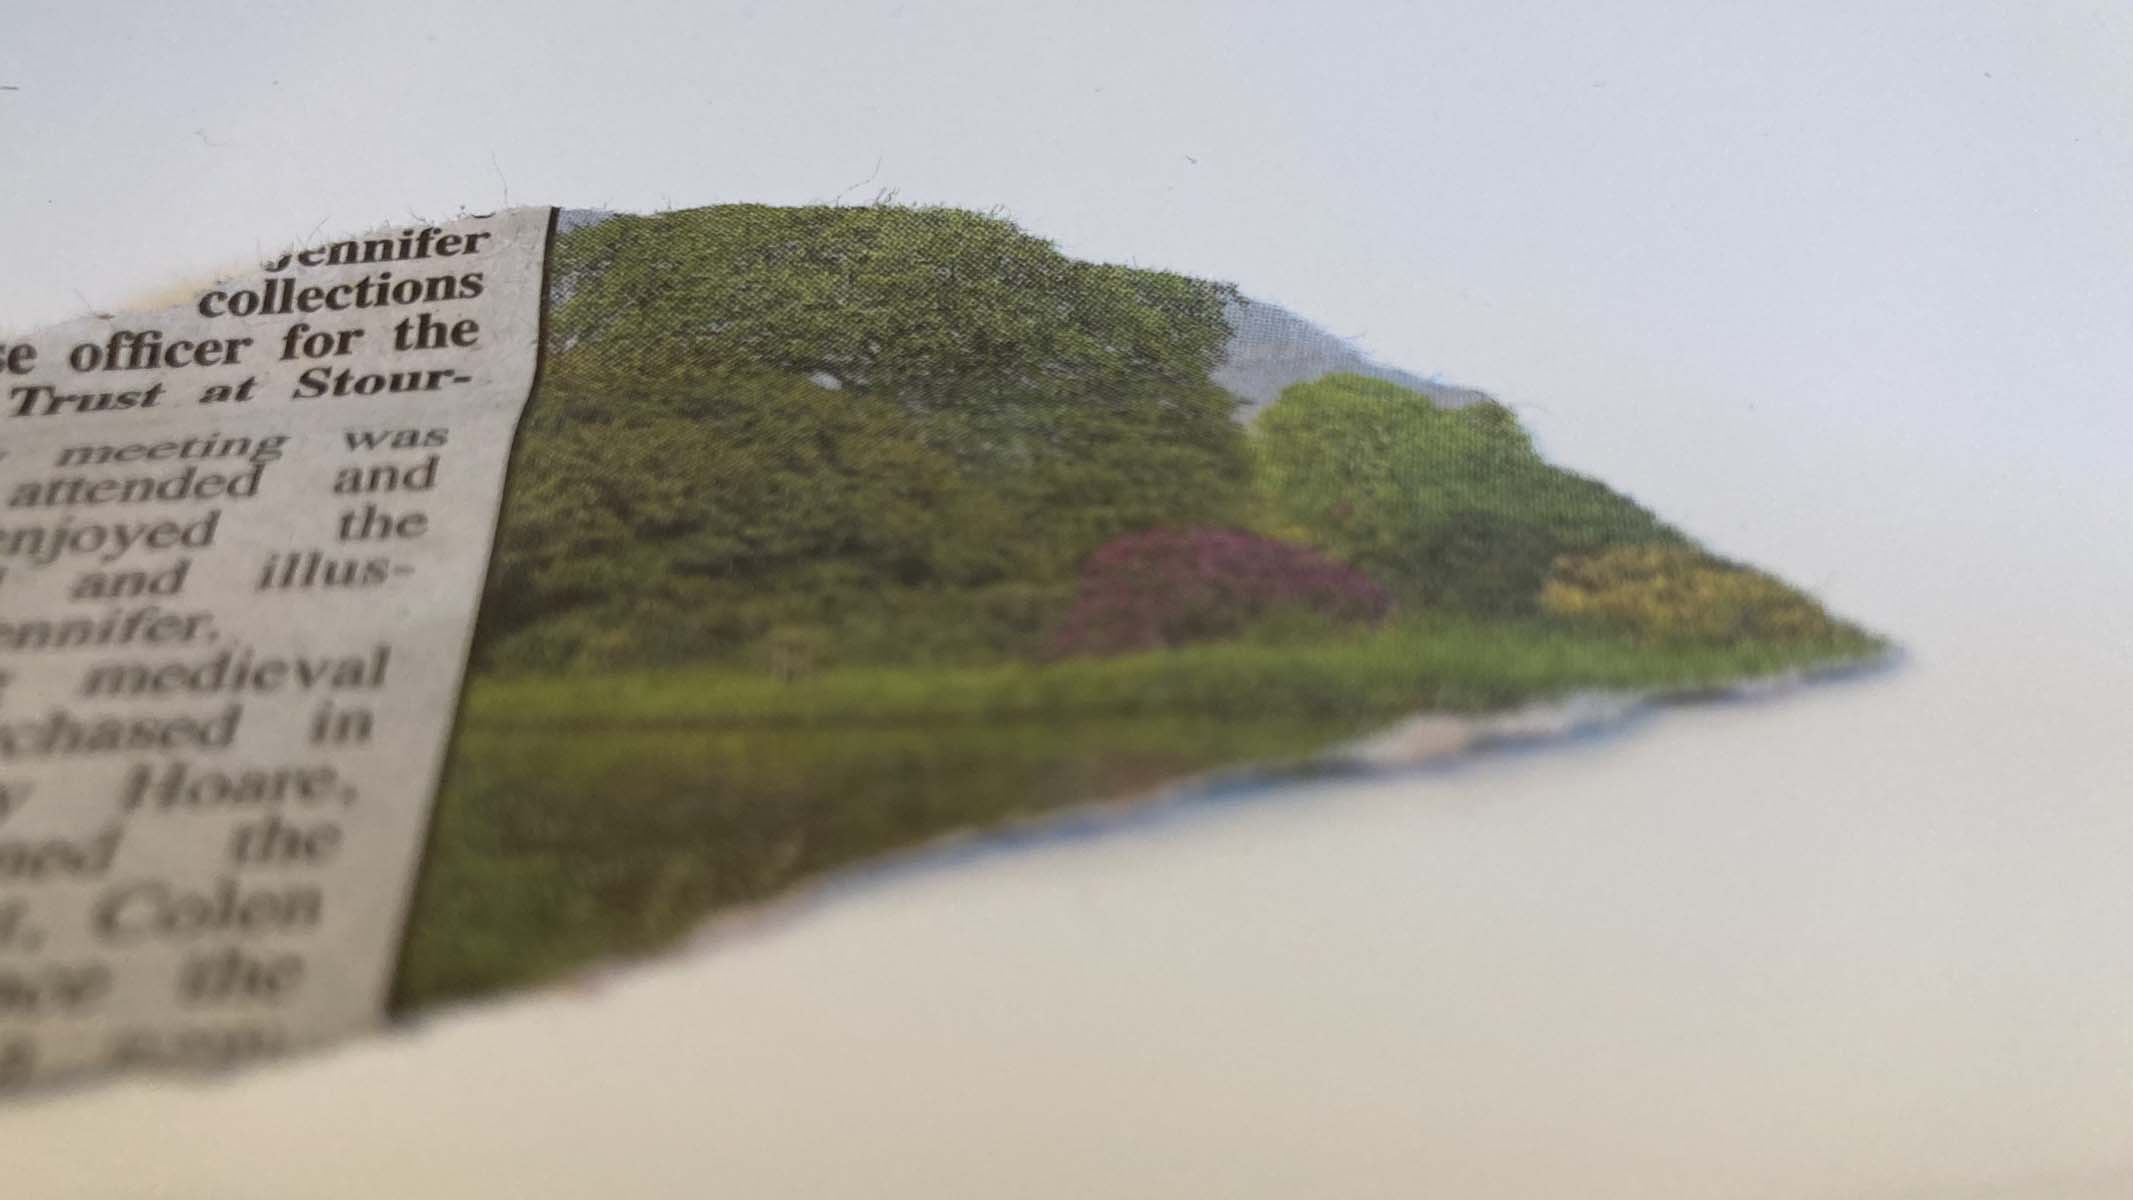
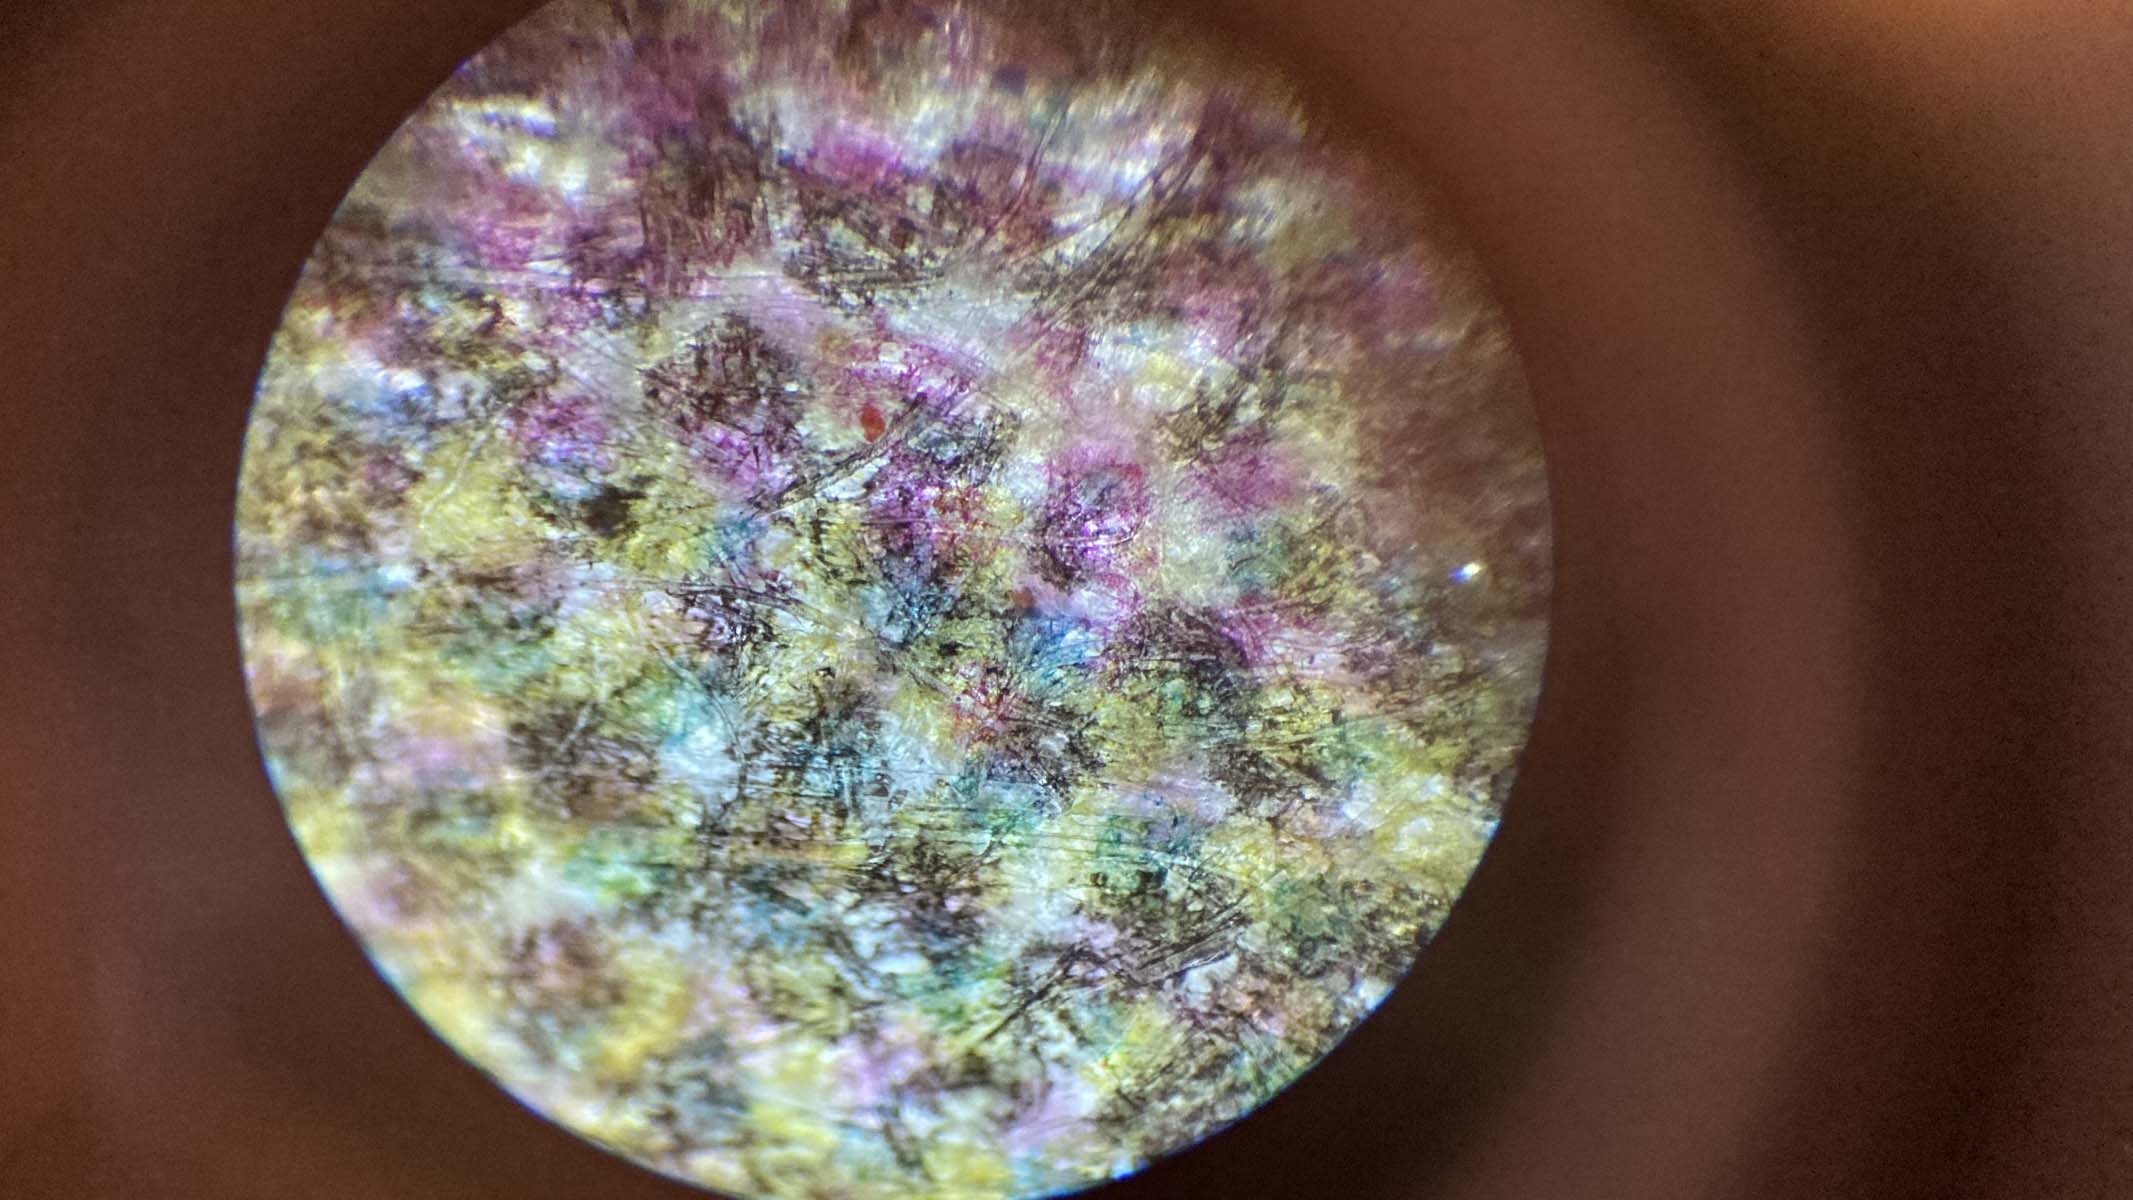
A compound microscope is ideal for examining newspaper print, directly on the stage, without needing a slide. We recommend choosing a sample that has both lettering and a colour photograph. Tearing the newspaper gives a raw edge which is more interesting to look at.
Start with low magnification. Note that lettering will appear upside down and back to front because of the mirrors inside the body tube. Using 100X magnification, you should be able to see the individual fibres of cellulose, randomly arranged and bound with lignin. It is also fascinating to use this higher magnification to observe the individual cyan, magenta, yellow and black dots that make up the coloured print.
Crystals
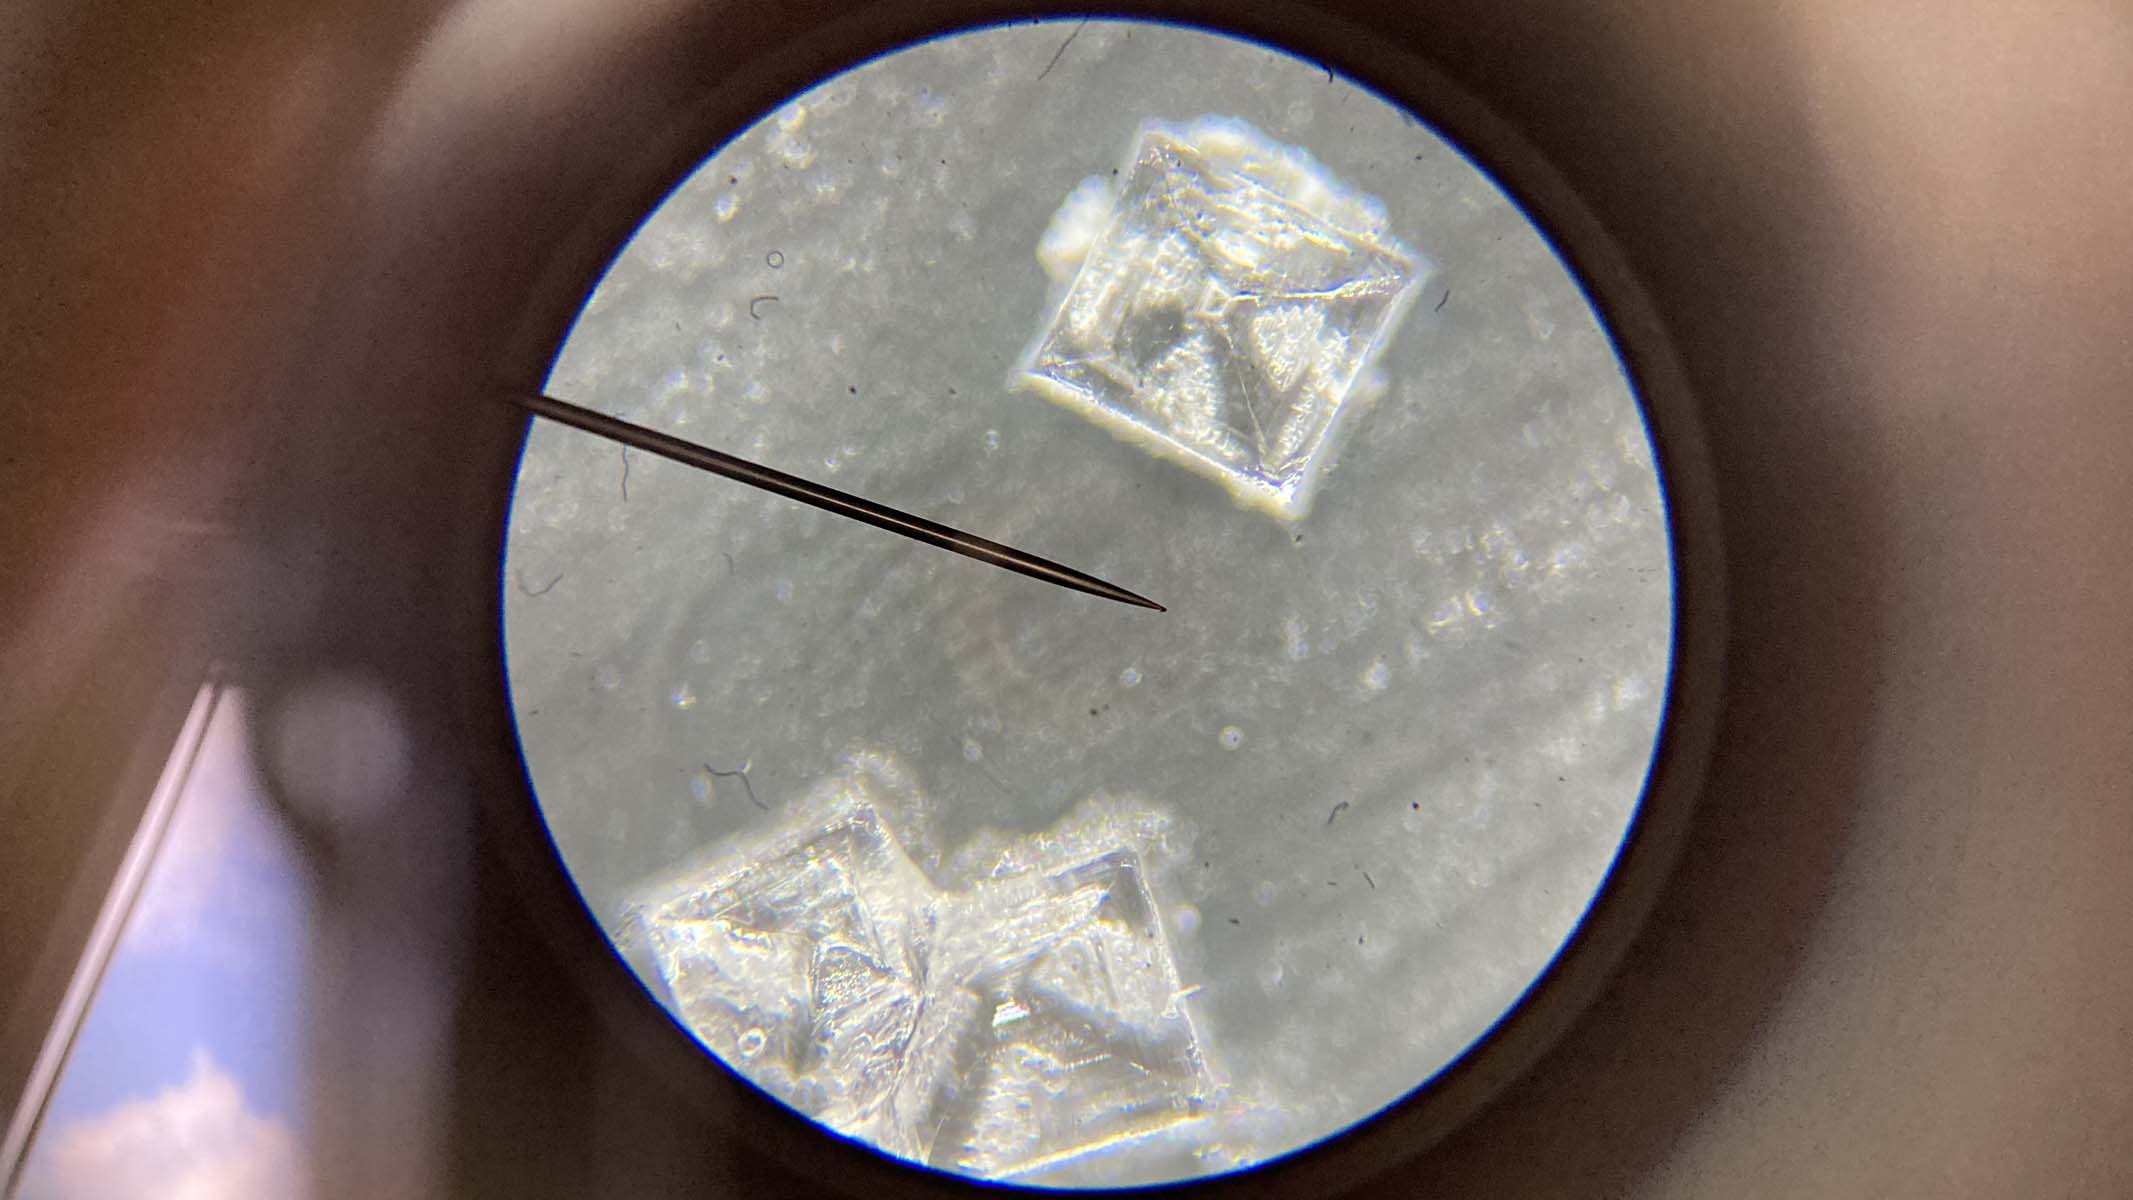
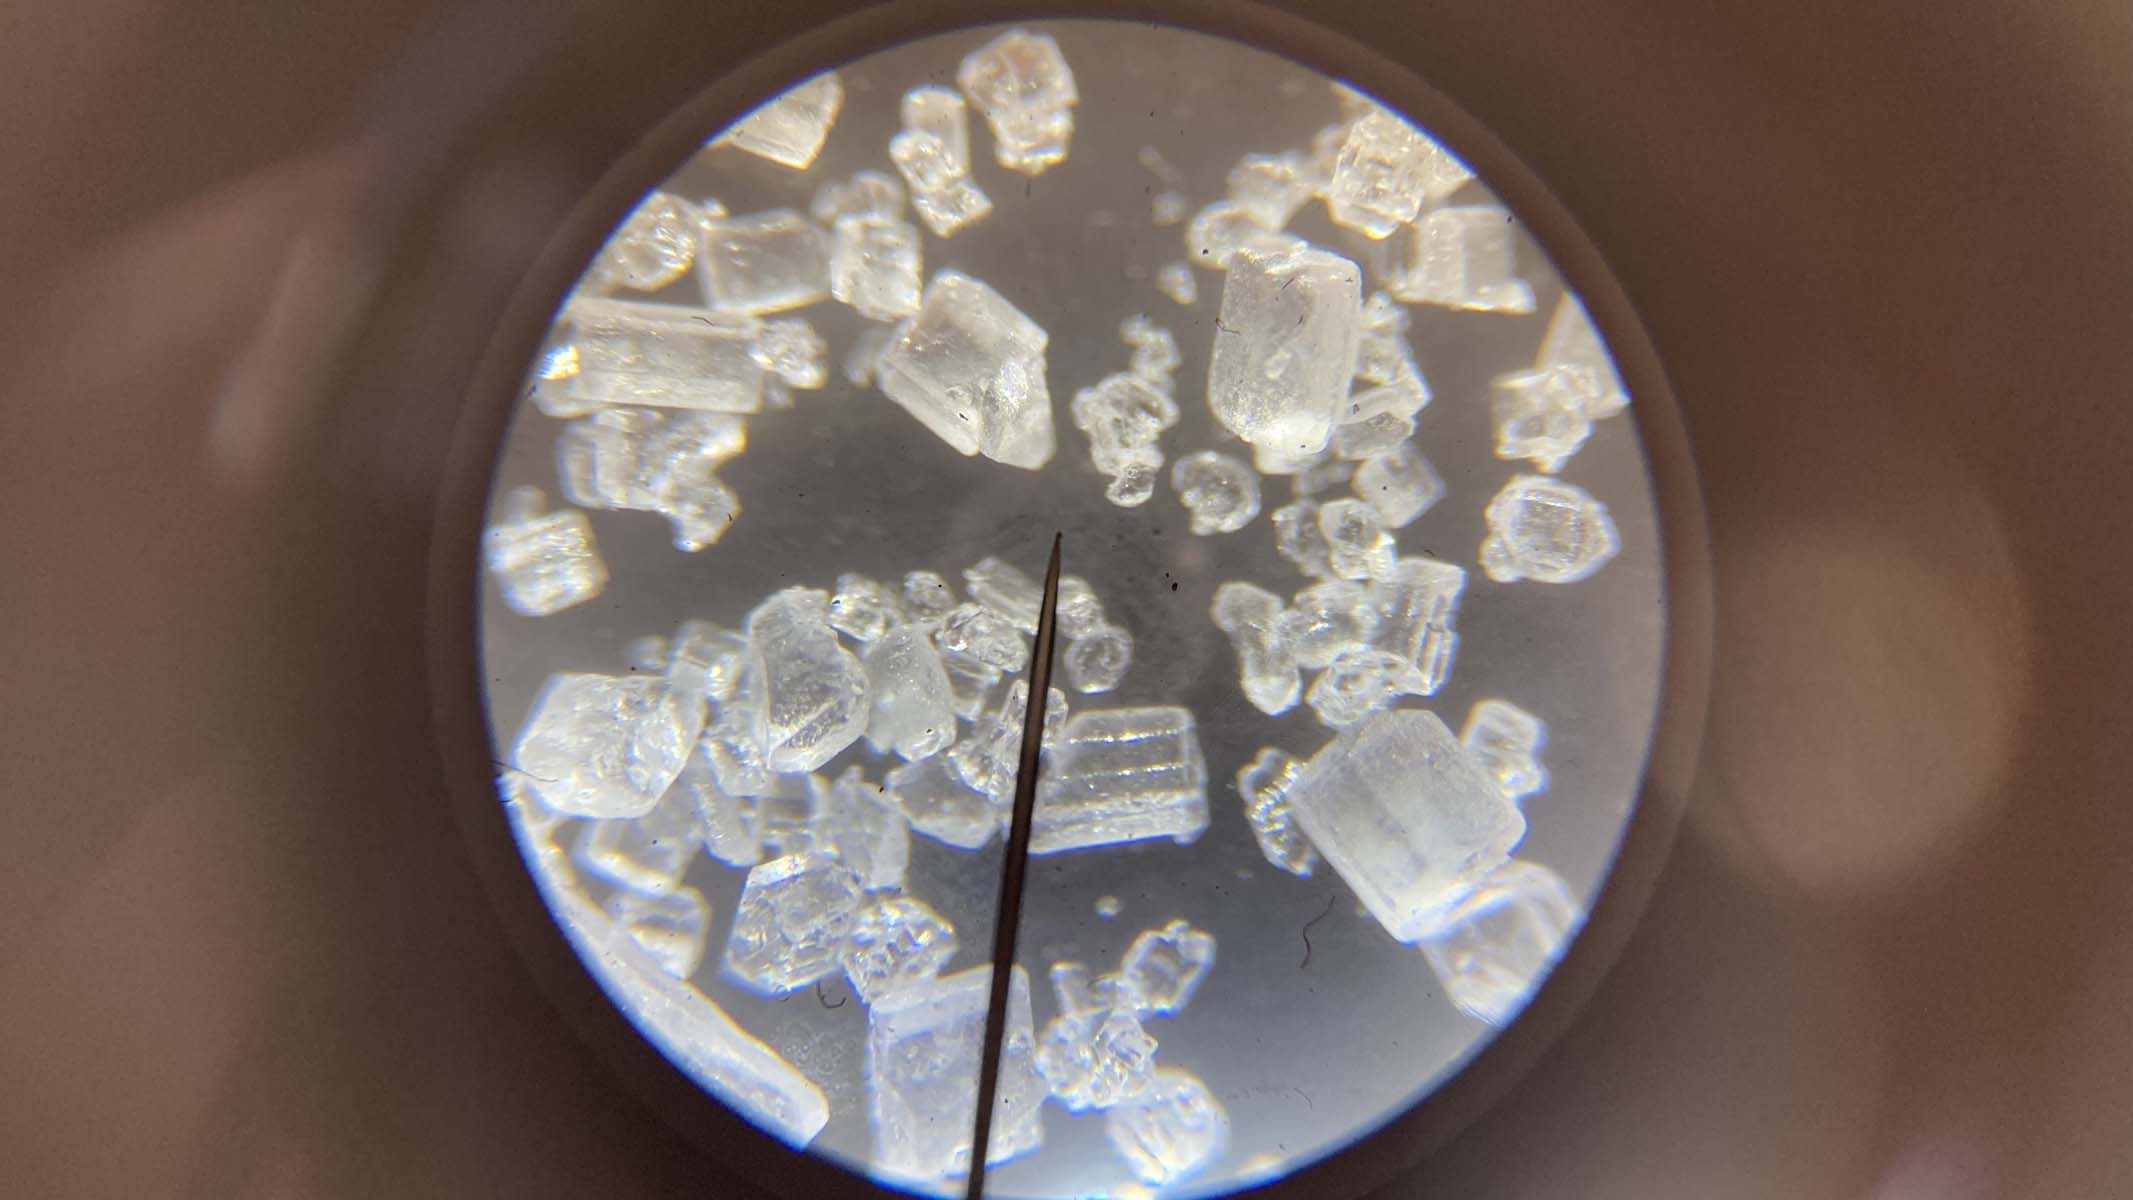
Crystal growth occurs in very orderly, specific patterns. Salt crystals appear square because of their cubic lattice structure, whereas sugar’s monoclinic form results in hexagonal prisms. The slower the rate of evaporation, the larger your crystals will grow. Experiment with different substances for comparison.
Dissolve your chosen solute in warm water until you have a saturated solution. Pipette one drop of the solution onto a clean slide and wait for the water to evaporate naturally. As the water evaporates, crystals will form. To see the three-dimensional crystalline structure, use a stereo microscope and a black stage plate for improved contrast. We recommend using a wide field of view, via low magnification, to see the crystal landscape that will have emerged.
Pollen grains
Pollen grains are found on flowers’ stamens and are the male sex cells. They are hugely diverse, come in a variety of shapes, sizes and textures, and have a protective sporopollenin outer layer called exine. Grab your portable microscope and take to the field for some thrilling outdoor microscopy.
By taking slides to the flowers, you can prevent damage and leave them in their natural habitat. Beginners could try a dry mount; by dabbing the stamen onto a slide, some will adhere. More experienced users could try pipetting a drop of glycerine onto the slide then tapping the anther so the pollen falls into it. After adding a coverslip, use a compound microscope at high magnification (400X or more) to reveal the detail in the beautiful, spiky outer coating.
Stomata
Water and gases diffuse in and out of leaves through tiny holes called stomata. These open and close due to the movement of a pair of guard cells. It is fascinating to investigate their density and varied patterns on different plant species.
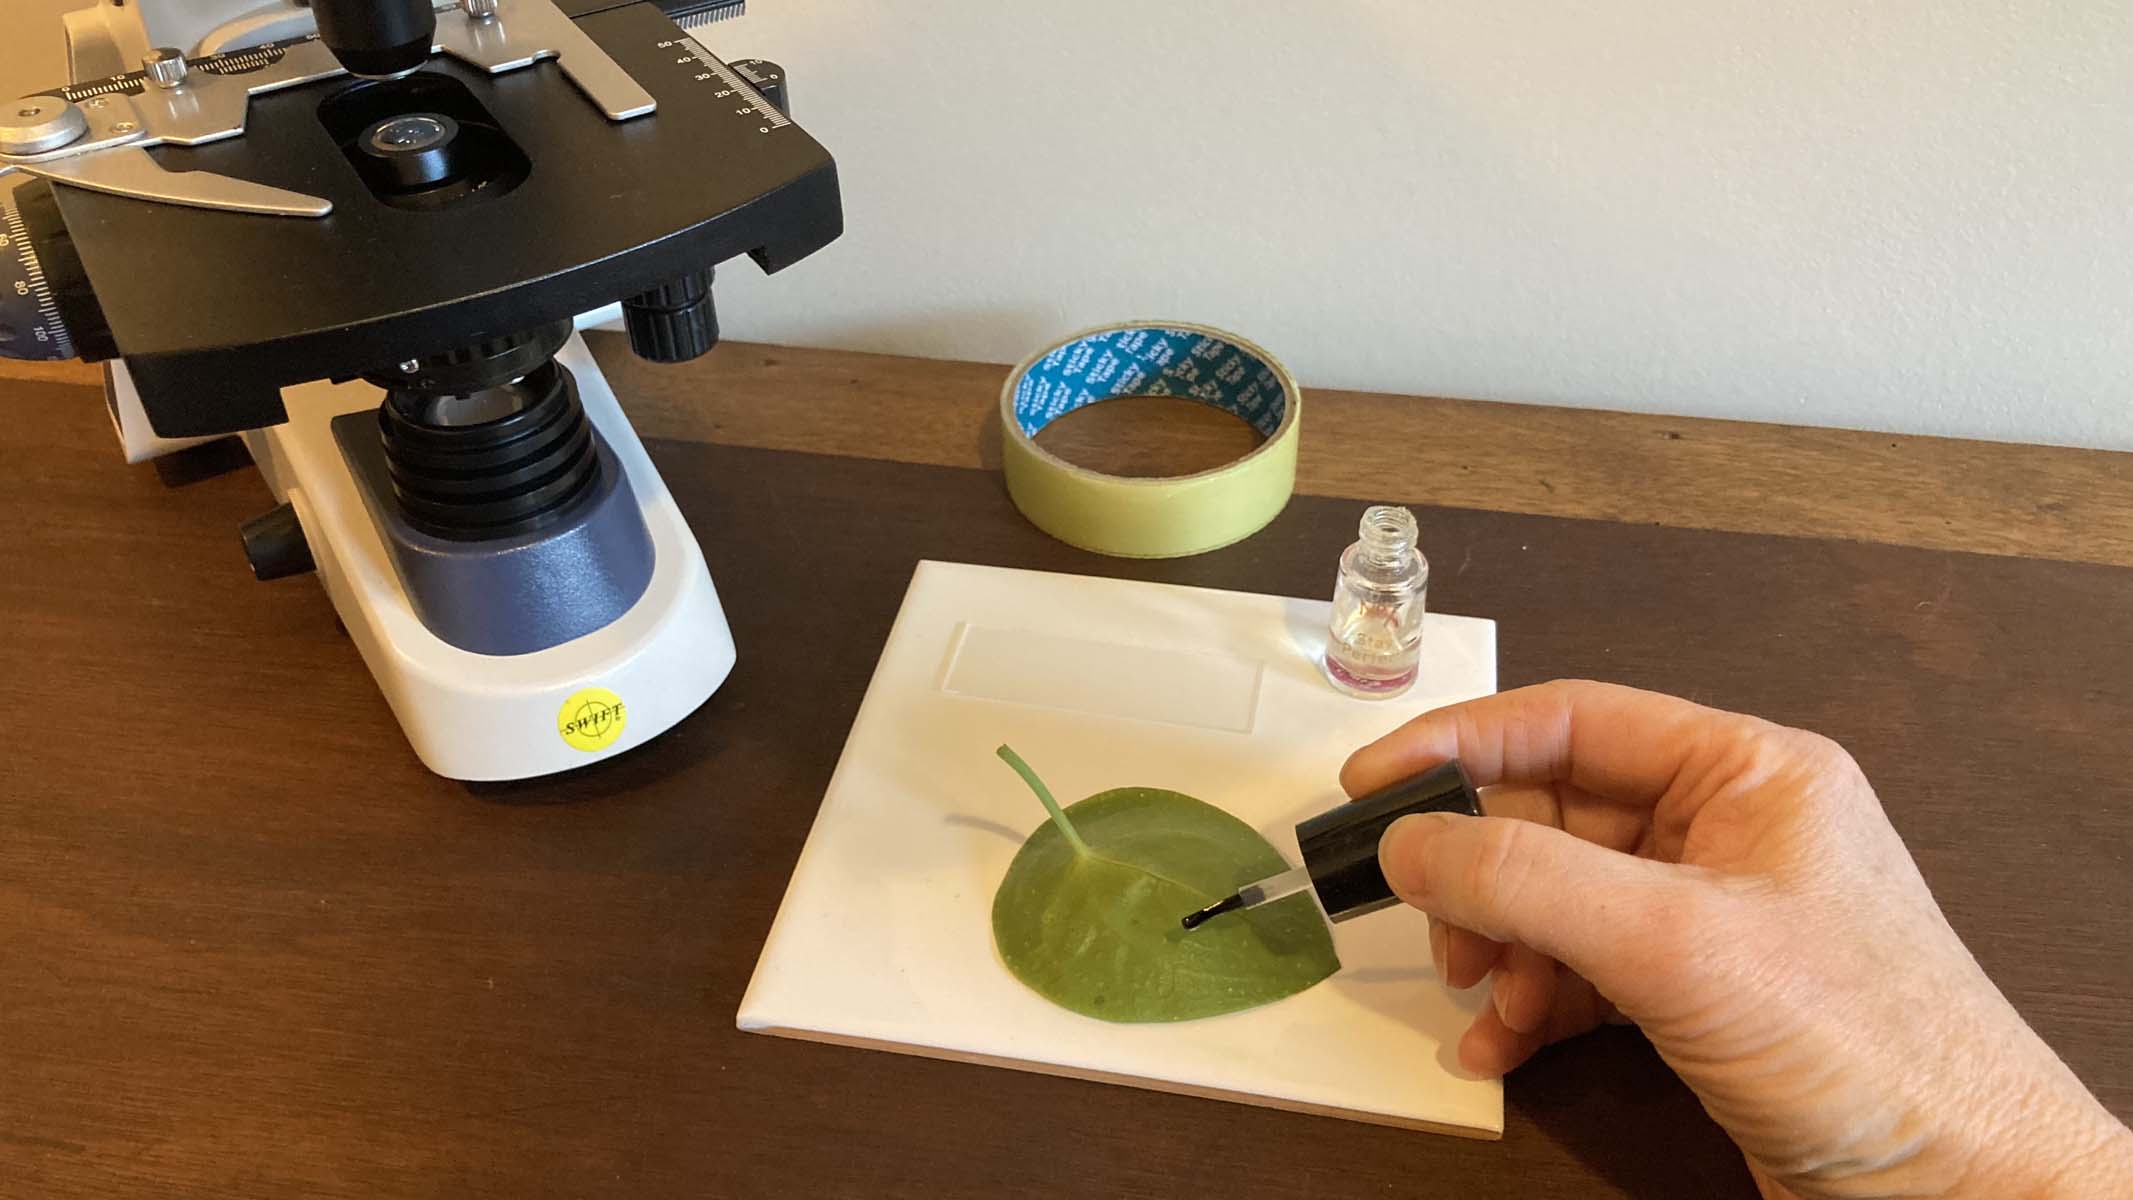
To prepare a slide, dab a small dot of clear nail varnish onto the underside of a leaf. After it has dried completely, stick a small strip of Scotch tape to the nail varnish, pressing down firmly. Stick the tape, with the nail varnish attached, to a clean slide. Use a compound microscope at 40X magnification to see stomata distribution and 400X magnification to see details of the guard cells and whether the stomata is open or closed.
Pond life
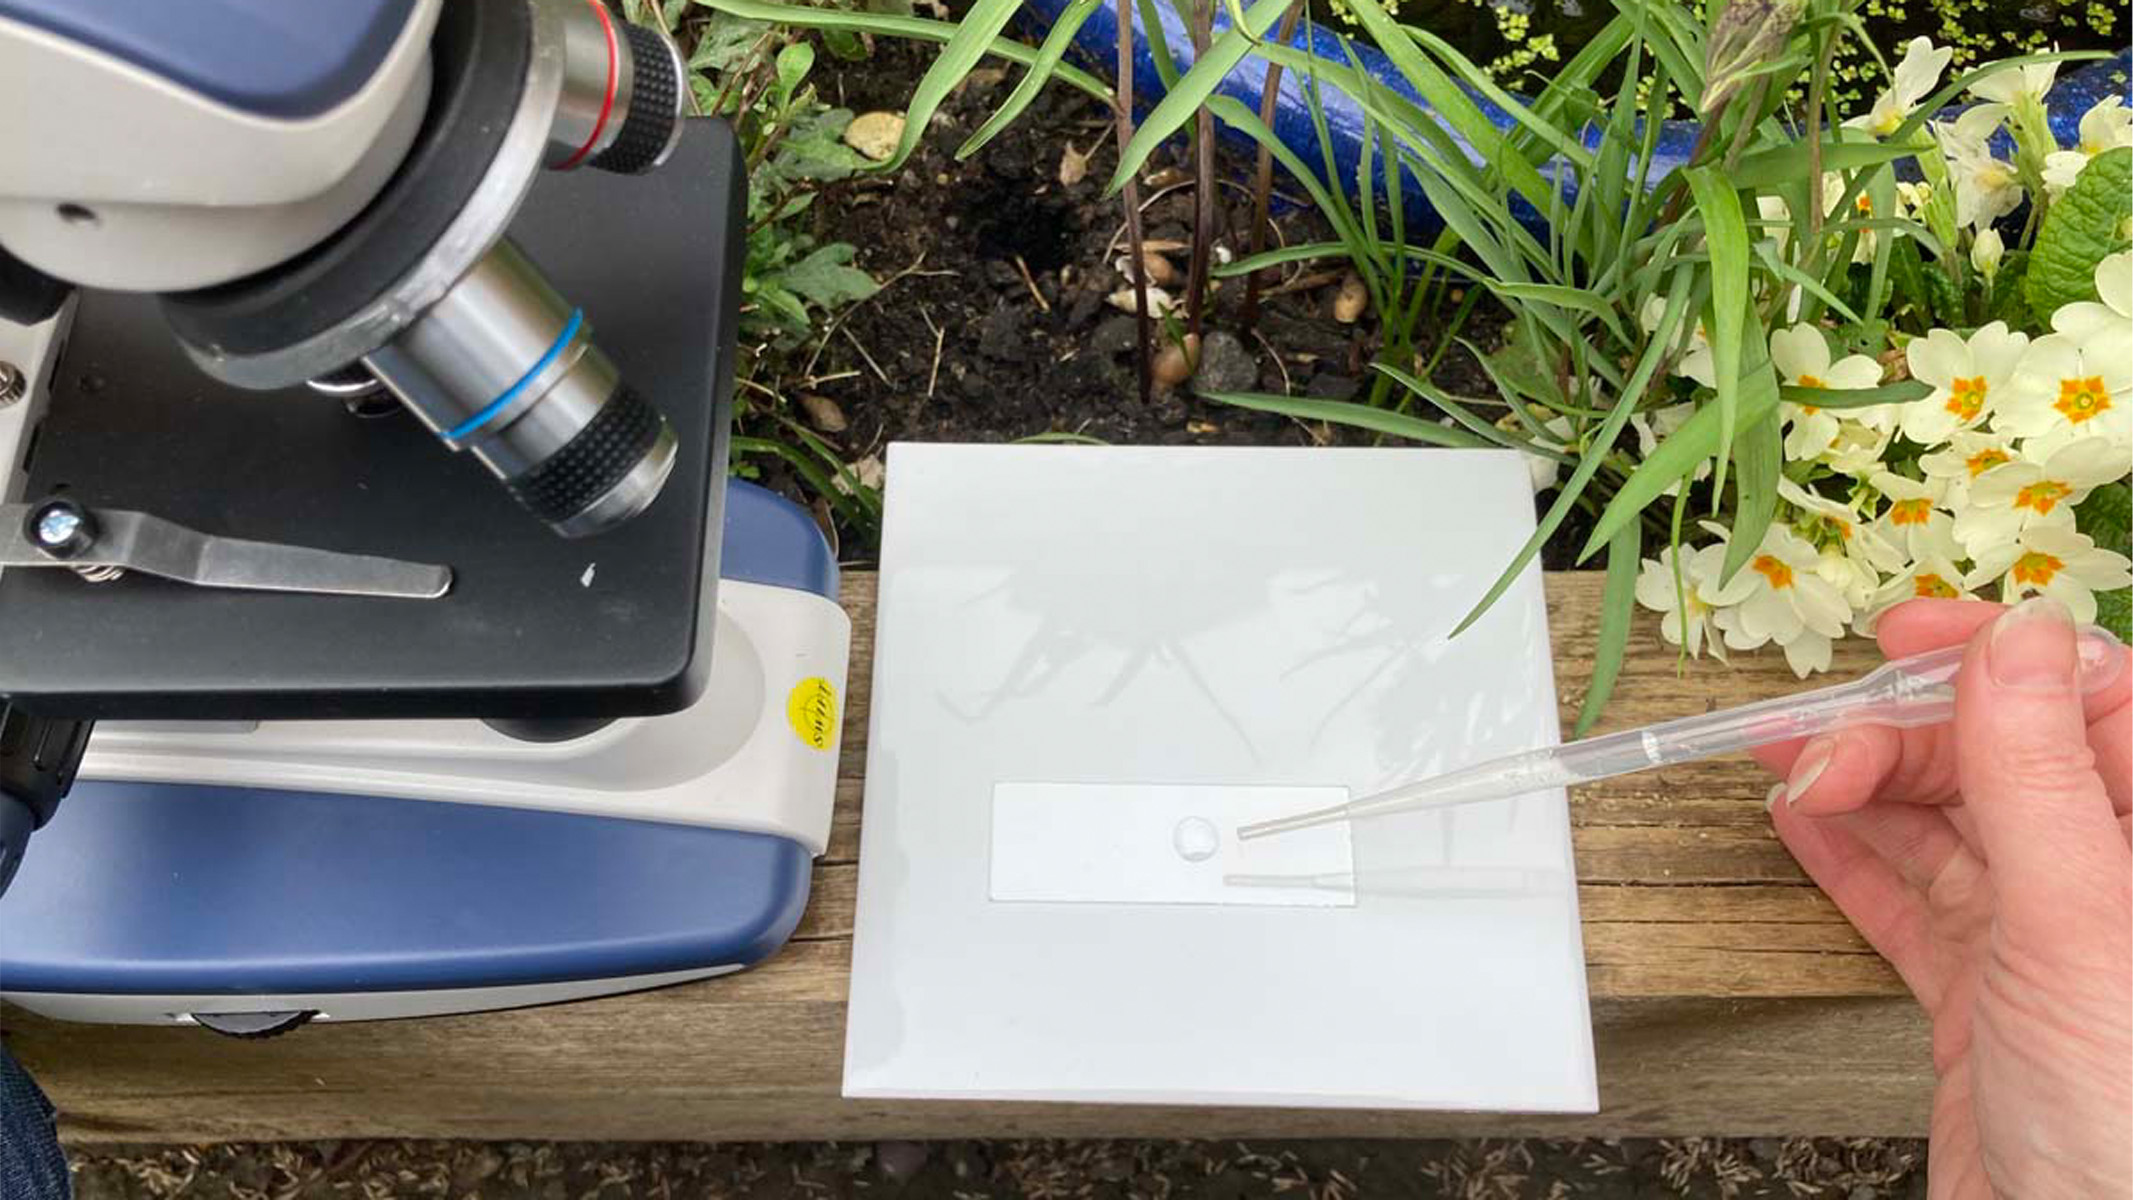
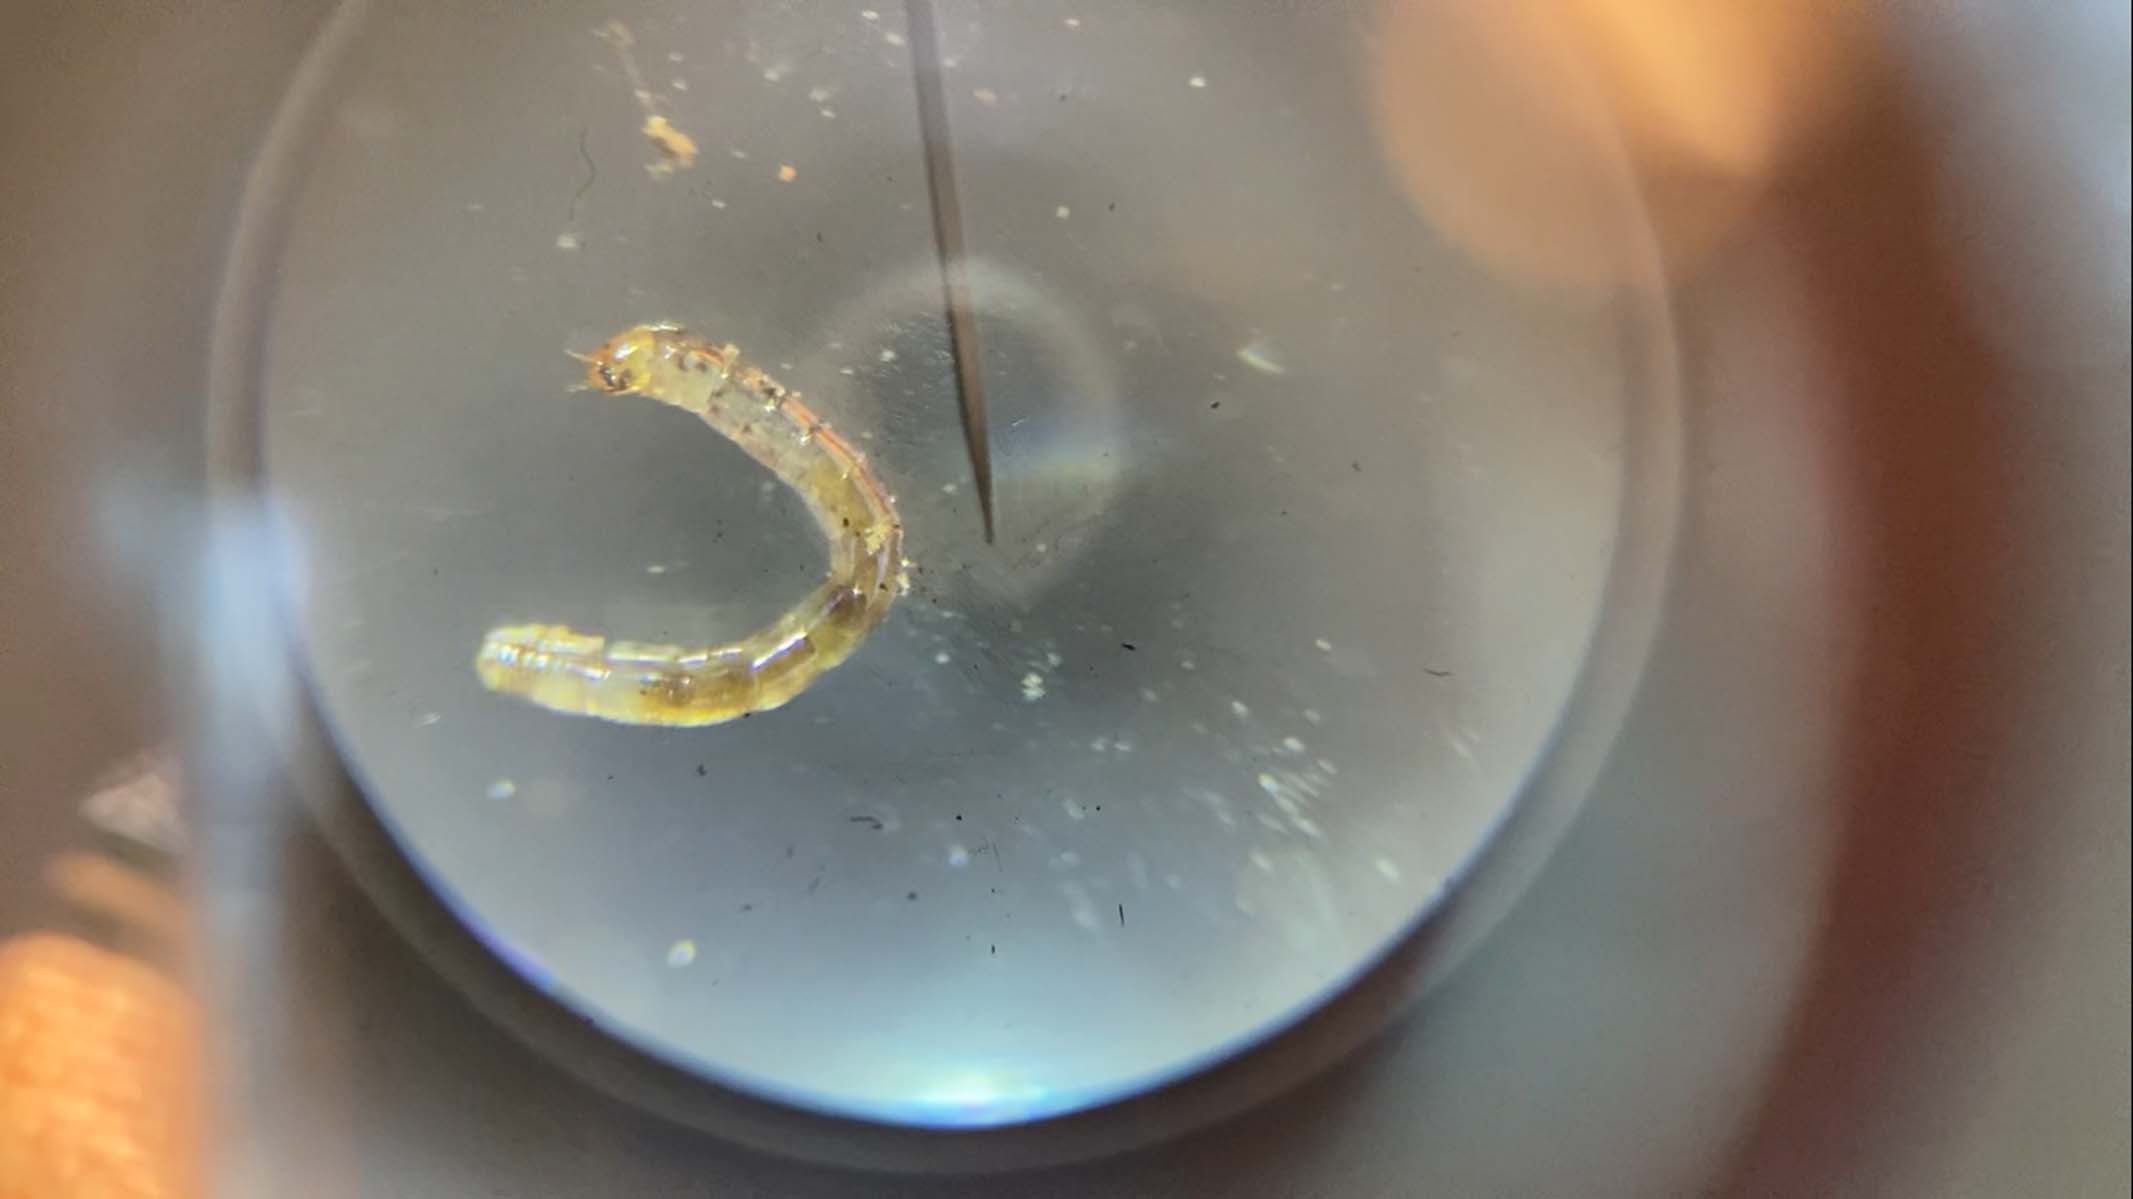
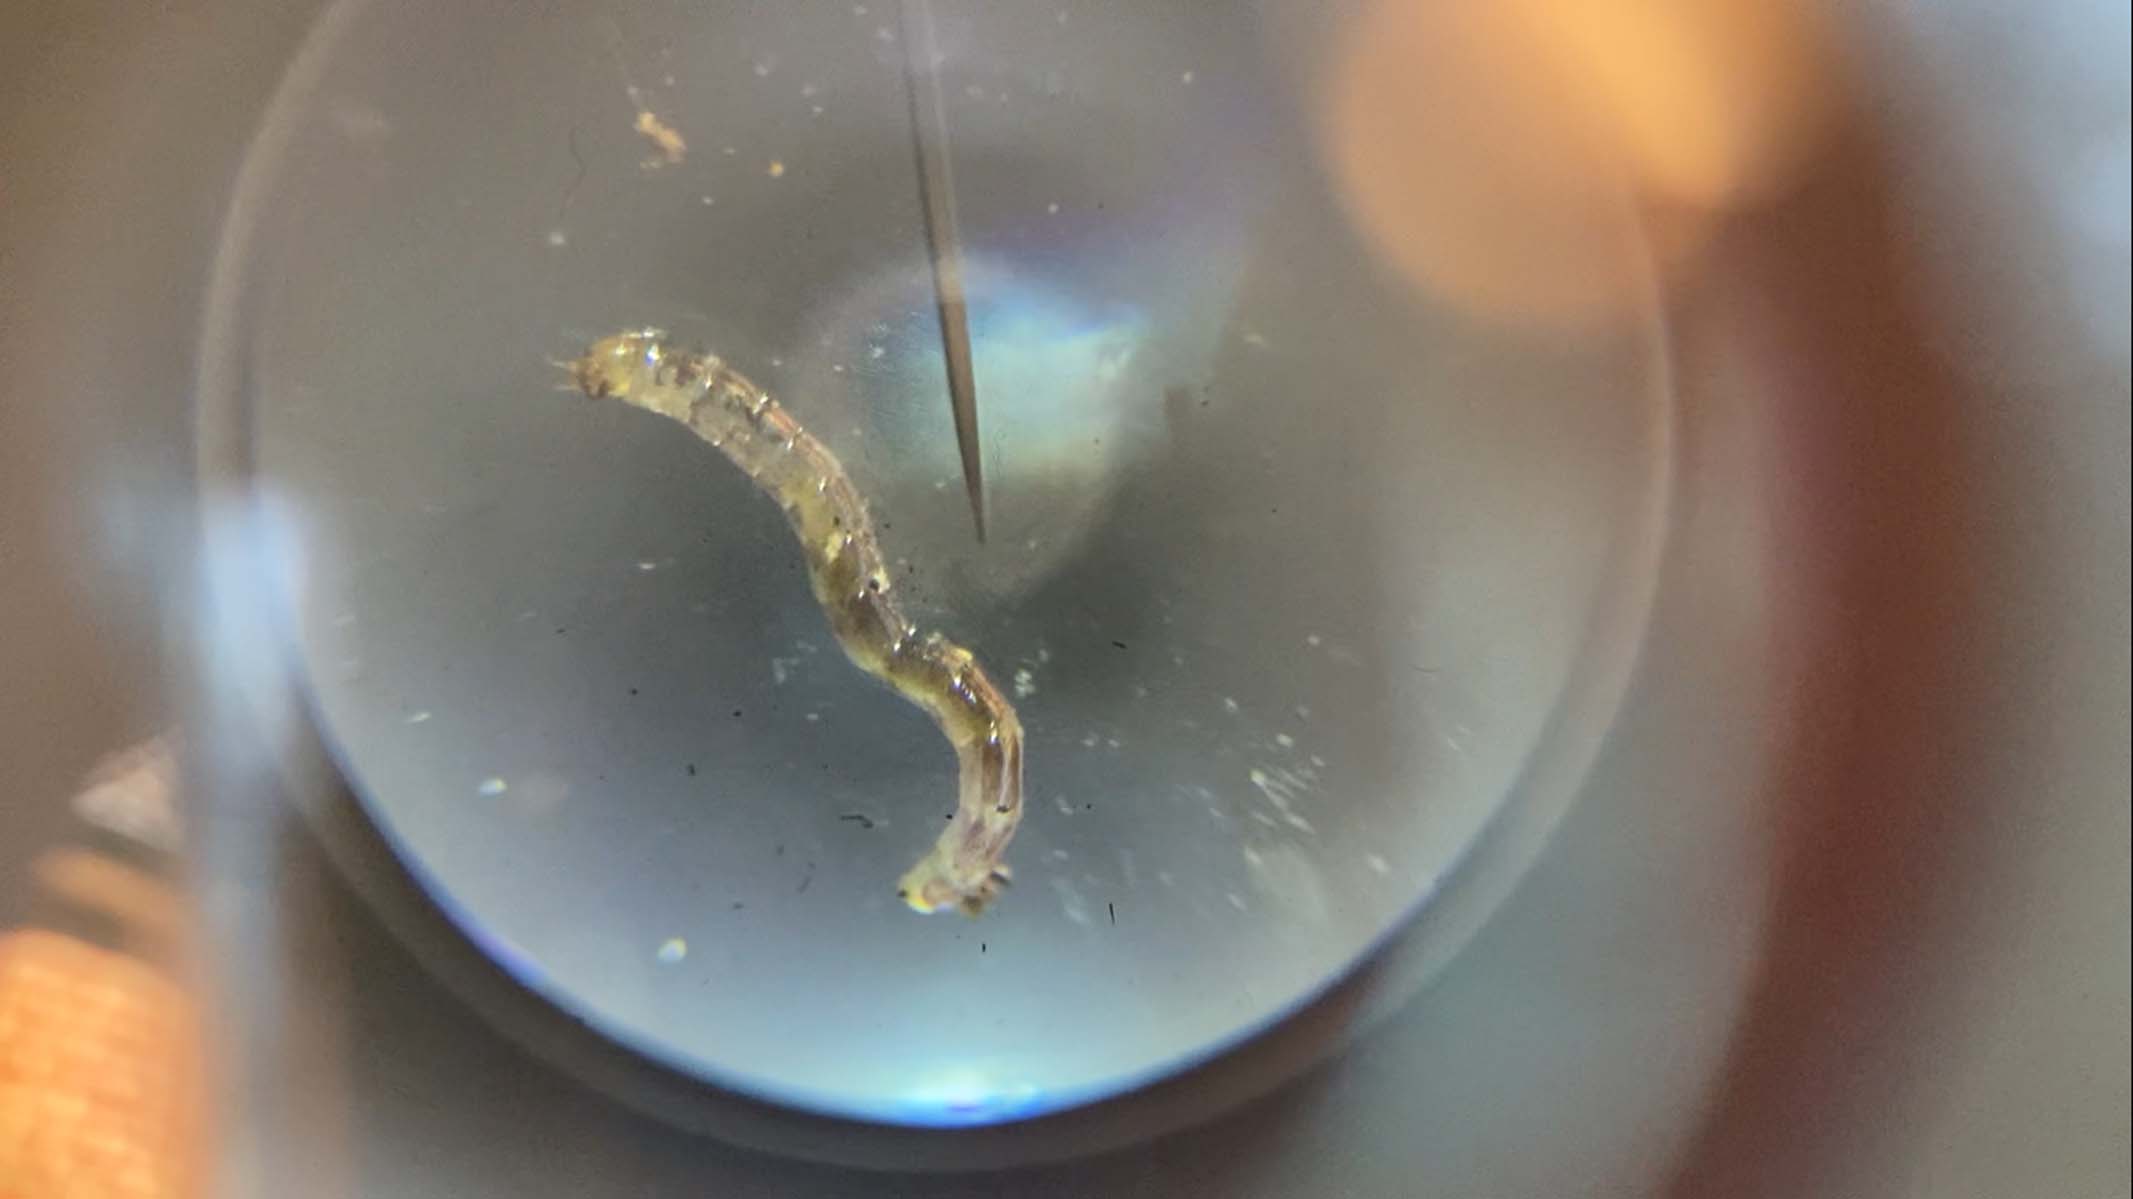
Another great field trip for you and your kids with a portable microscope is to observe live creatures and microorganisms that dwell in a pond habitat. Dip a clean container into the water to obtain your sample. Using a pipette, carefully place one generous drop onto your slide. Gently lower a coverslip on top. Look closely for amoeba, algae, water fleas, mosquito larvae, rotifers and hydra.
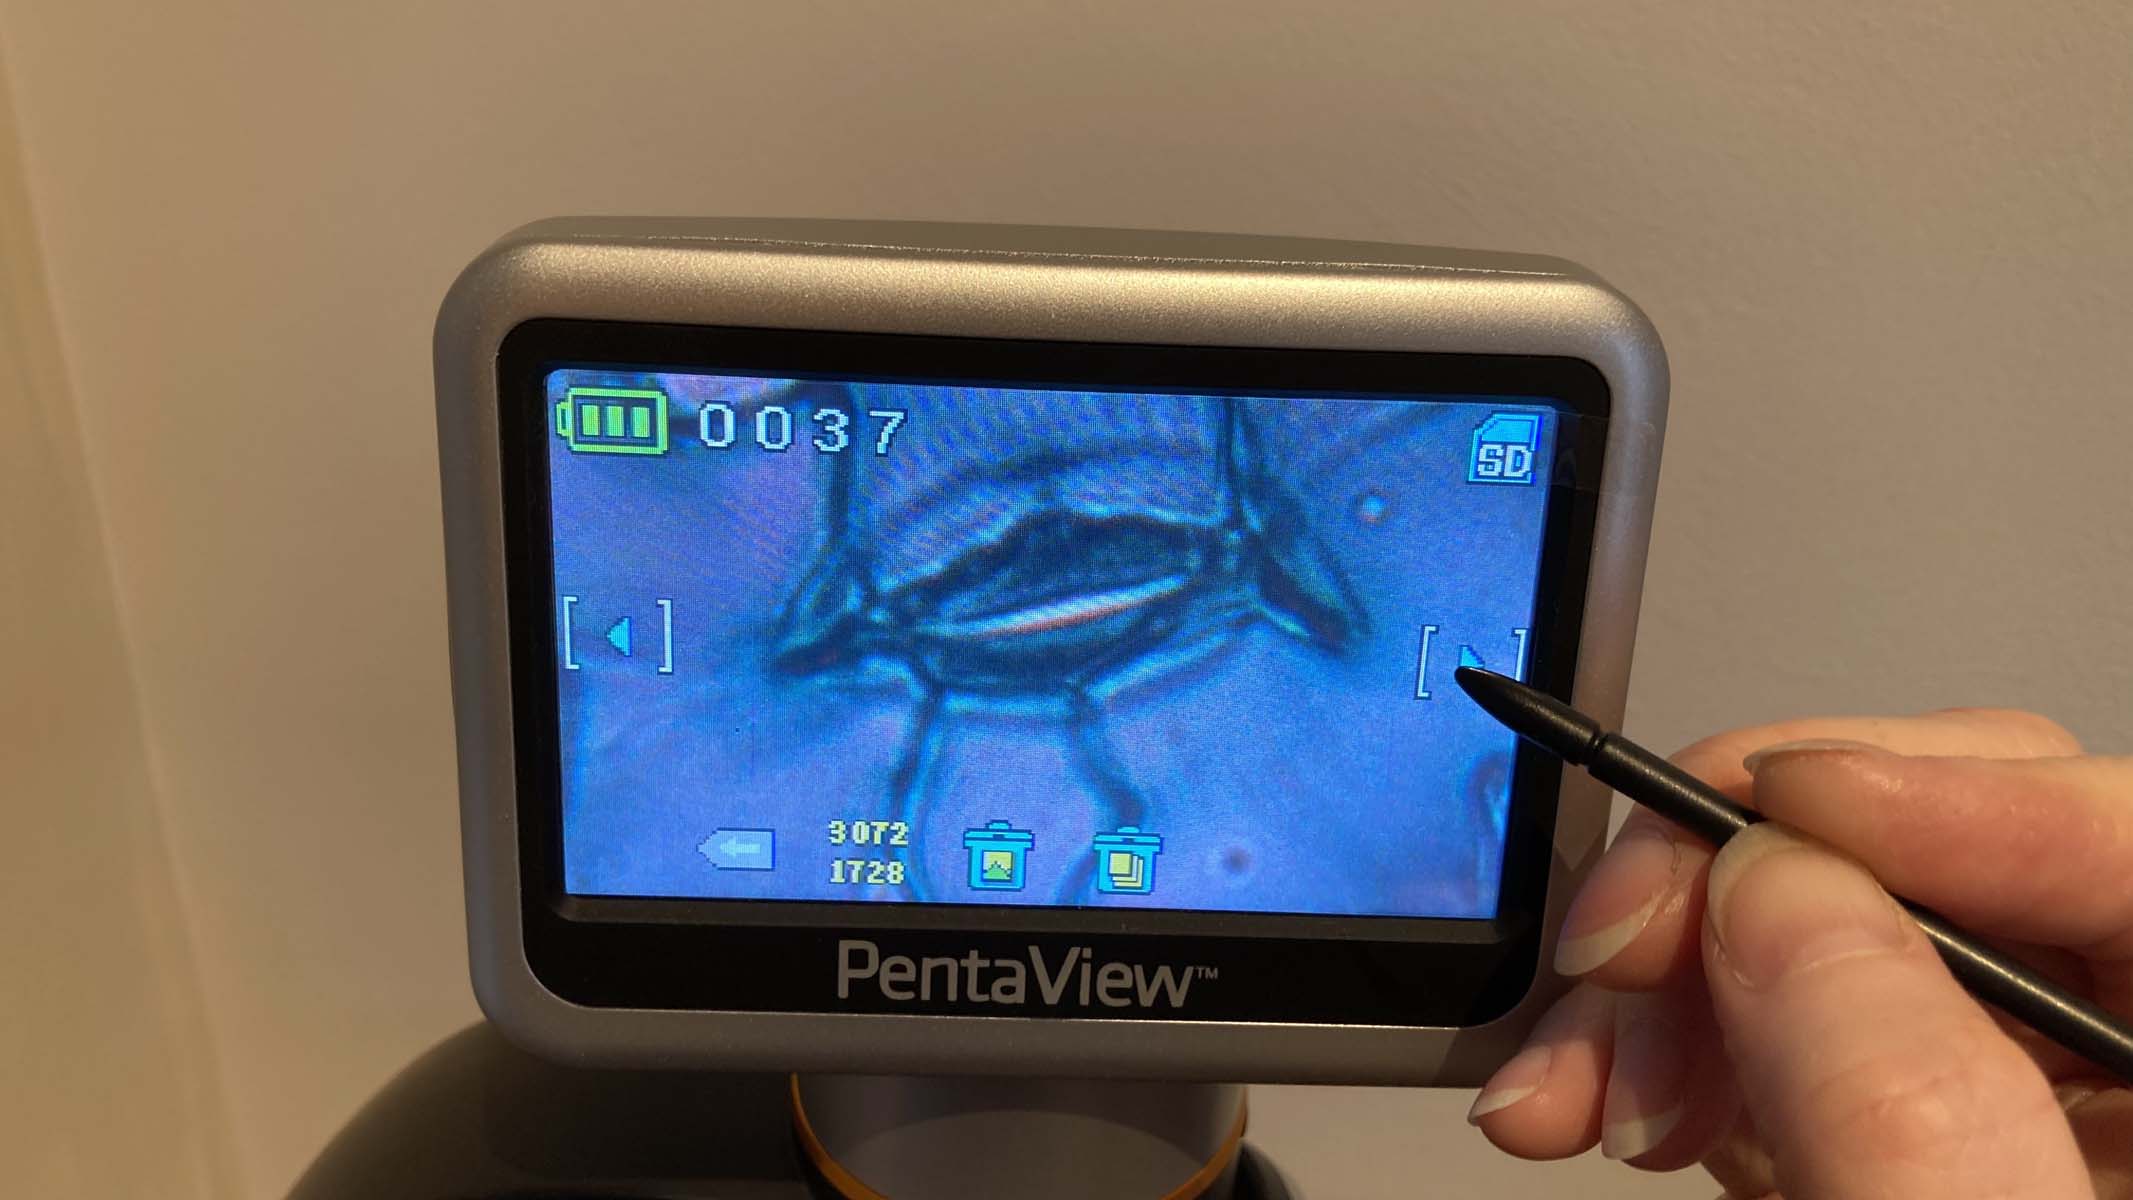
As your living mini beasts will be moving around, they can swim out of view quite quickly. Use a low magnification to achieve a wider field of view, moving the slide swiftly by hand. A digital microscope would be excellent here, as this will enable you to share what you are seeing and video your specimen in action, too.
Inside a moss cushion
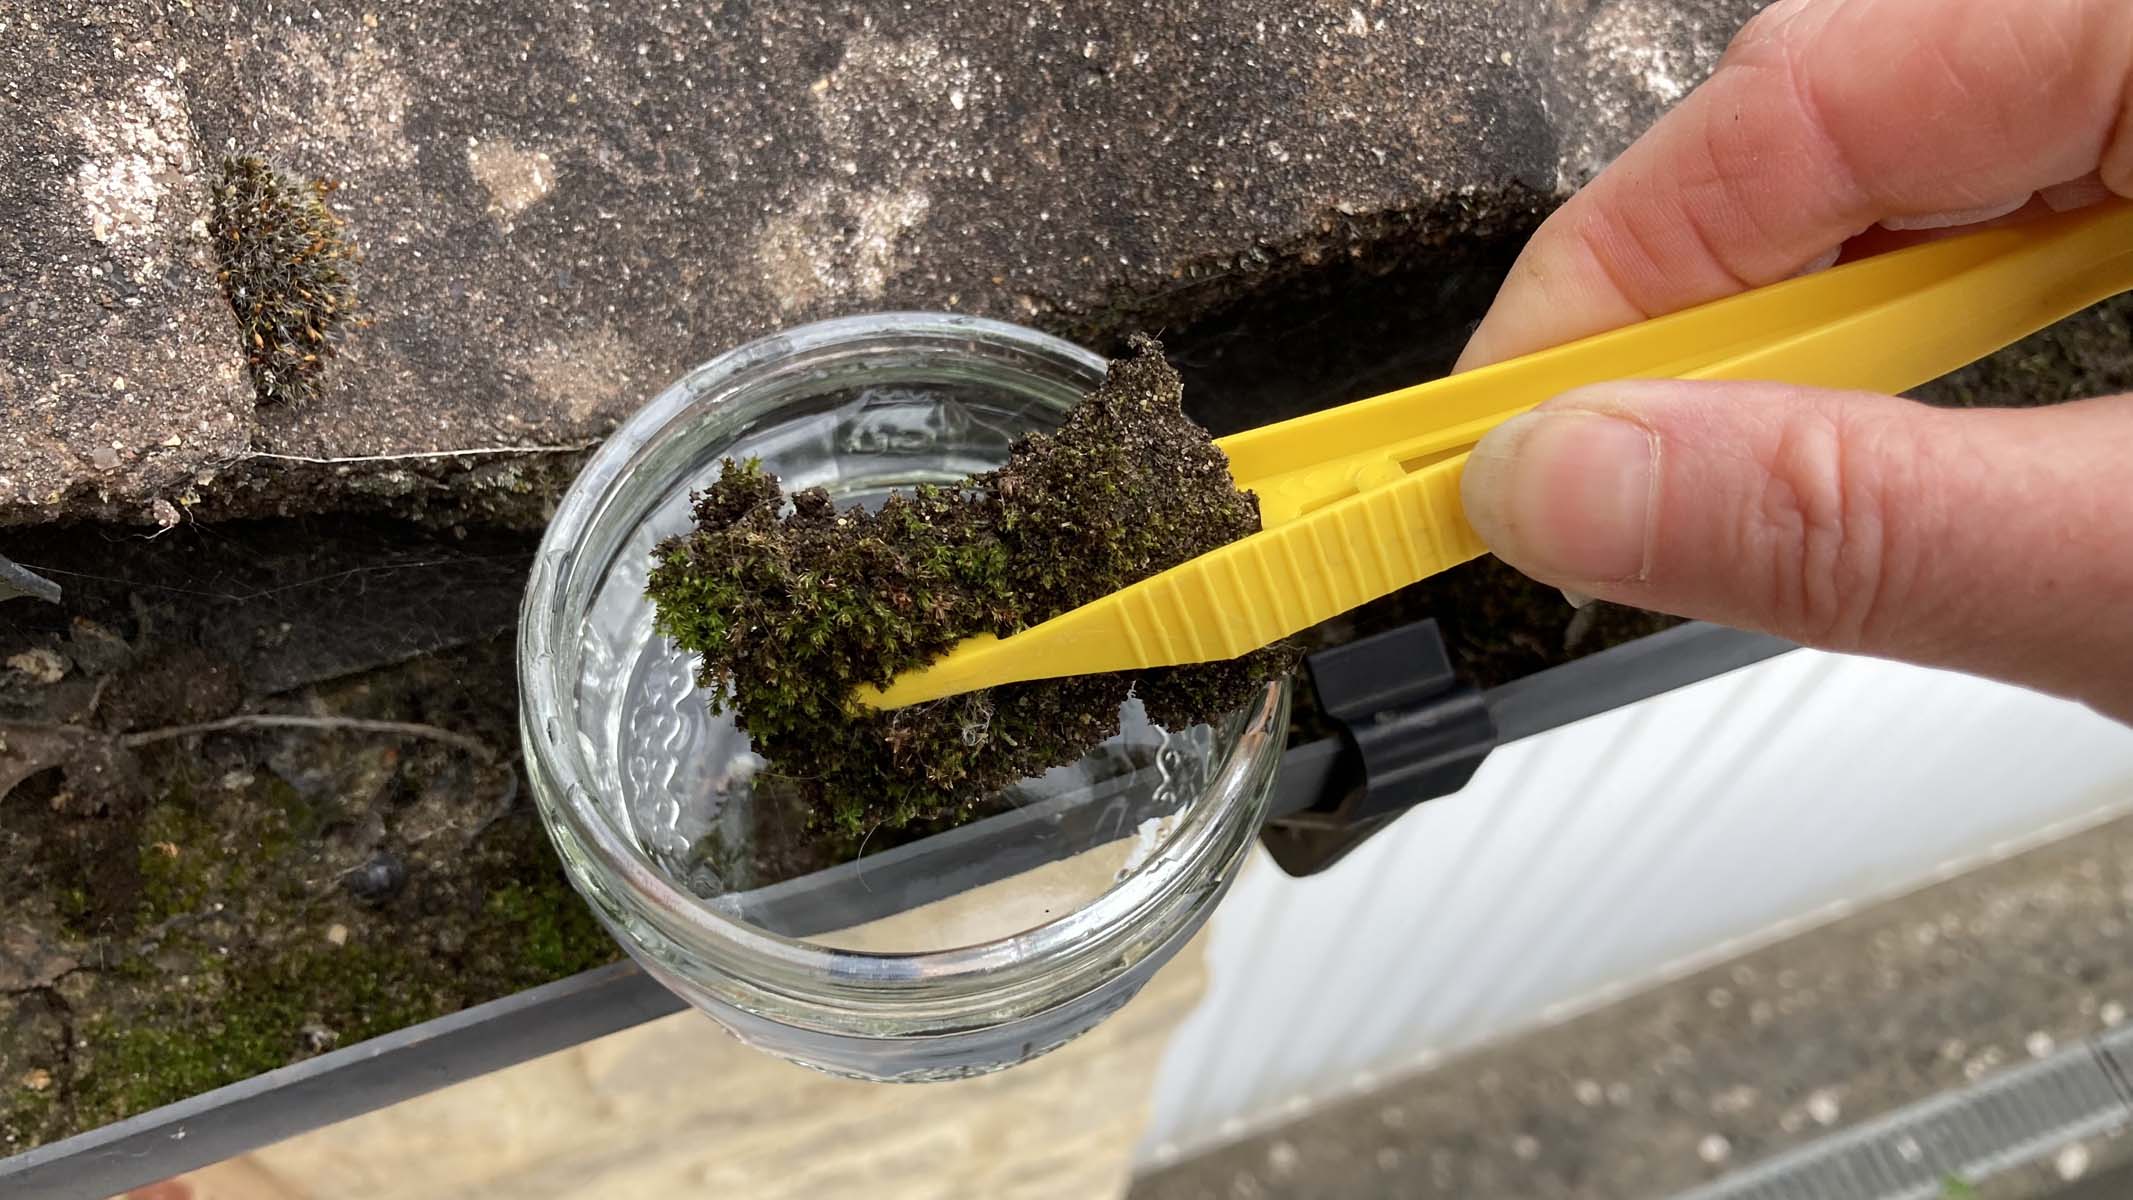
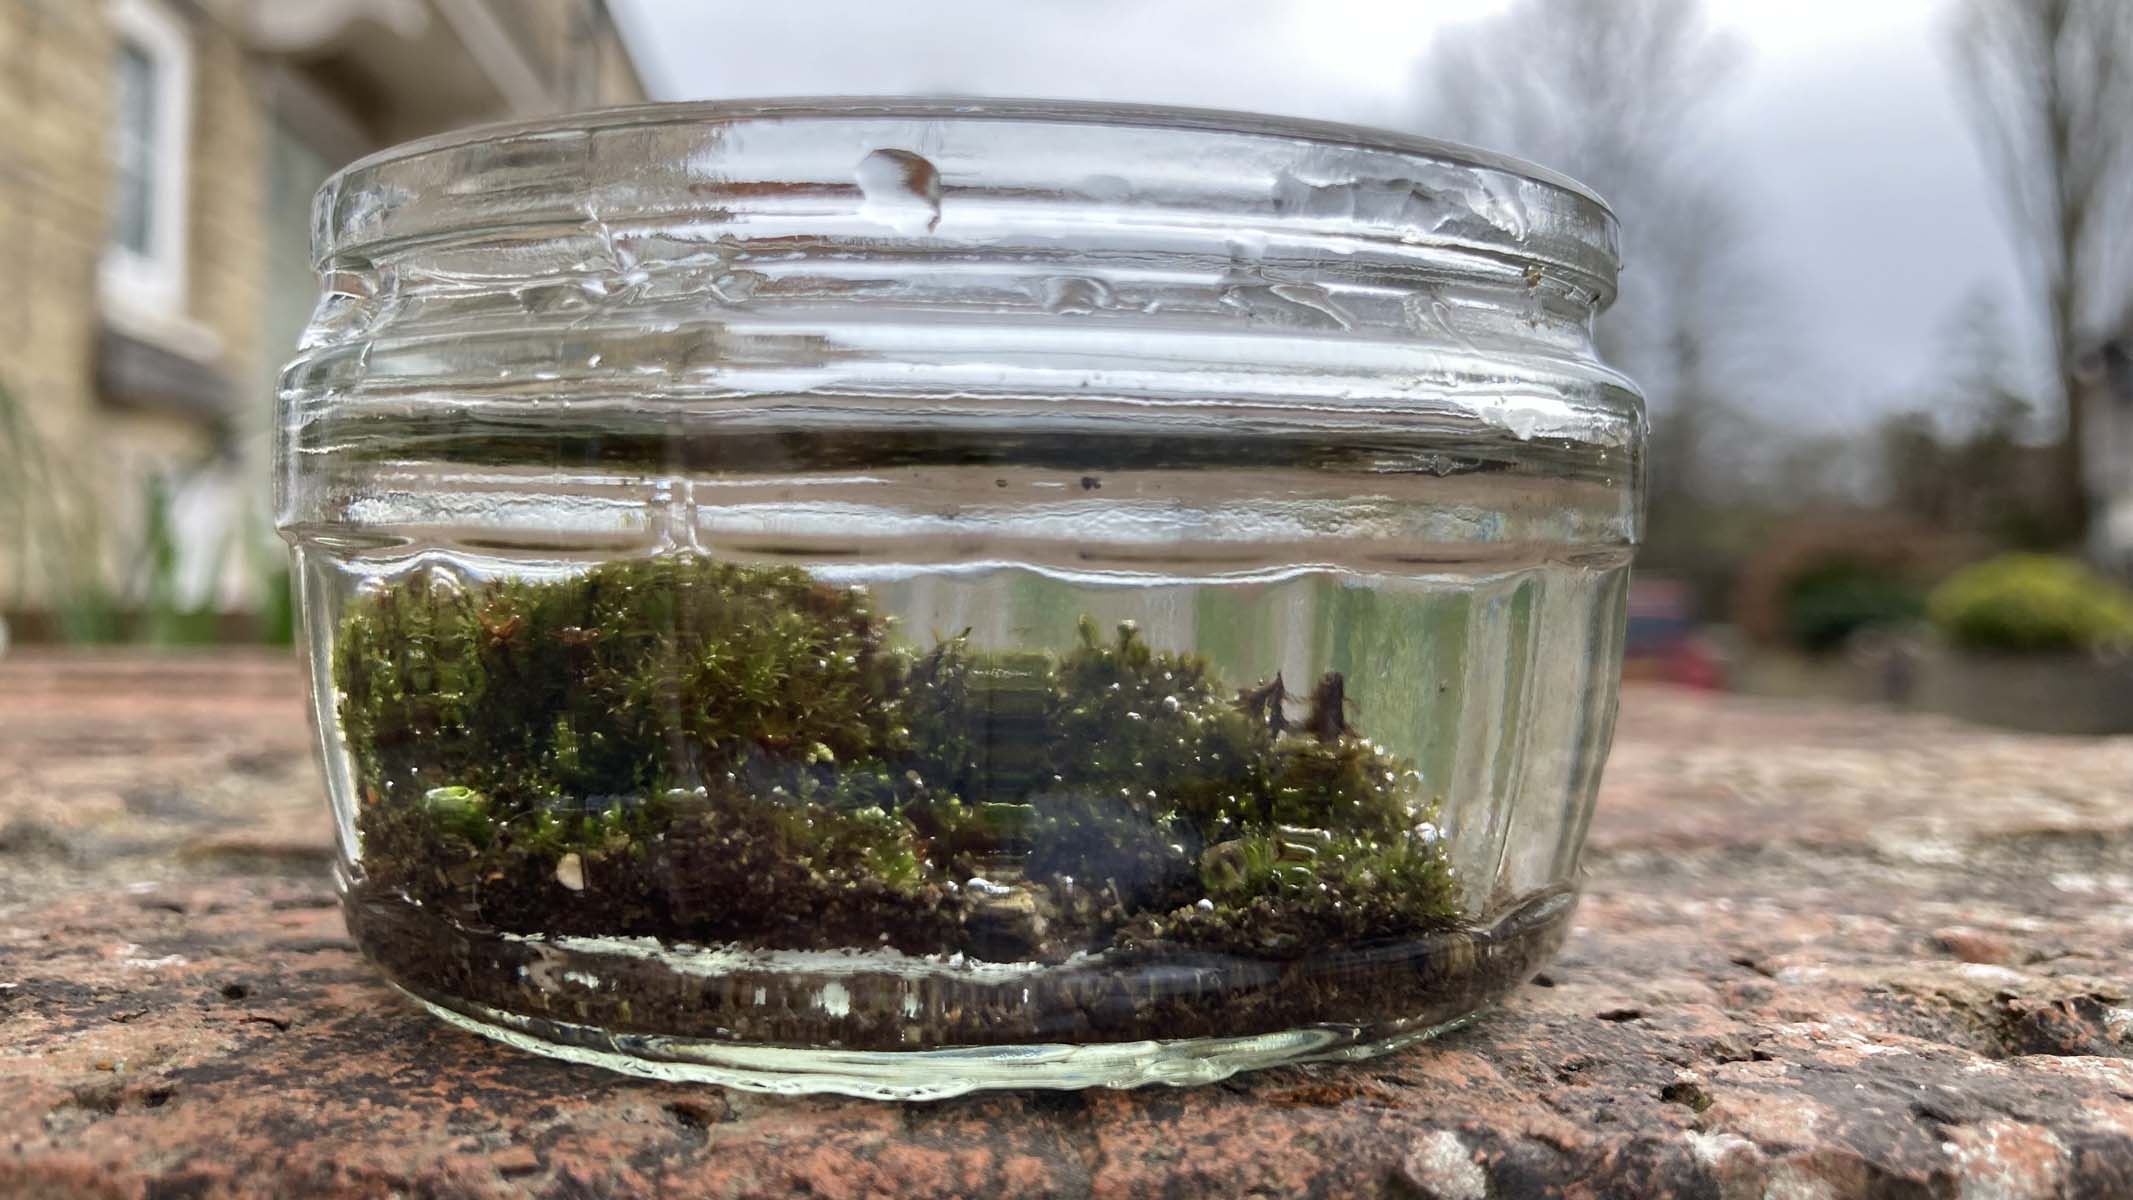
A true wonder, moss is a beautiful tiny ecosystem. Once you start investigating, you will be enthralled by the myriad of mini beasts and microorganisms living within this miniature plant habitat. Our favorite microscope for this is a portable one so we can go on a microscopy expedition. Again, a digital microscope with video function will allow you to record your living organisms.
Place a moss cushion into a beaker of water for around 30 minutes. Using a pipette, transfer a large drop of moss water onto a slide. To find those swift-swimming organisms, again, choose low magnification for a wide field of view. Keep your eyes peeled for tardigrades, rotifers, nematodes, amoeba and euglena.
Onion epidermis
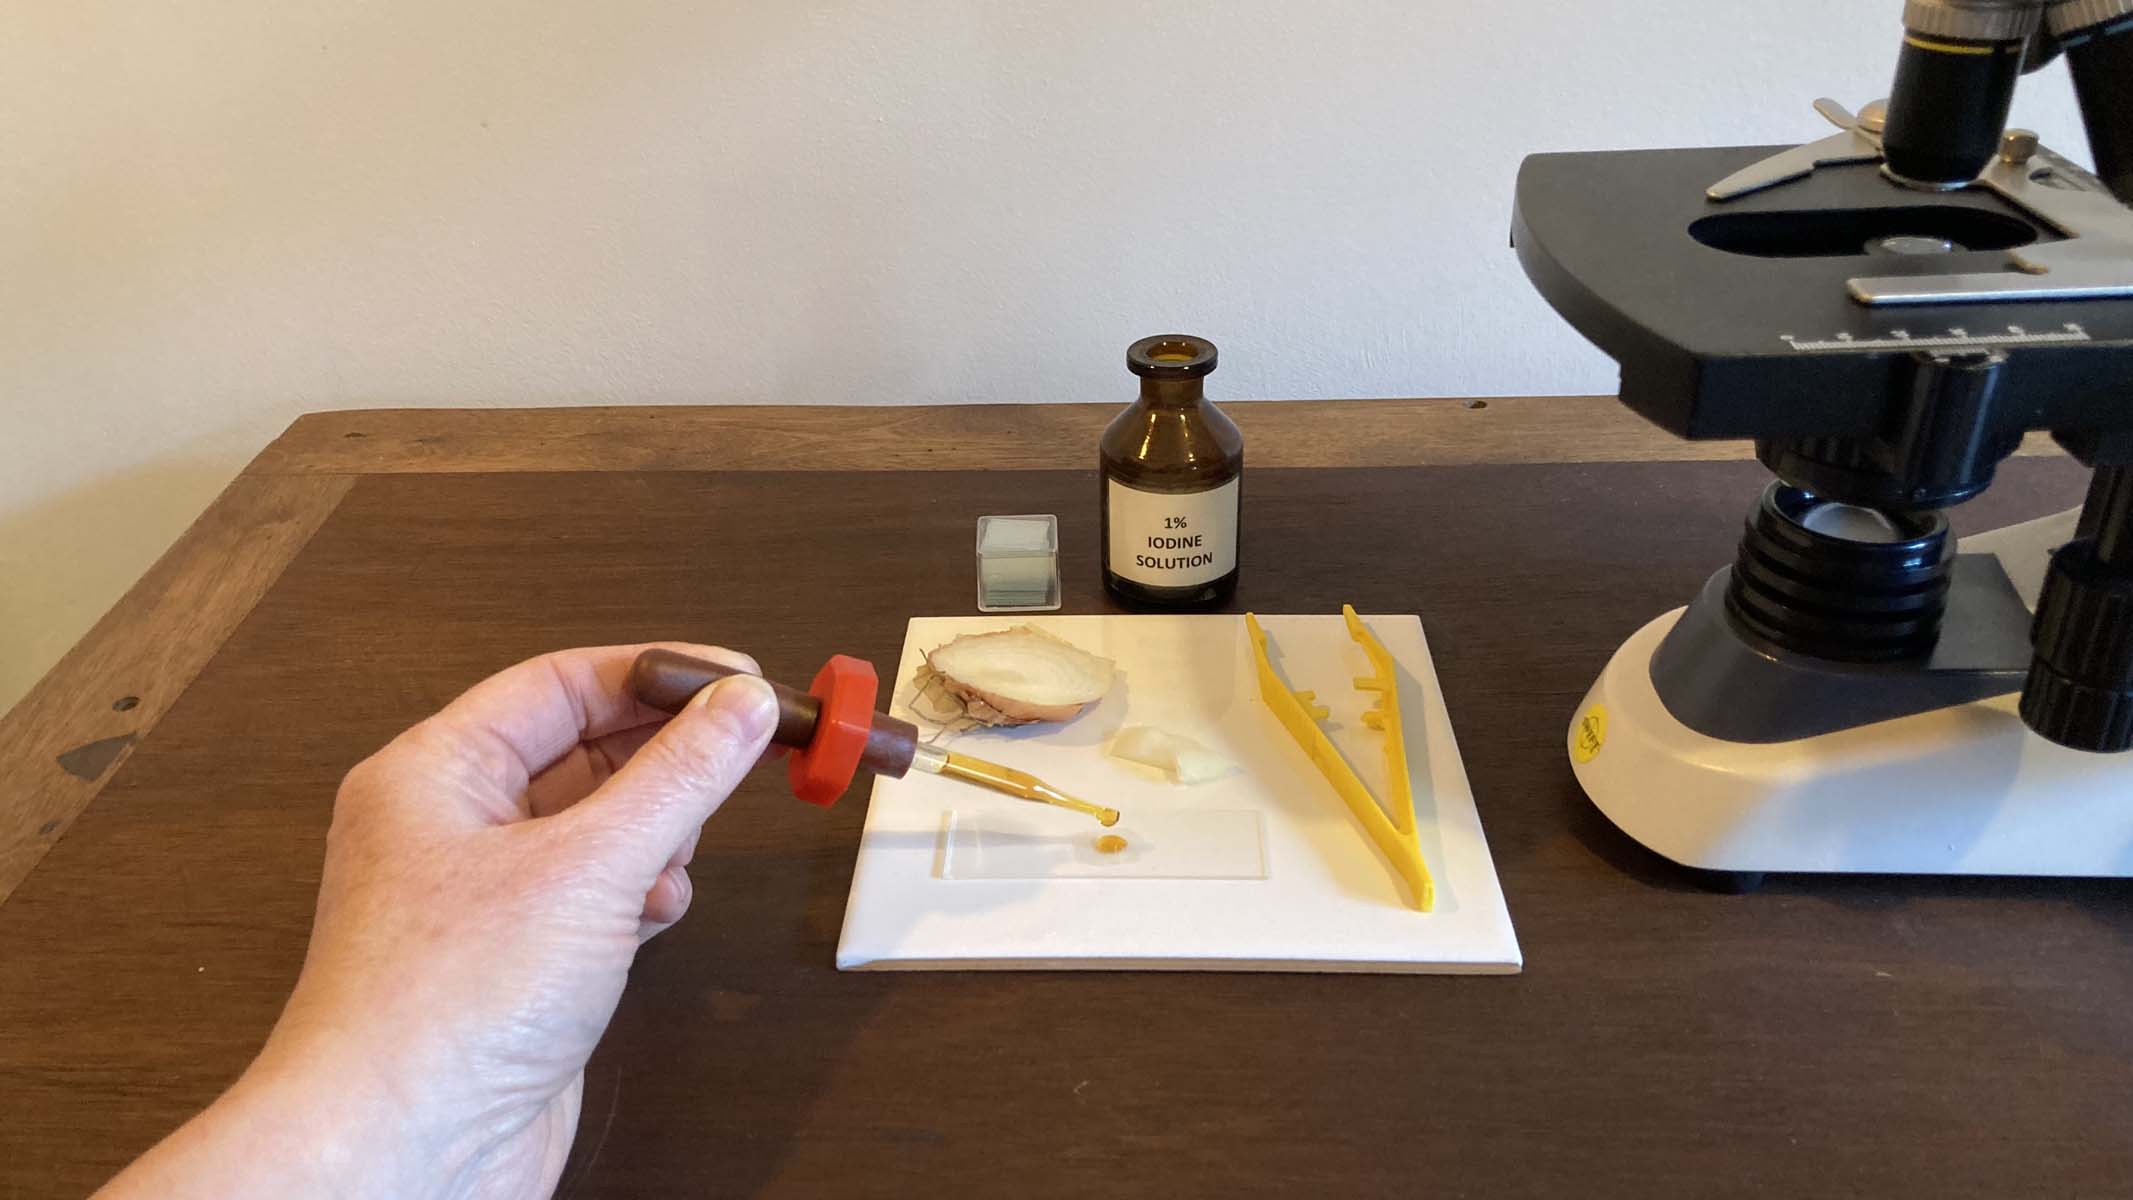
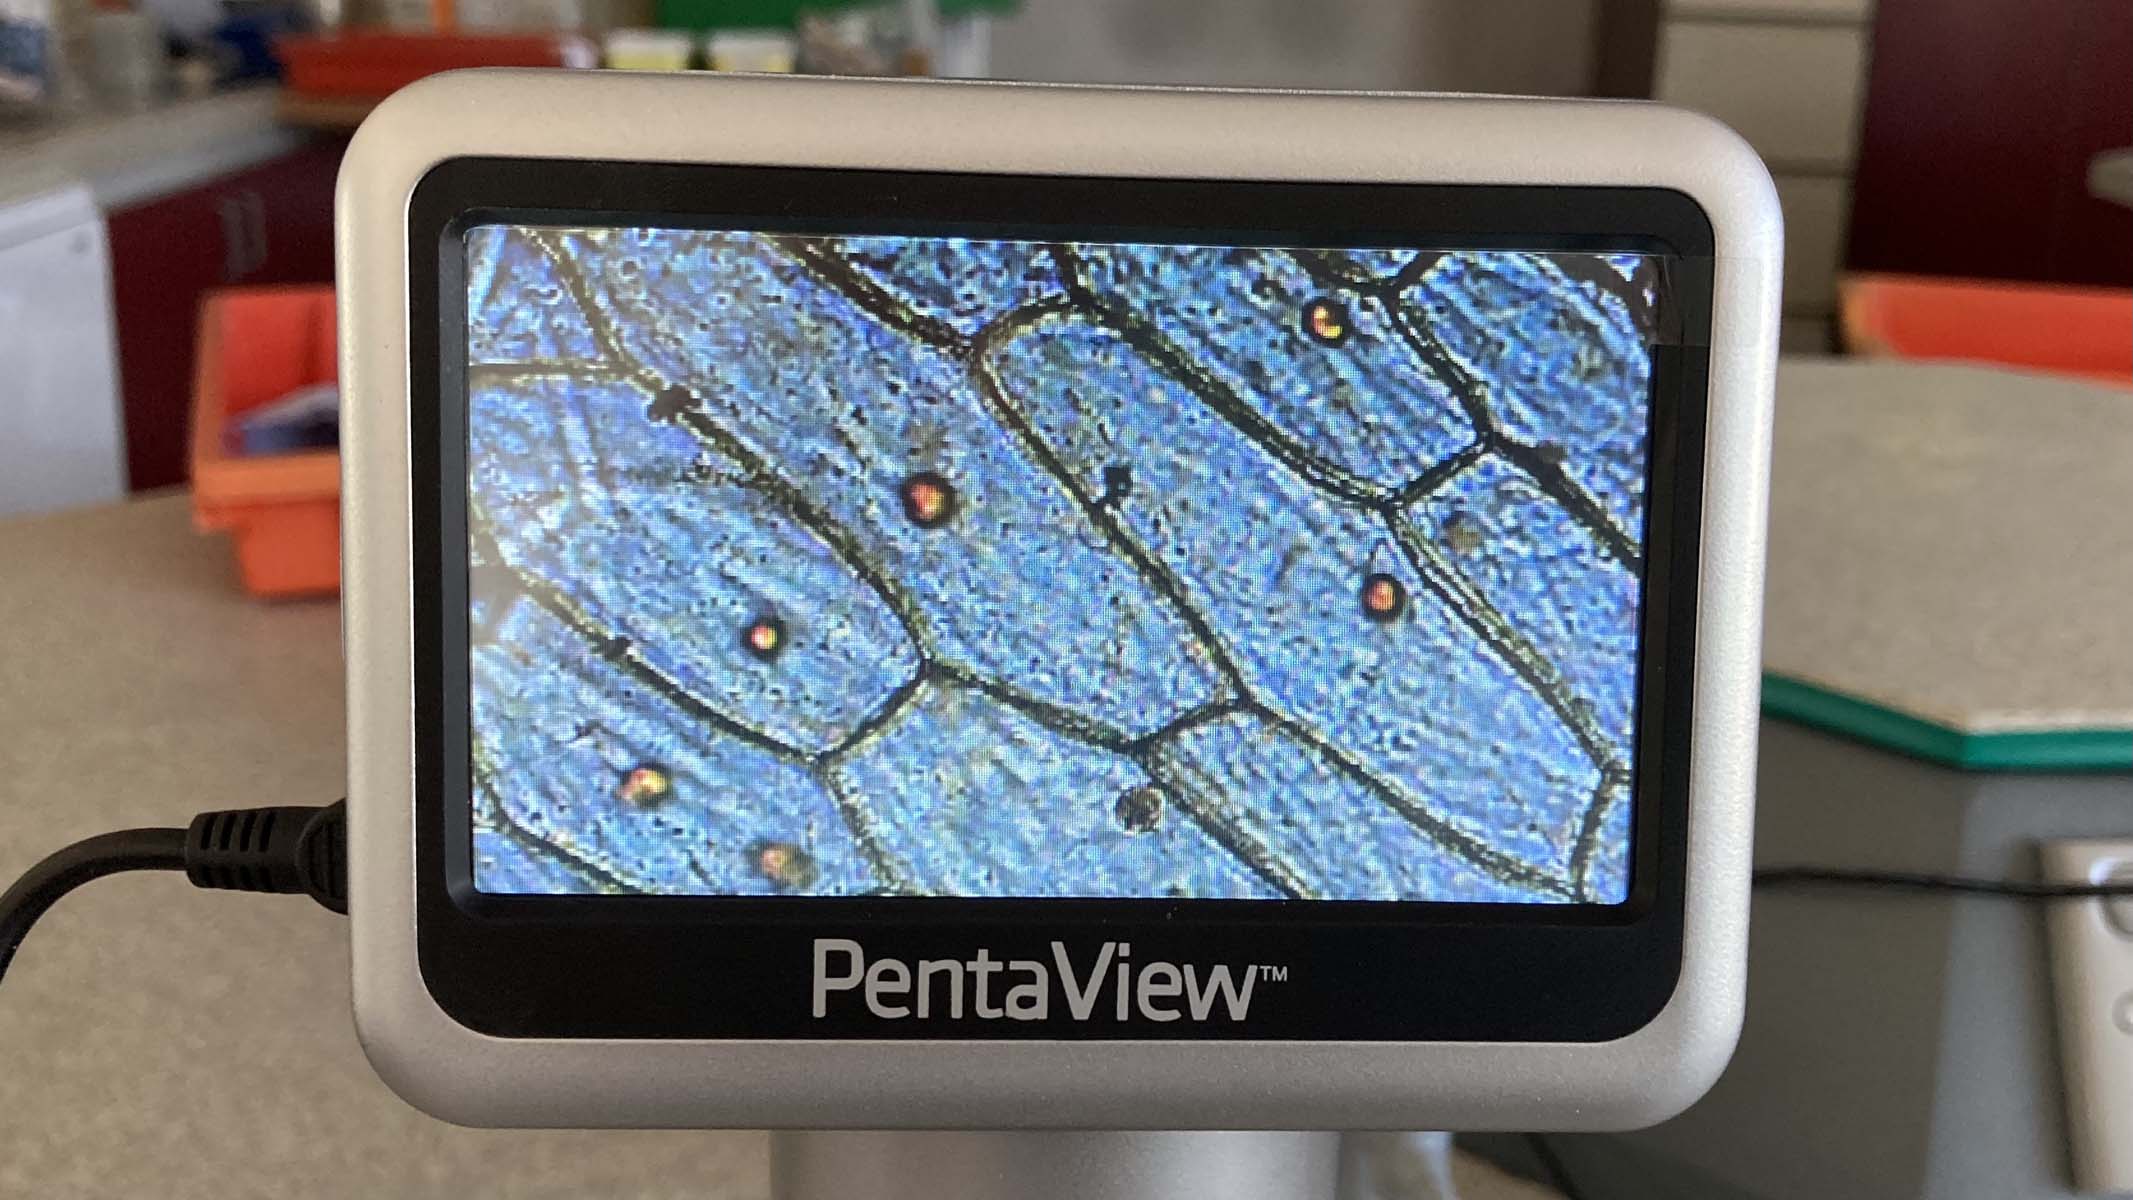
Onion cell slides are quick and simple to prepare. With tweezers, remove the inner membrane from between the layers of an onion. Place a small (5mm) section in the centre of a slide. Add one drop of iodine and carefully place a coverslip on top of your specimen.
With a wide field of view and low magnification, navigate to the torn edge as this is more likely to consist of a single layer of cells. Irregular, rectangular cells will appear compact, like a brick wall. At higher magnification you should see cells separated by a cell wall and membrane, and the nucleus will be pushed to the edge by cell sap. You won’t find any chloroplasts, though, as onions grow underground!
Cheek cells
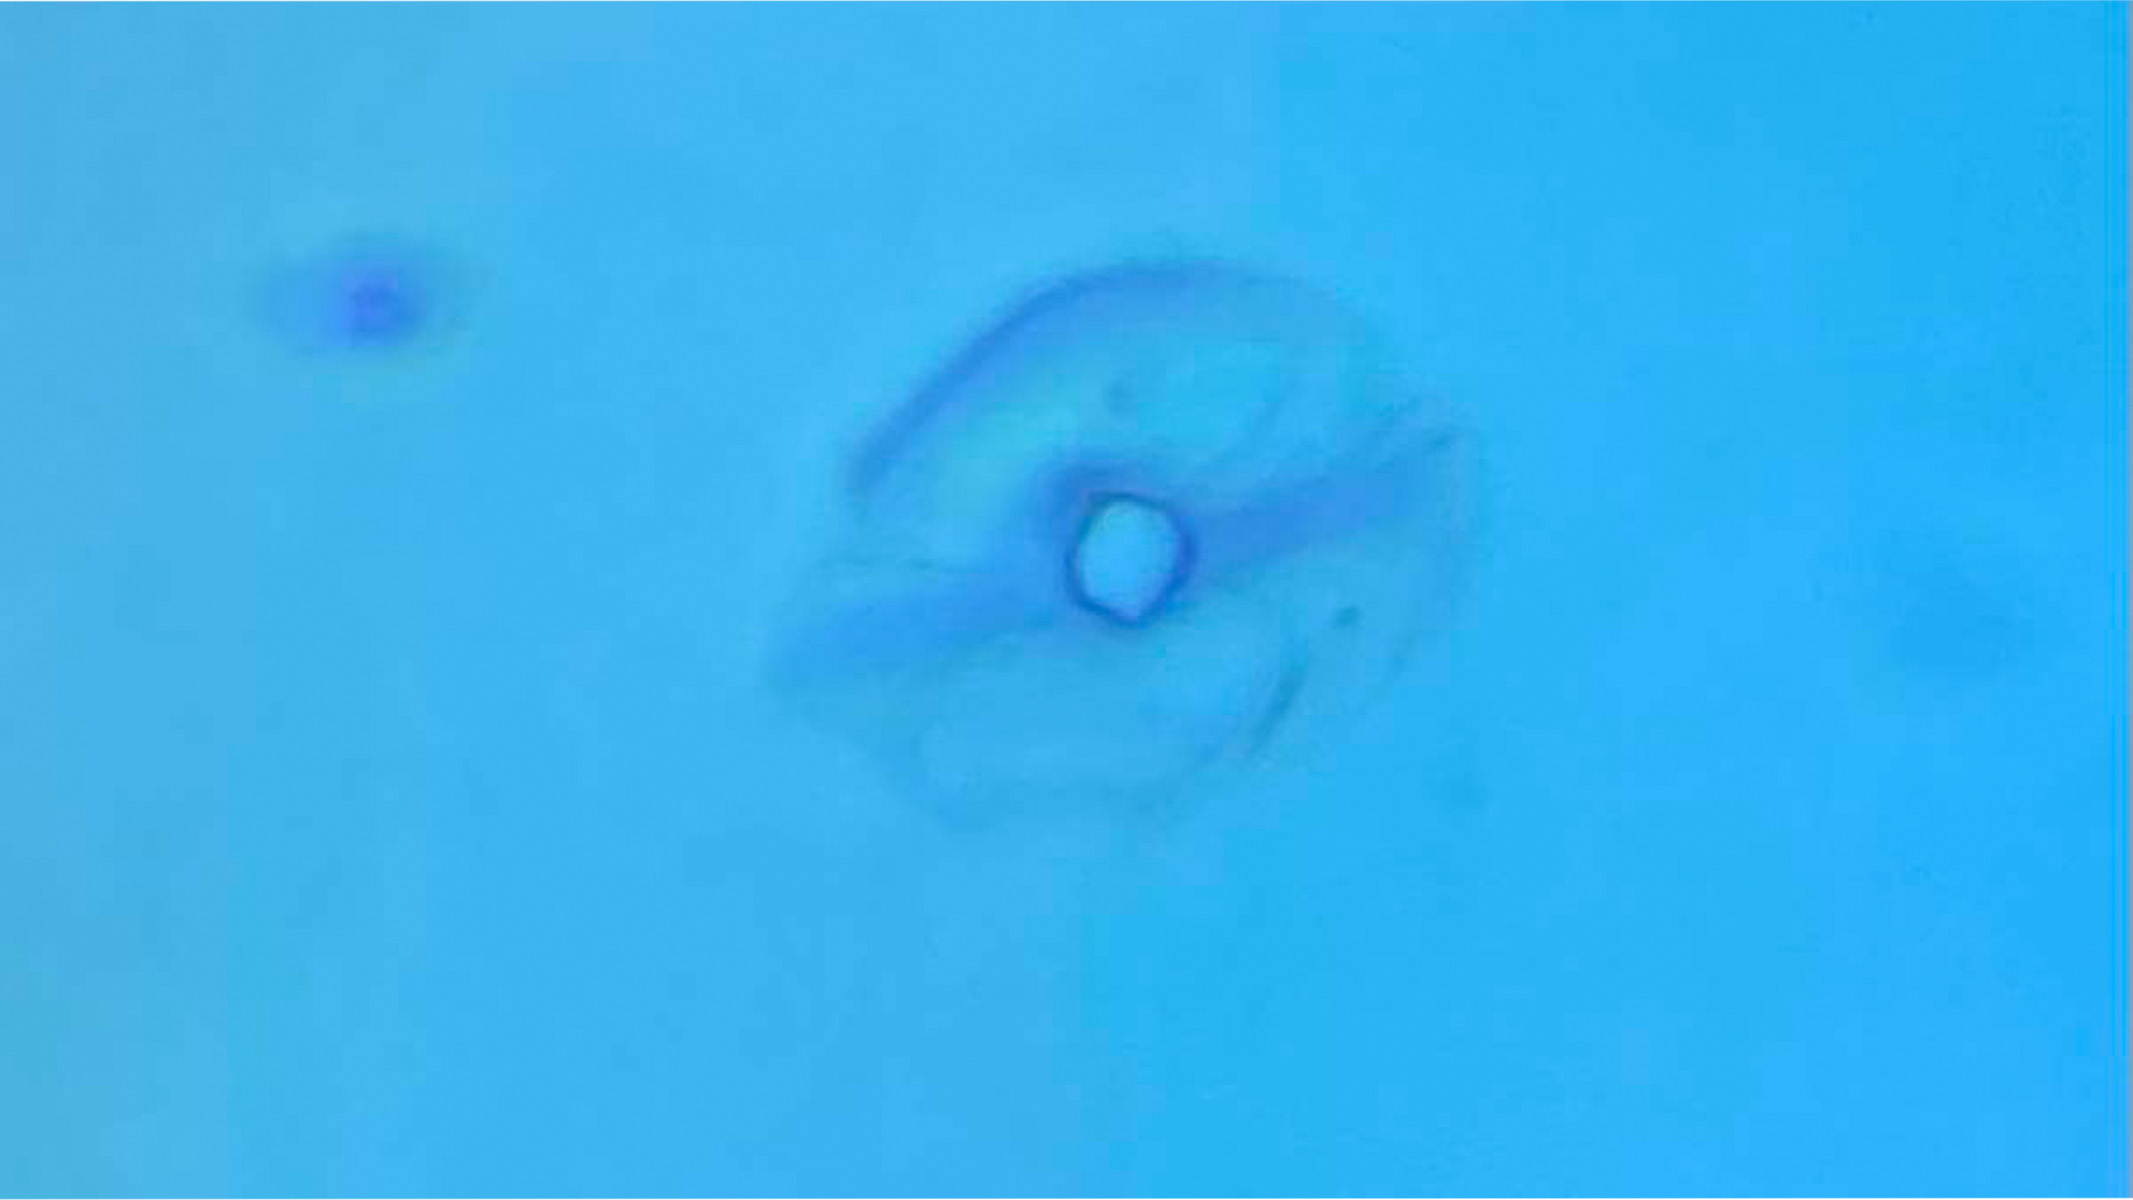
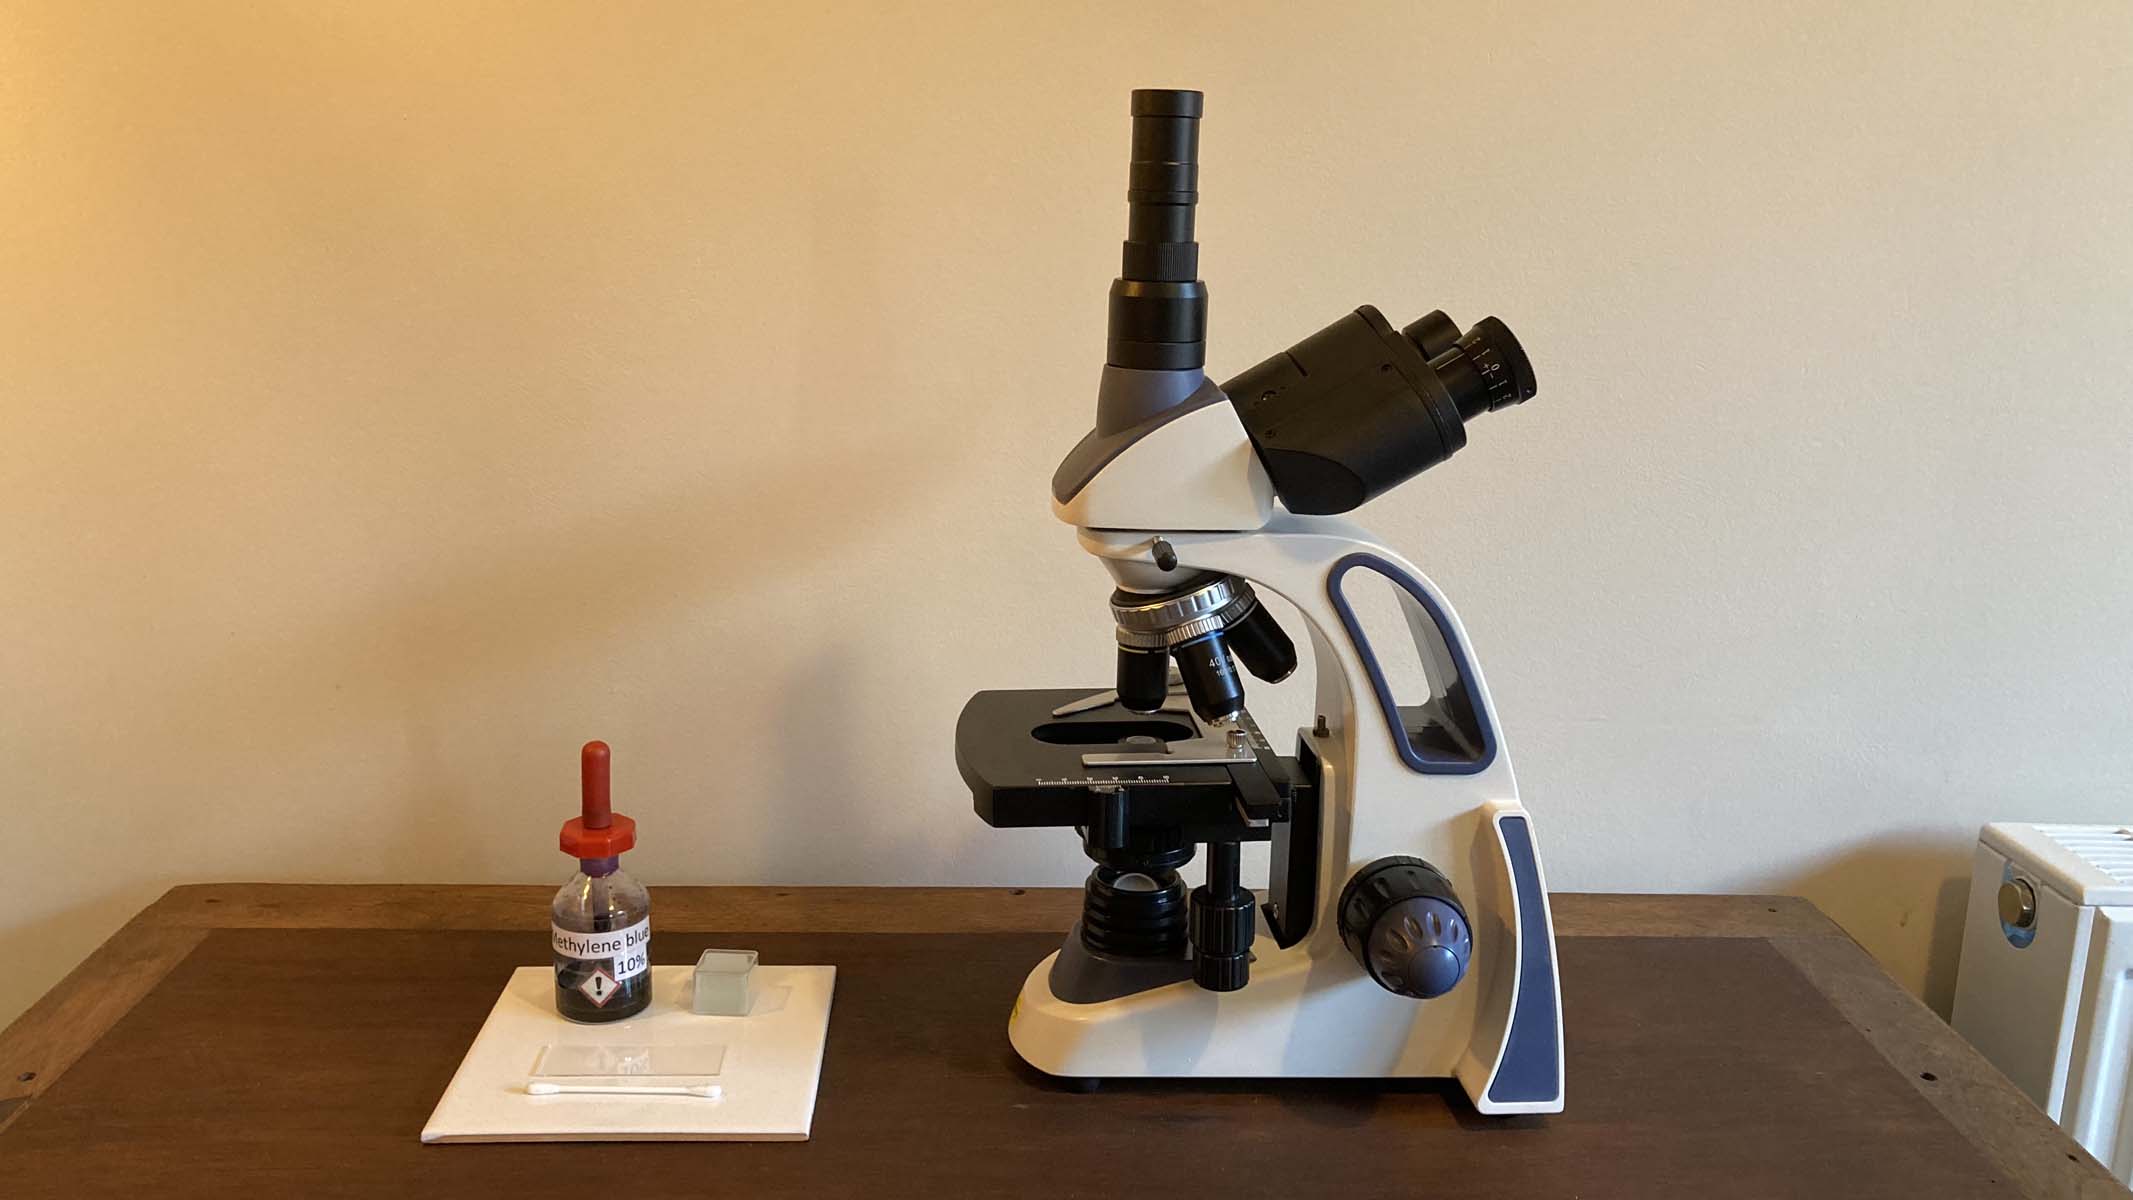
Human cheek cells, an example of animal cells, are easily swabbed from the inside of the mouth. Firmly swipe the inner surface of your cheek with the tip of a cotton bud, so that it pushes the cheek outwards slightly, without damaging your skin. Next, transfer the sample onto a glass slide by rolling the tip in the centre of the glass. Add one drop of methylene blue stain. Gently lower a coverslip on top.
Use a compound microscope with the smallest magnification to locate the cells; which resemble tiny fried eggs. Increase the magnification to see any internal structures. The large blue circle is the nucleus. From 400X magnification, you may also see tiny dots, which could be mitochondria.


