


With the huge range of microscopes on the market, many specific problems can arise and your first port of call should always be the user manual. This should highlight any particular nuances of your instrument: restriction knobs, lighting options and working distance adjusters, to name but a few. Neglecting to read the manual can be the biggest mistake of all, so start there.
However, there are a number of generic mistakes that can lead to frustration and dissatisfaction. These include choosing the wrong type of microscope, believing that high magnification is always the best option, damaging your slides or lenses, focusing on the wrong layer of your slide and giving yourself aches and pains from bad posture or technique.
Fortunately, these issues are easily solved or prevented, so that you can enjoy examining the wonderful yet minuscule world around you.
Choosing the wrong type of microscope
The biggest disappointment when using your new microscope for the first time is realising that it is not fit for purpose because you bought the wrong type. It doesn’t matter how good a microscope is, if it can’t do the job you want it to, it will be very upsetting.
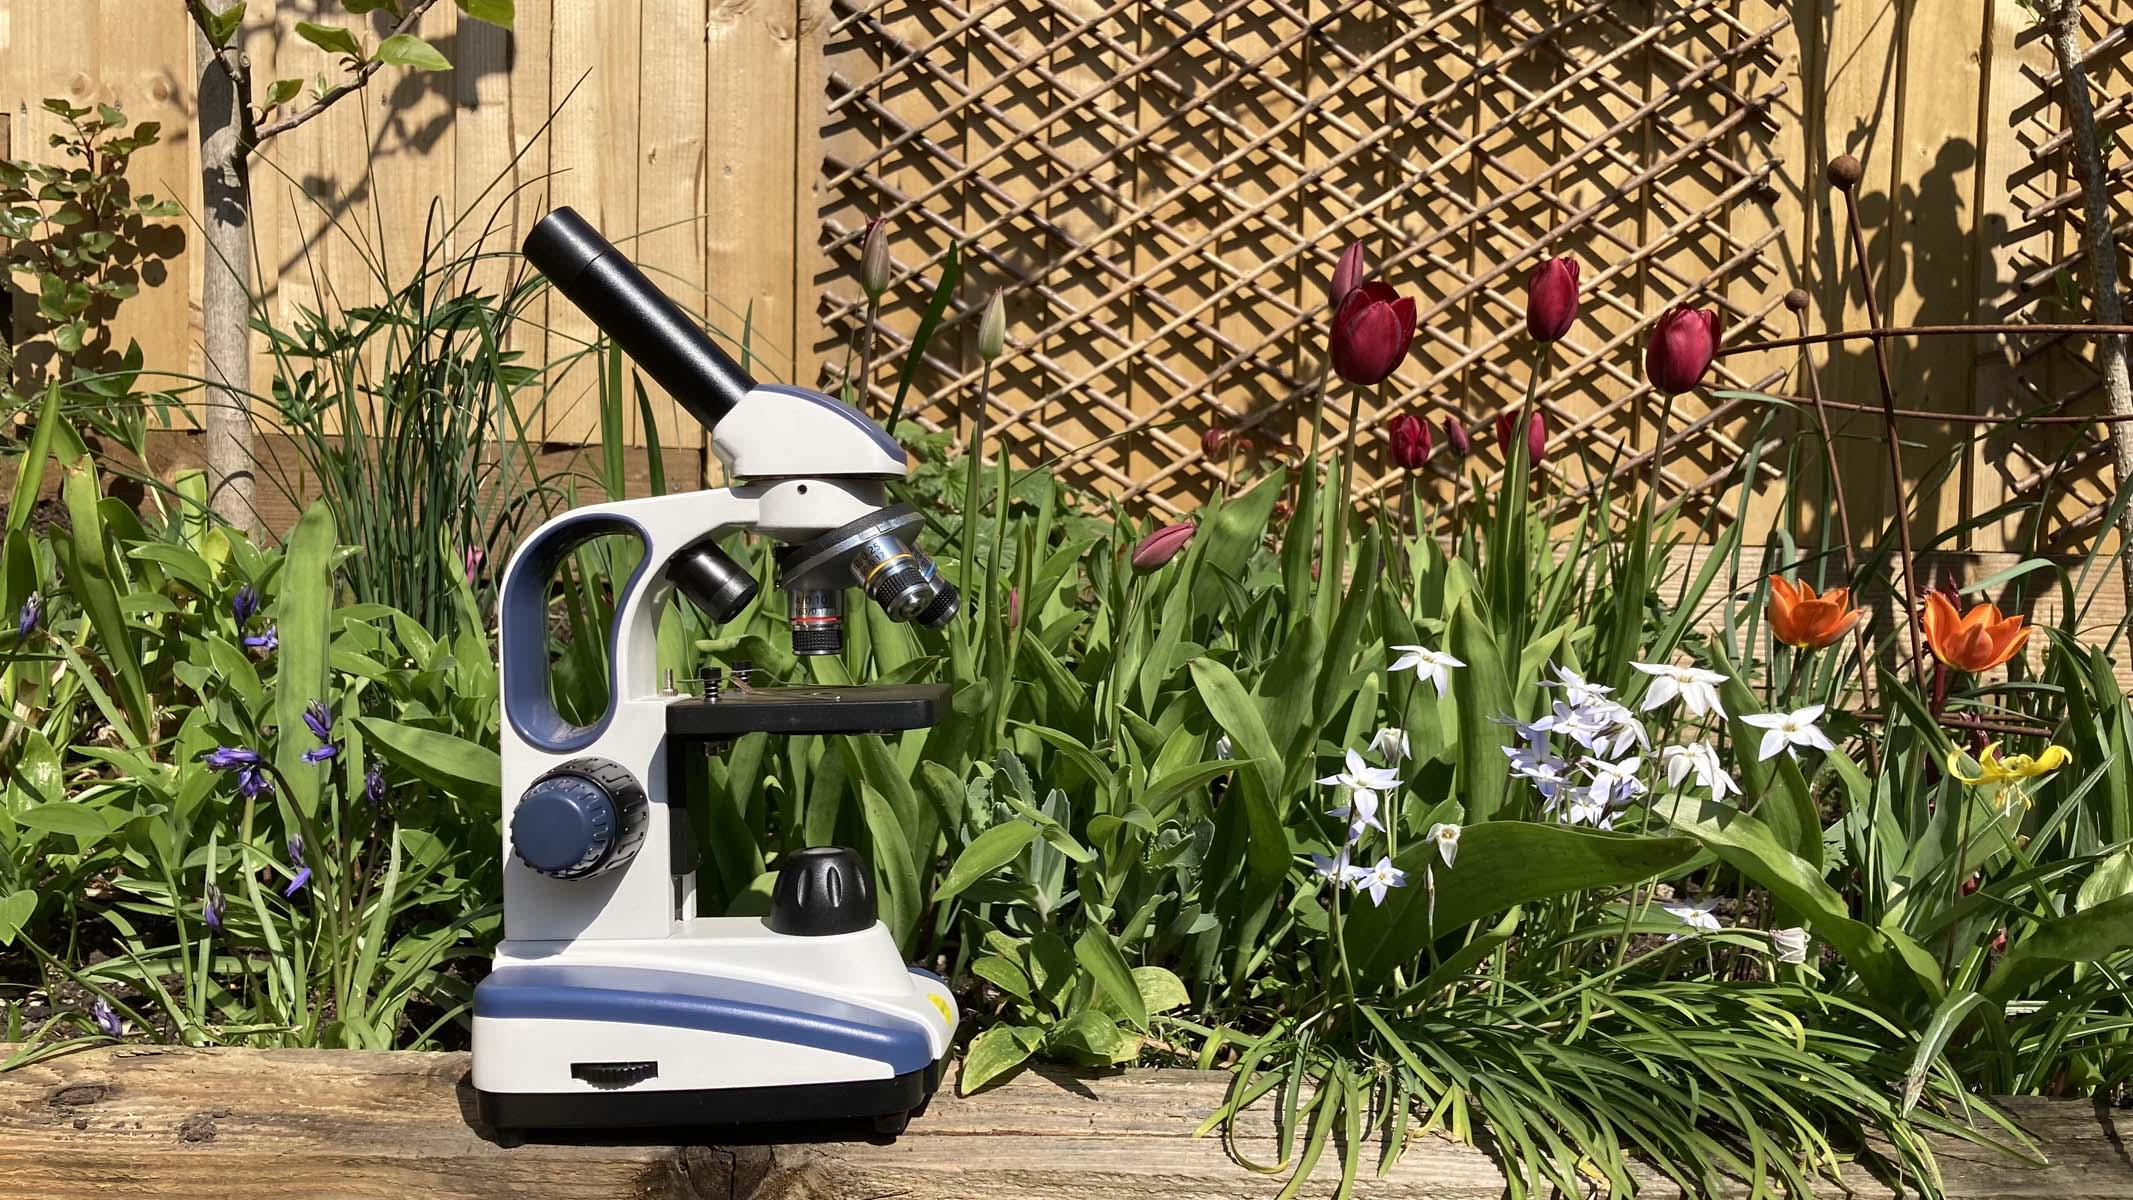
Here is a breakdown of the main uses for the different microscopes.
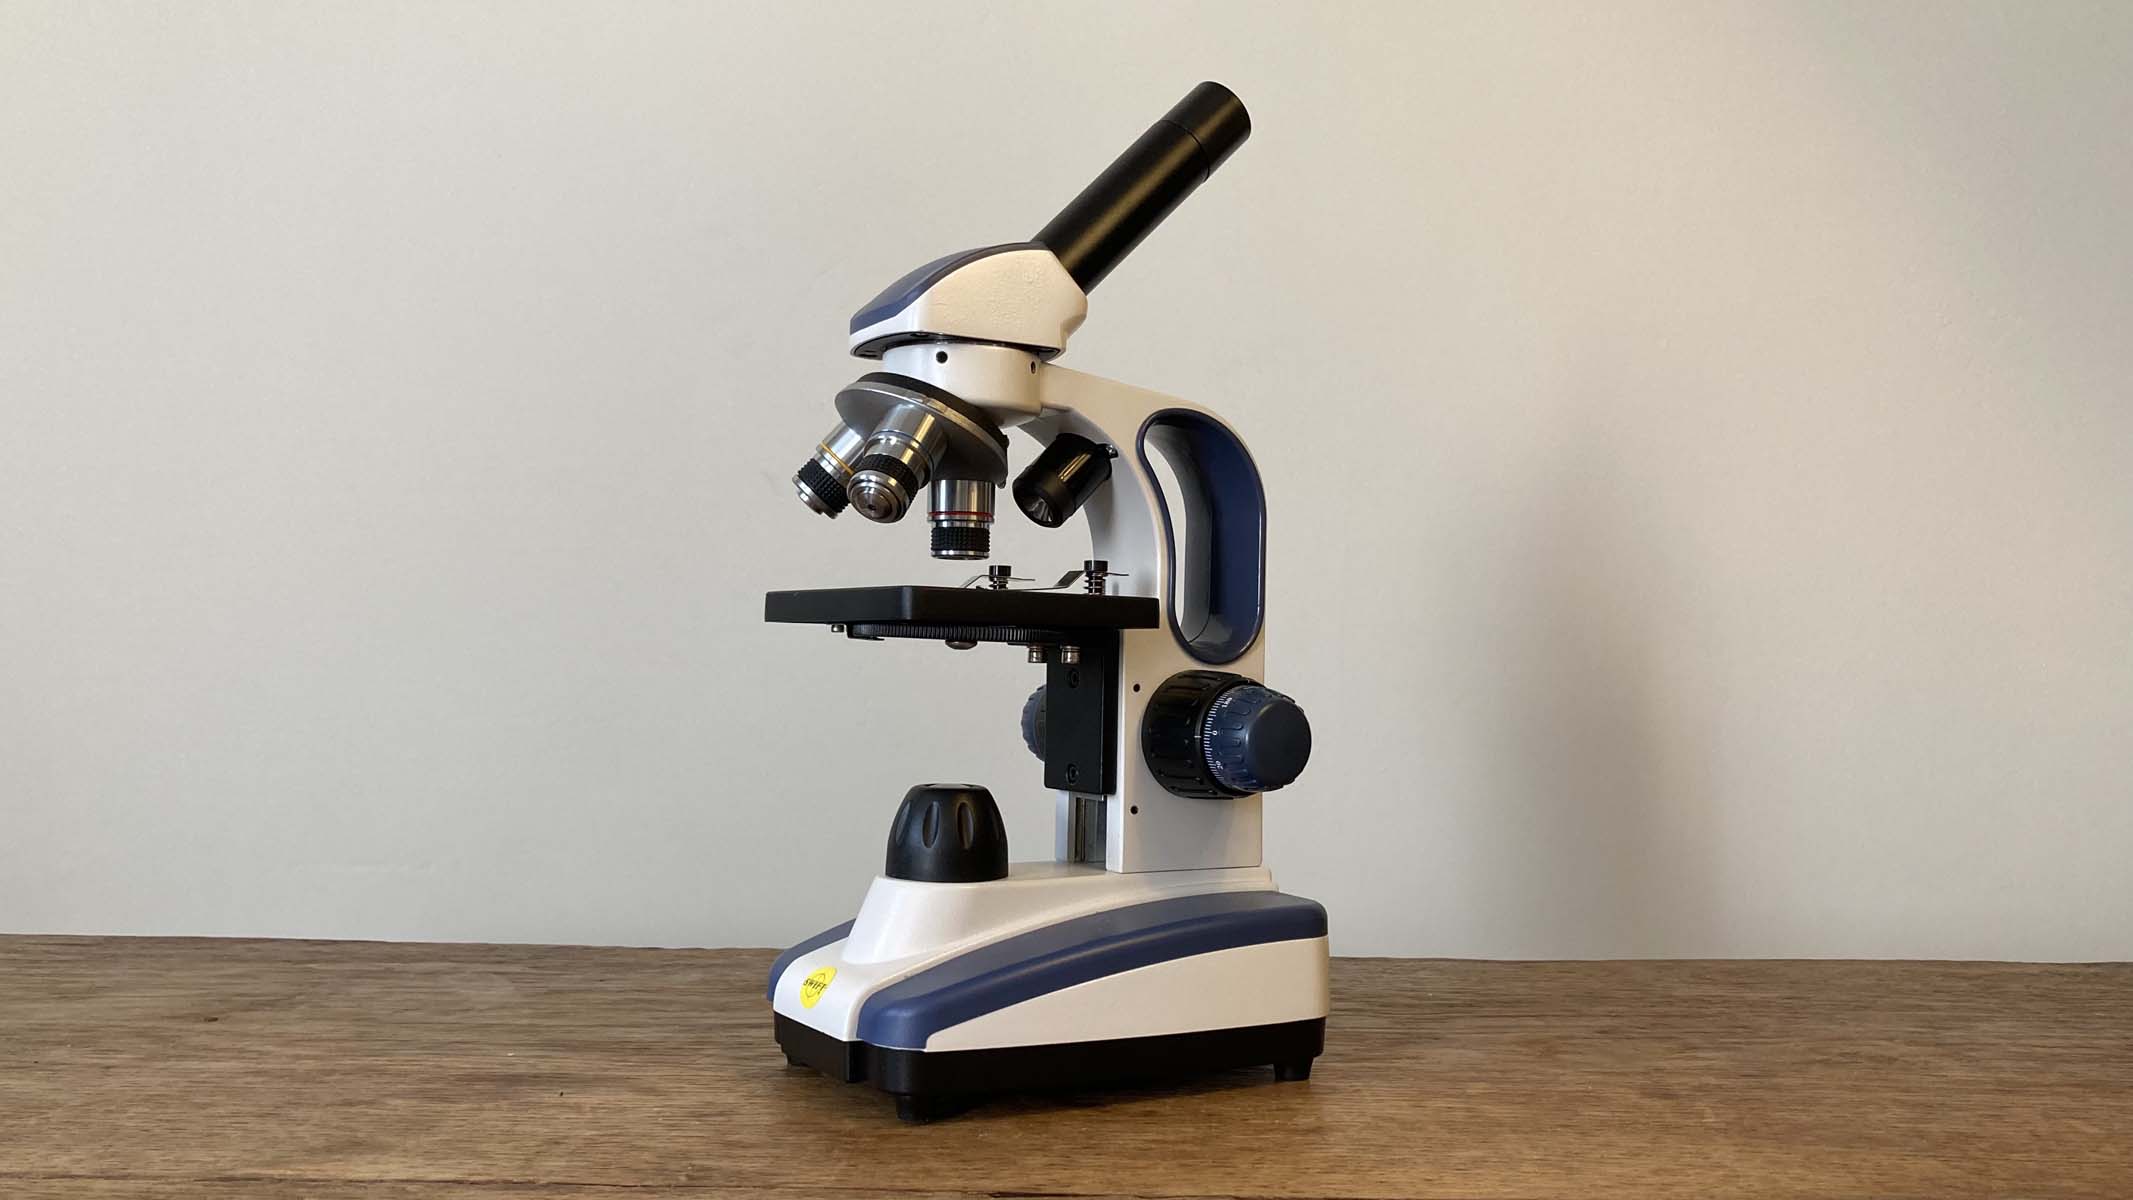
Compound light microscope — for microbiology, looking at cells and microorganisms
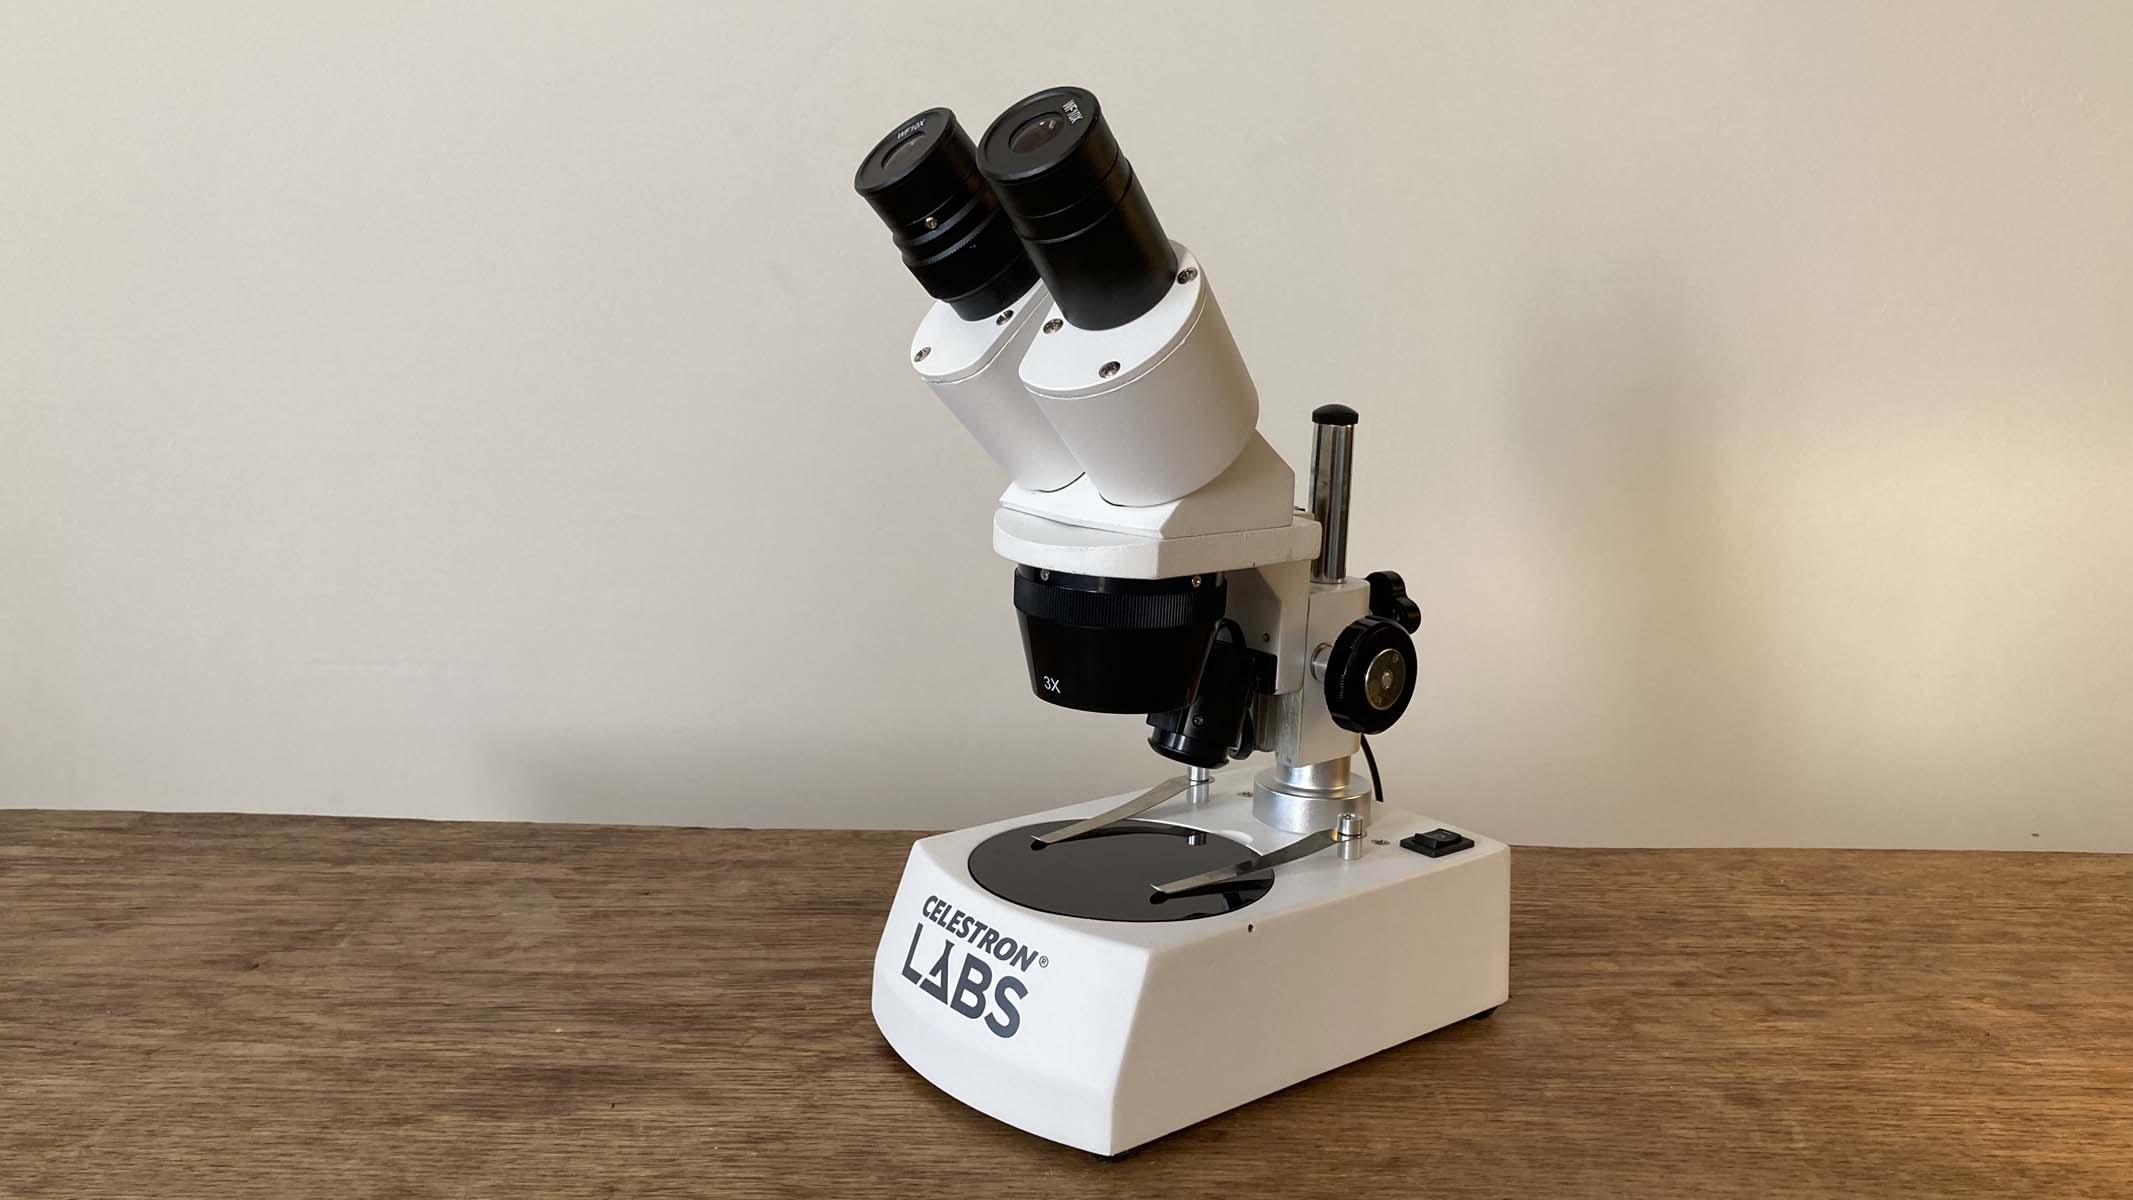
Dissection microscope — stereo, for observing specimens in three dimensions
Portable microscope — powered by batteries, for use on location
Microscope with top light — for observing solid objects
Digital microscope — for capturing still and video images
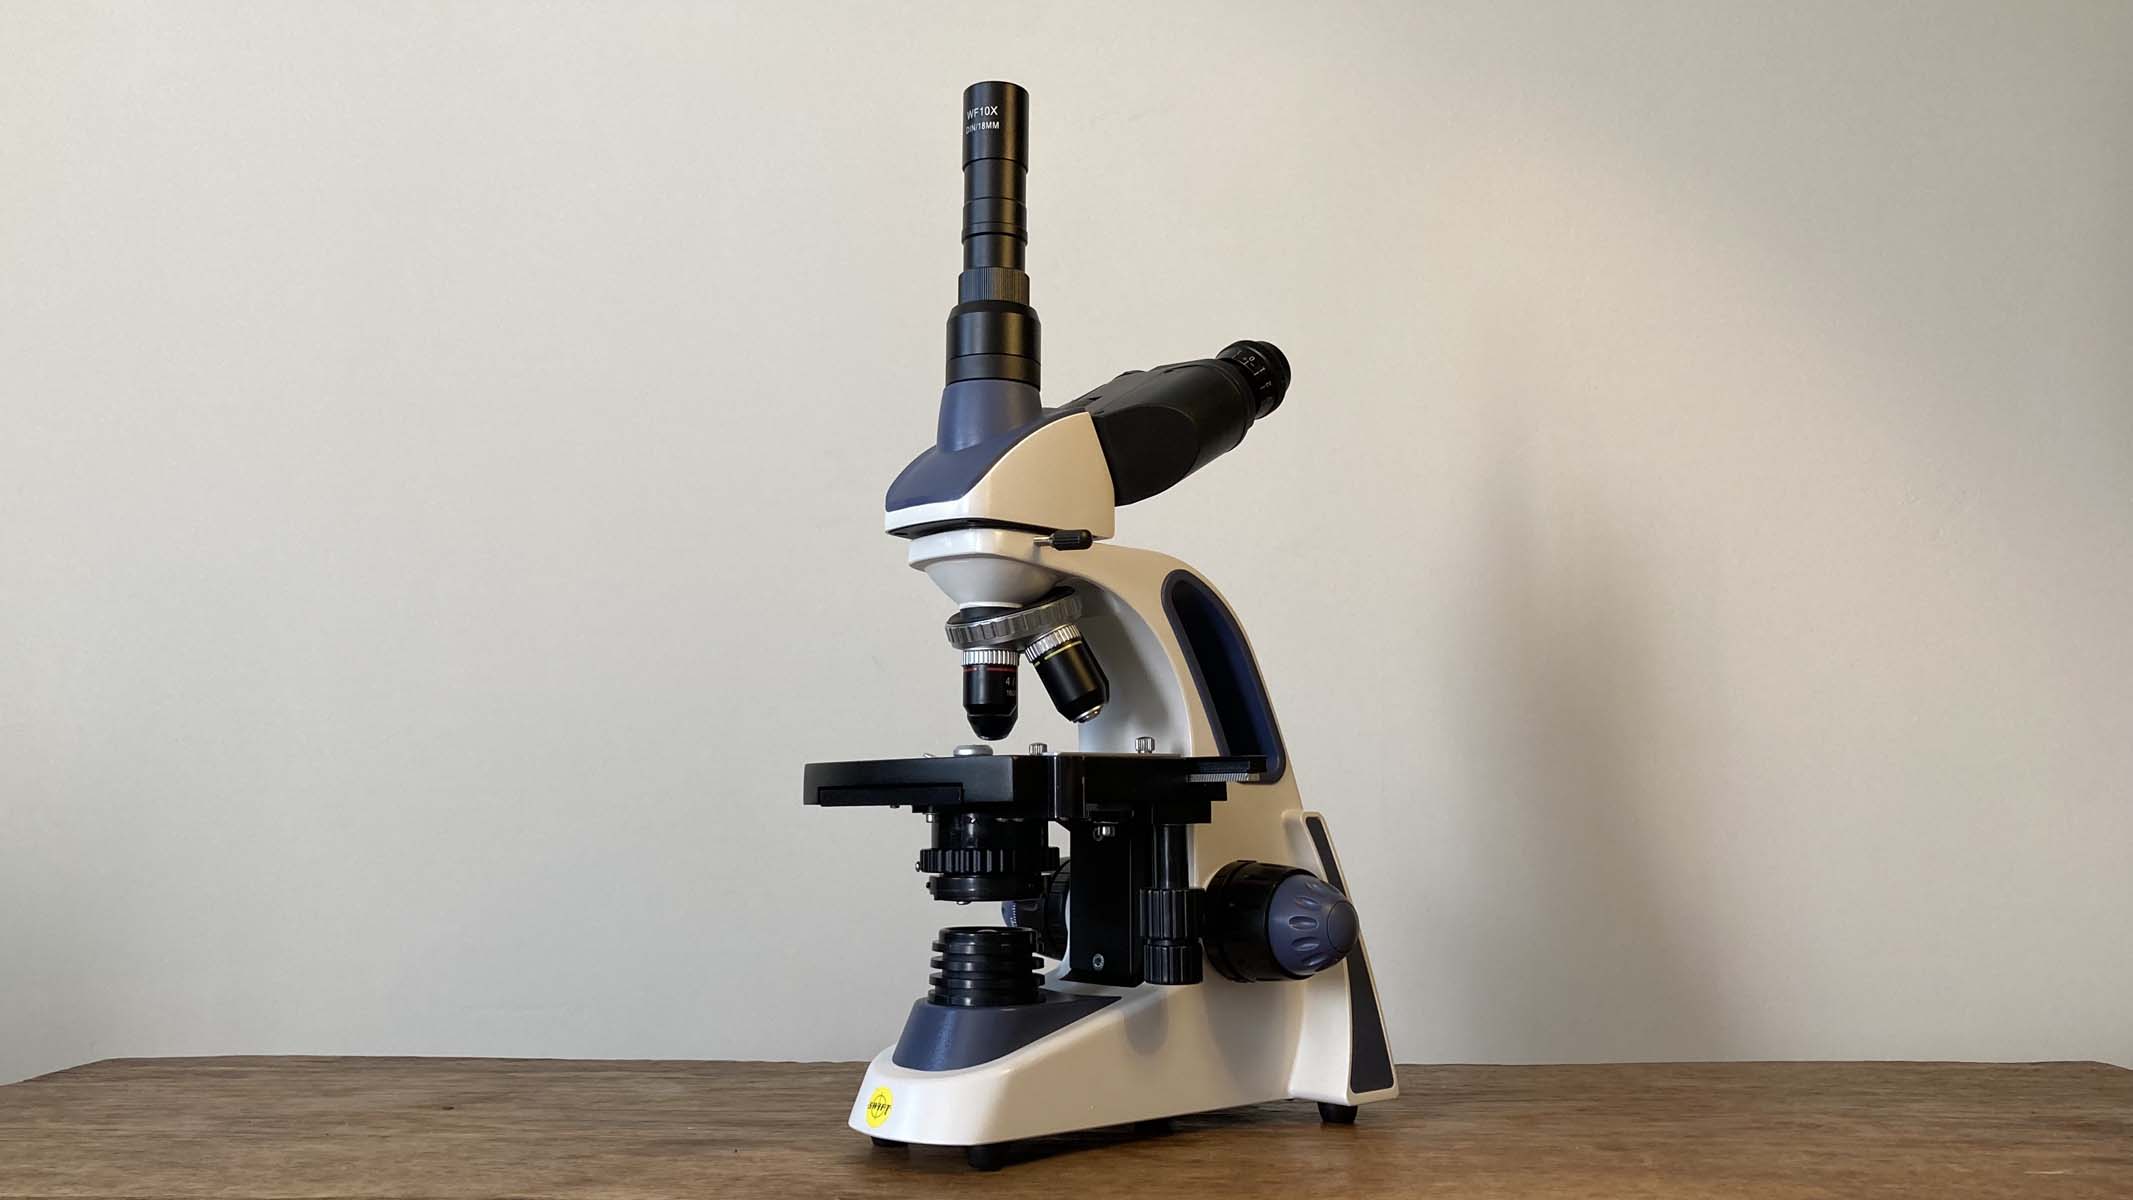
Trinocular microscope — for teaching, using a camera or projecting on a screen
Assuming that high magnification is best
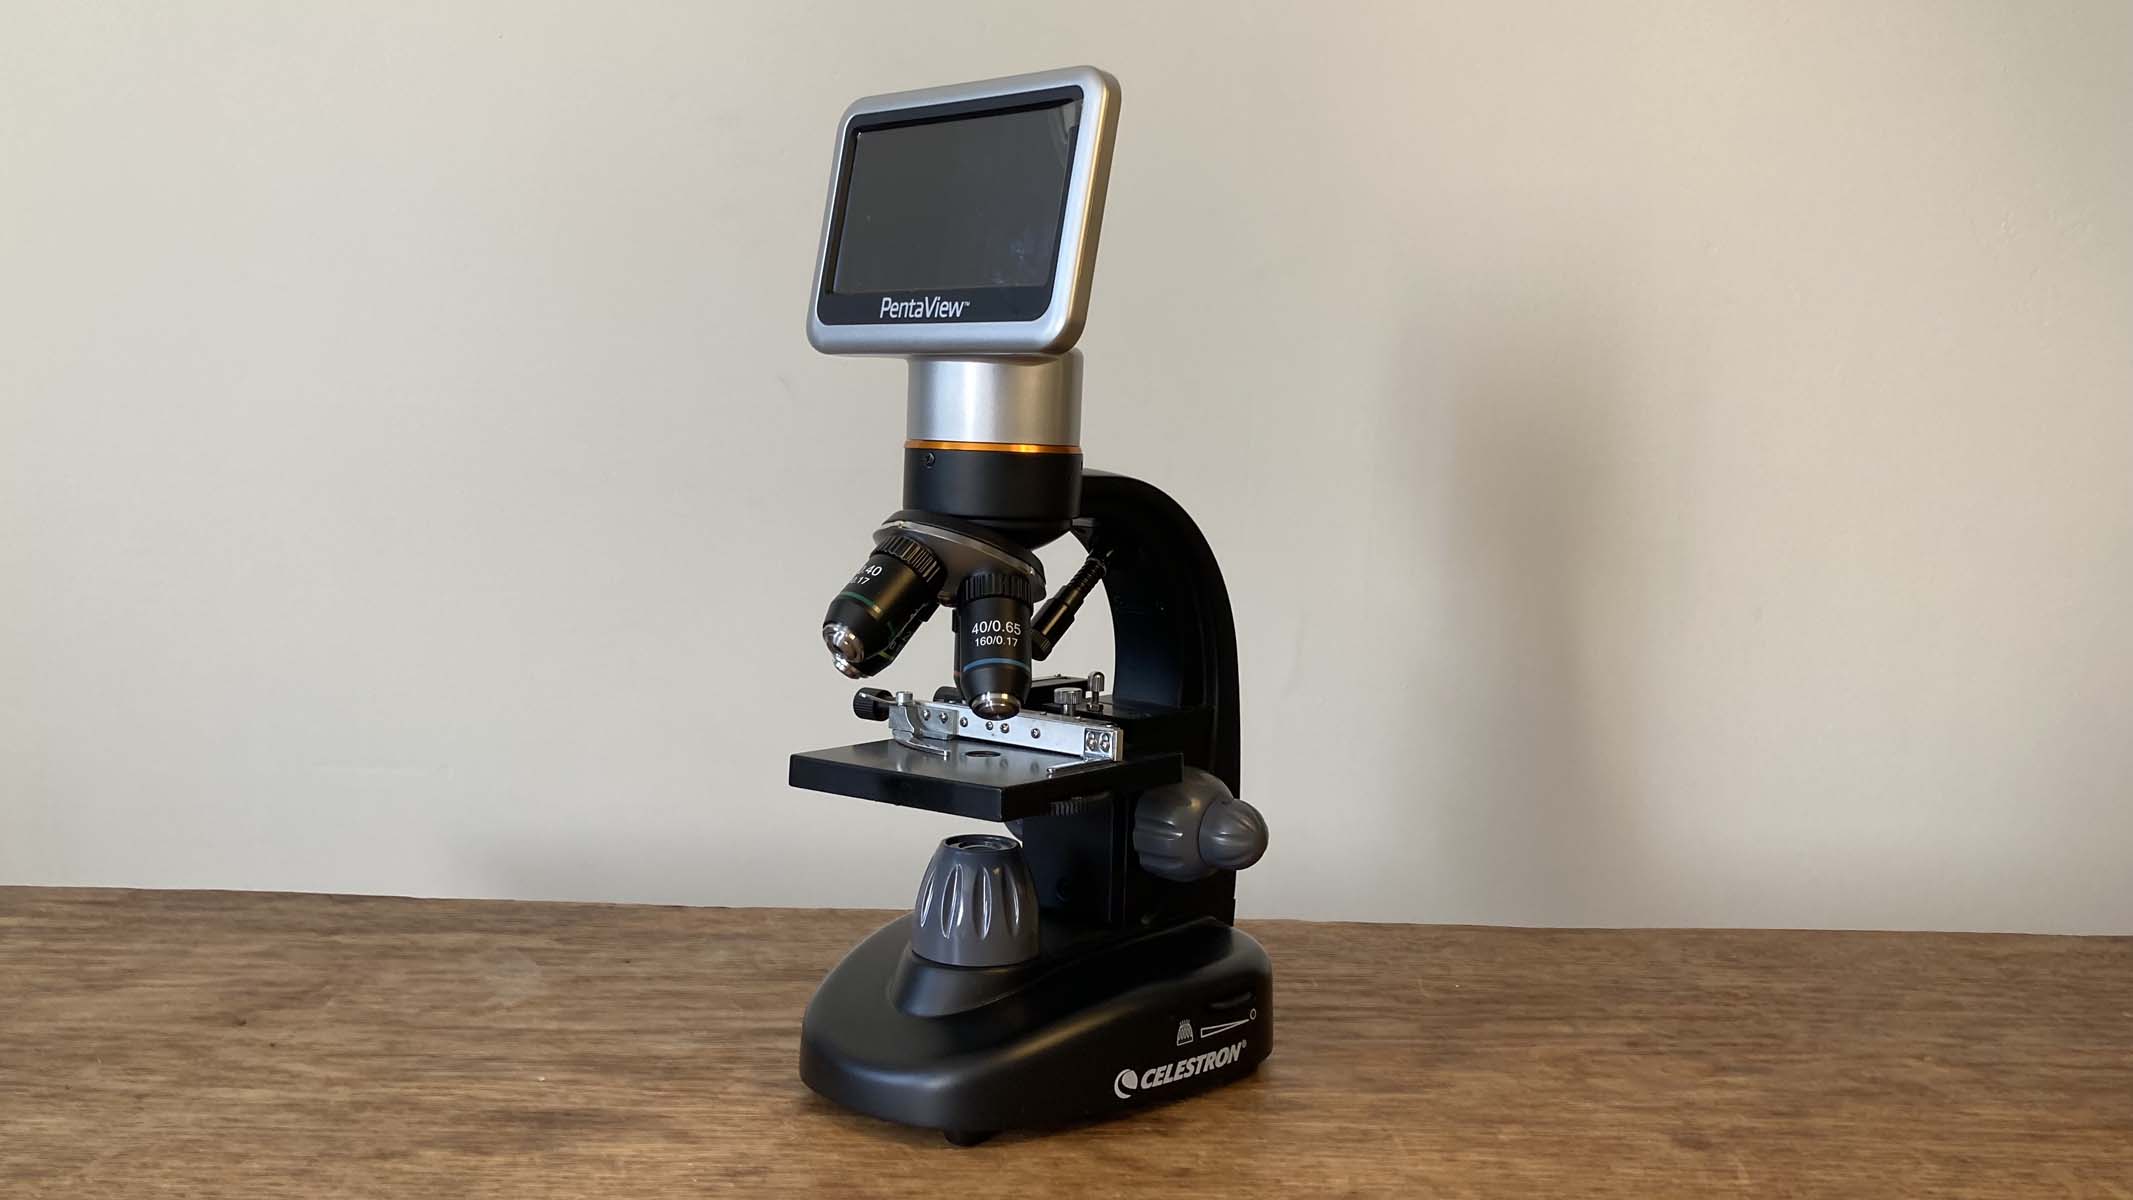
Image 1 of 4

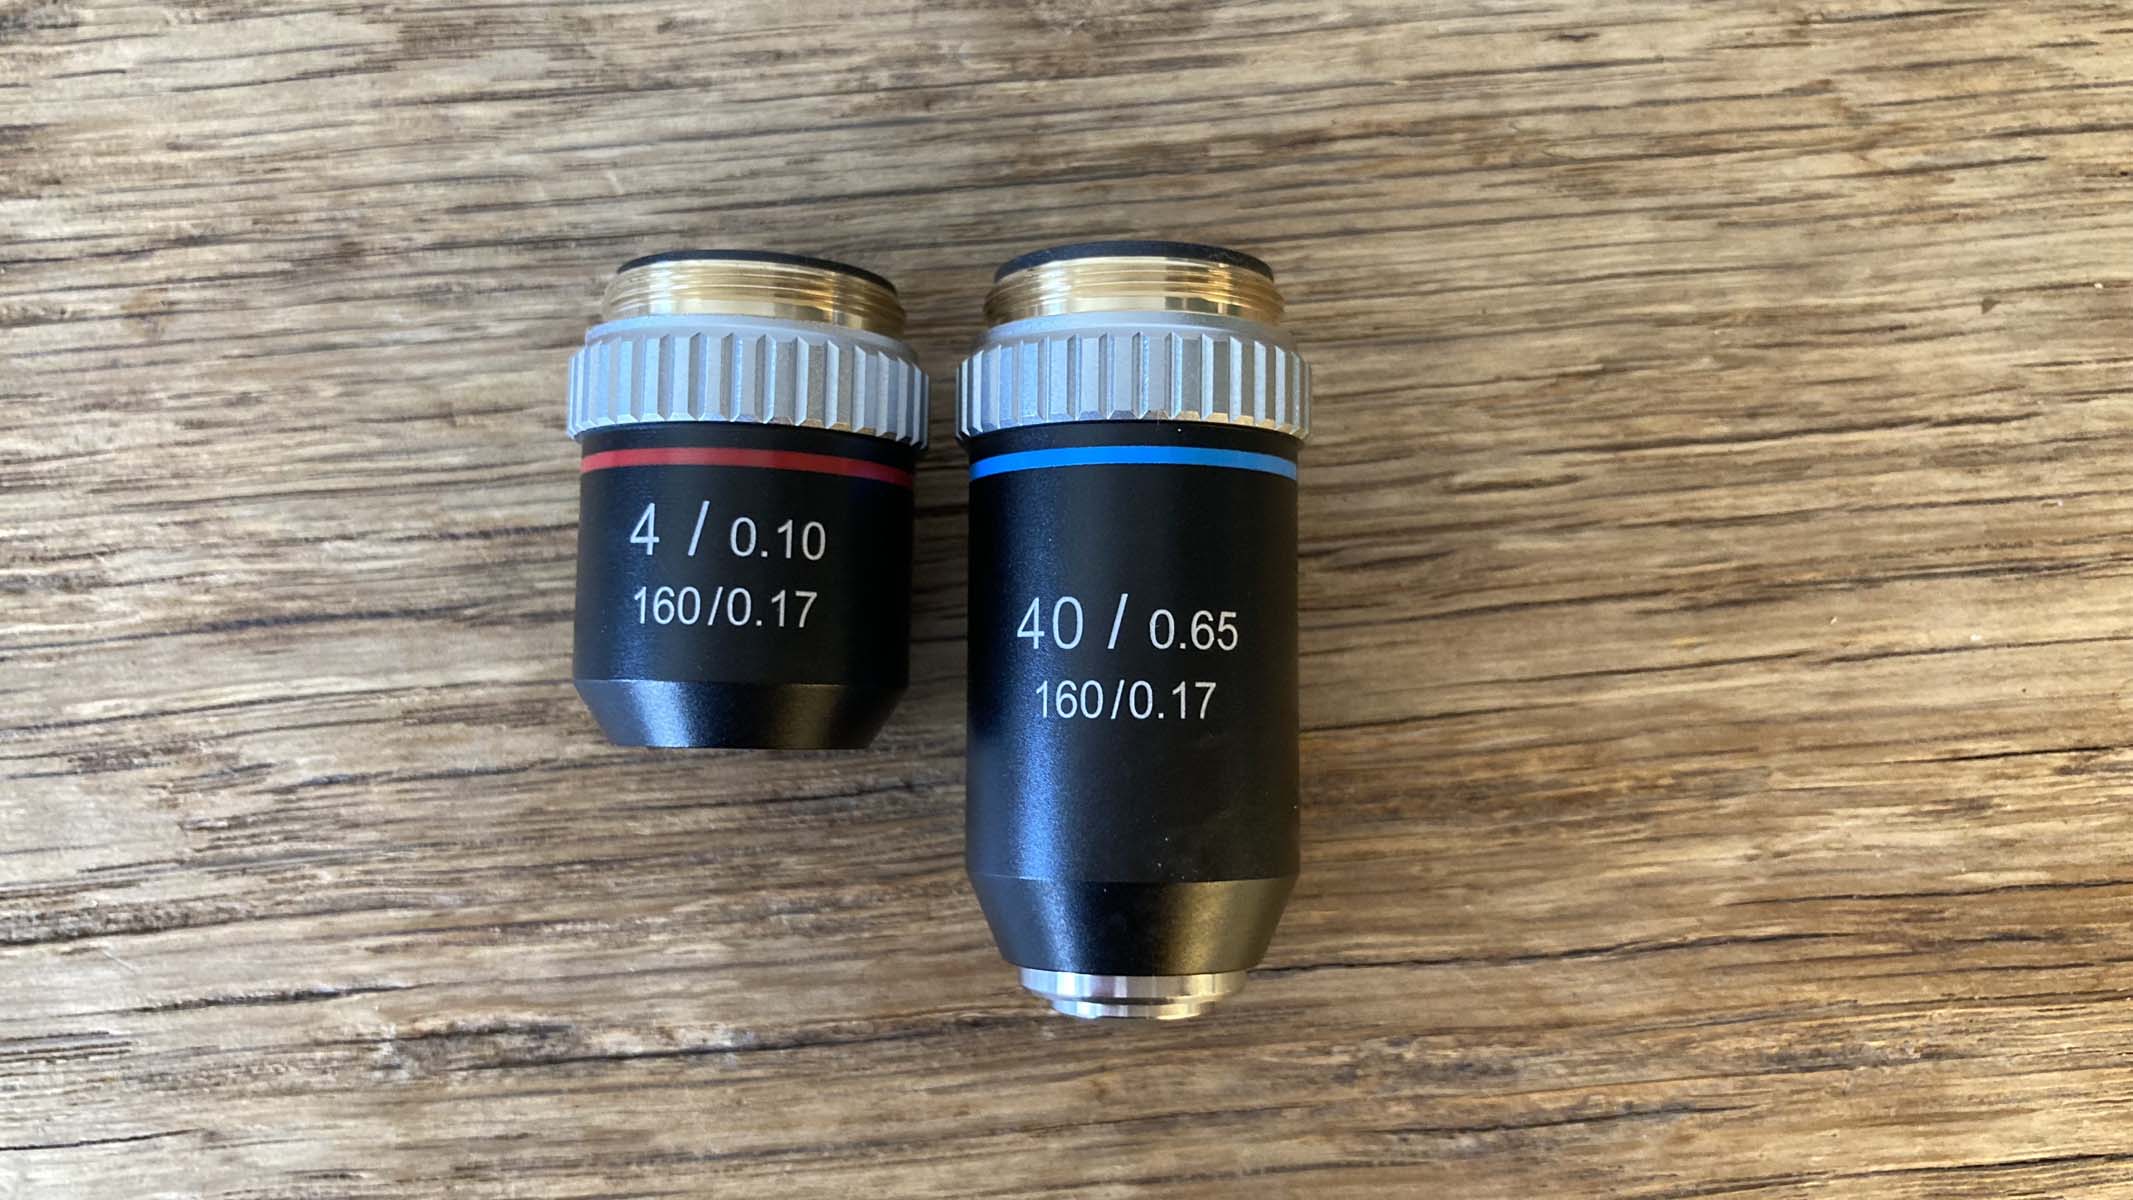
Many novice microscope users are in a hurry to reach the highest magnification because they want to see as much detail as possible. While this may be understandable, the higher the magnification, the smaller the field of view. The smaller the field of view, the more you have to navigate the slide in order to locate the structures of interest.
We recommend that the lowest magnification is used to get a general overview of your specimen. For example, with a compound light microscope at 40X magnification, you will be able to see how a group of cells sit together with a piece of tissue. Before you switch to a higher magnification, it will be necessary to centralise the part that you would like to see in more detail. Then when you turn the nosepiece, the central point in the field of view will remain in the centre.
Some whole objects like shells, insects, rocks and coins demand a low magnification so that more of the object can be viewed. Dissection microscopes tend to have lower magnification for this reason. Low magnification is also better for viewing live organisms, as they can swim out of view more quickly when there is a narrower field of view.
Lens or slide damage
Image 1 of 2
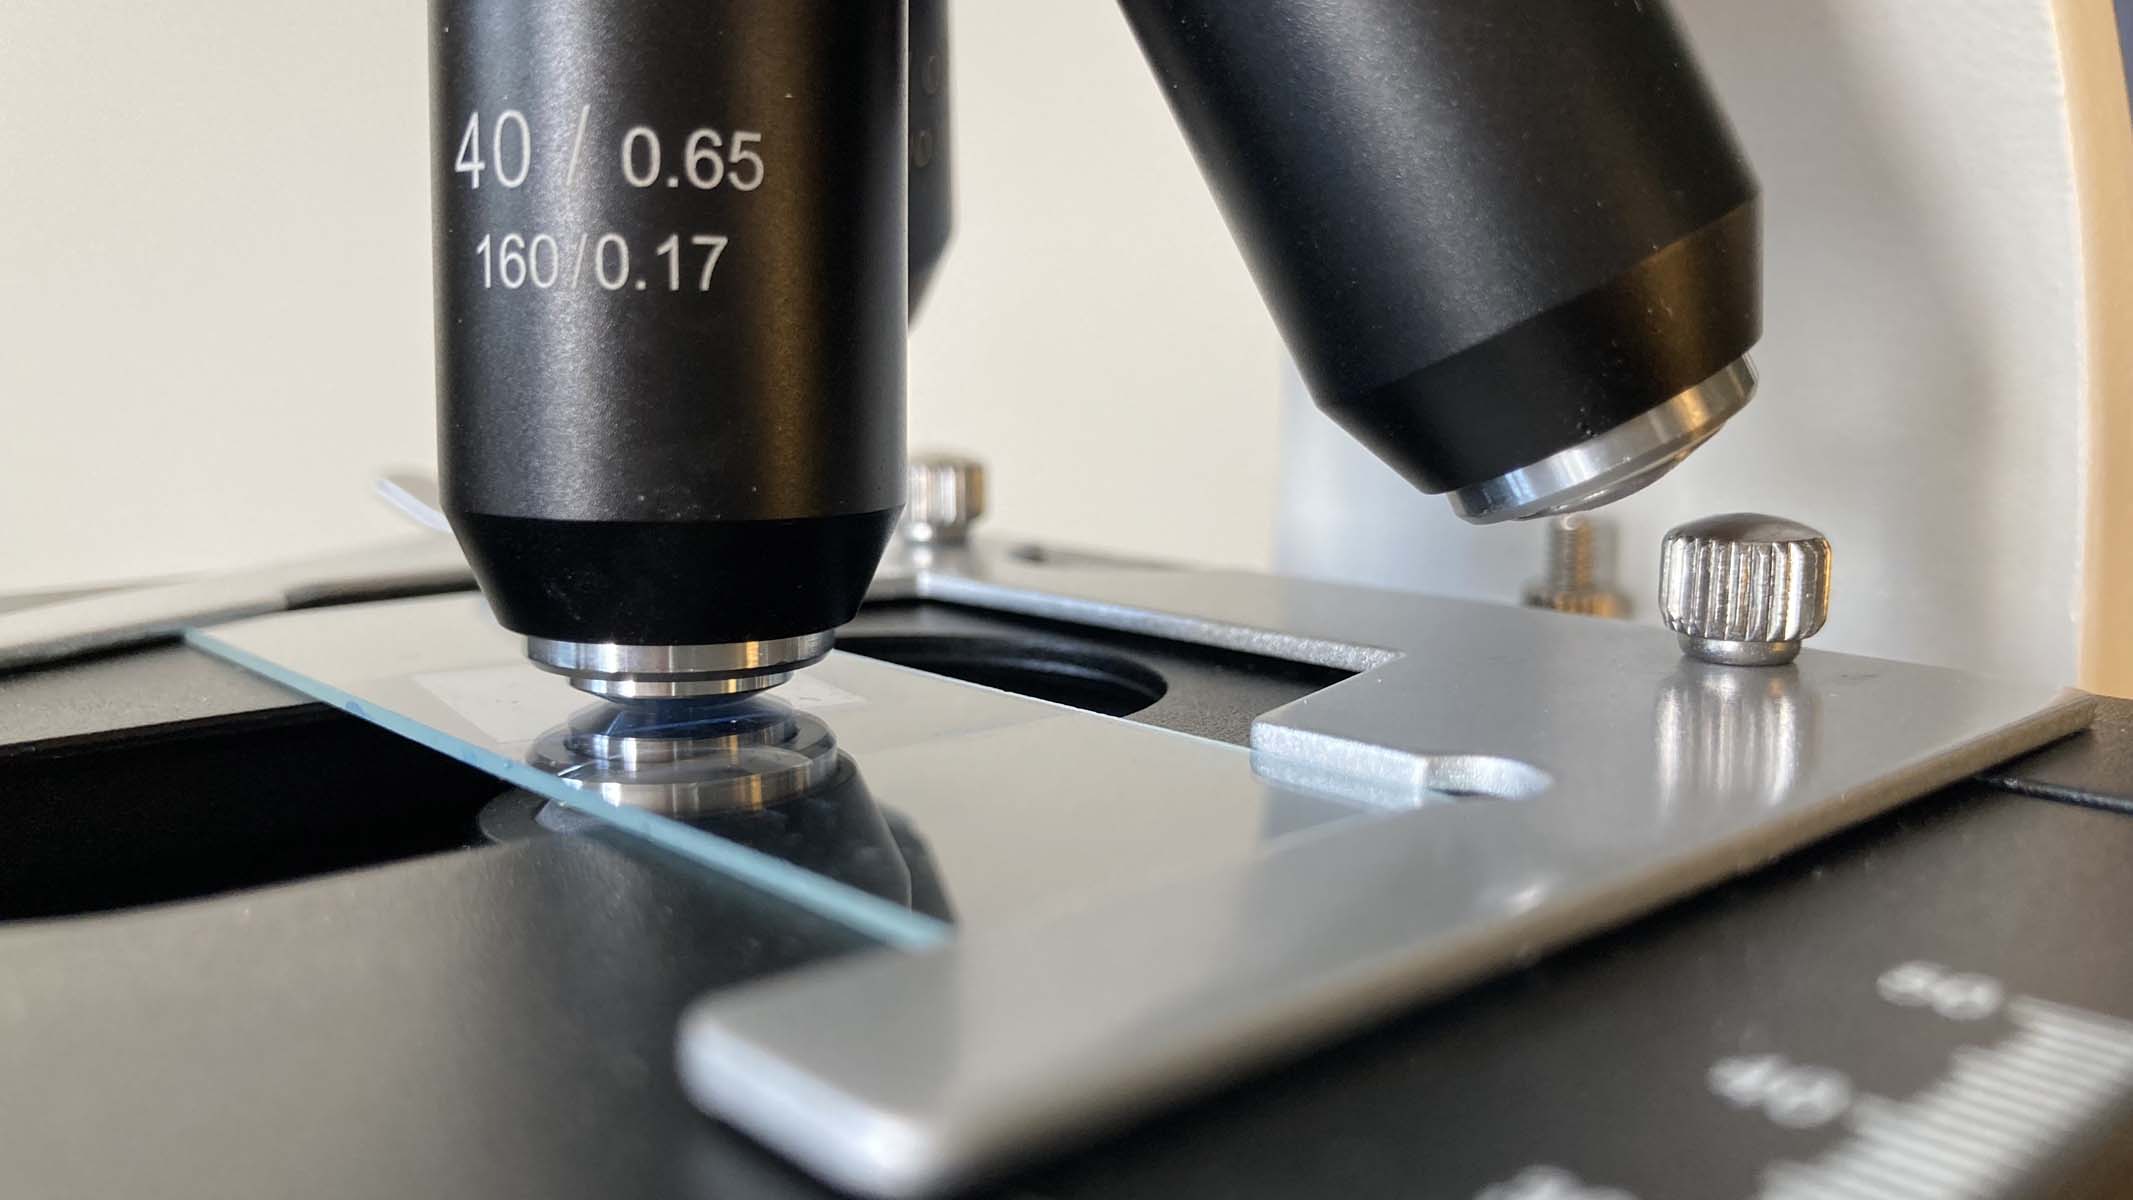
The process of focusing your specimen depends on the vertical (up and down) movement of the stage, which is possible via the turning of the rough and fine focusing knobs. During this adjustment, it is essential that the viewer looks through the eyepiece lens, to determine when there is optimum optical sharpness.
At higher magnifications, objective lens barrels are longer, thus working distance becomes smaller. Therefore, the front lens element is more likely to make contact with the slide if the stage is moved in an upwards direction. This can cause the fragile lens or slide to break, or the front lens to become soiled with stain. Therefore, it is advisable to raise the stage completely, while looking from the side. Afterwards, when viewing through the eyepiece, the stage can be moved downwards, away from the objective lens, preventing collision damage.
Focusing on the wrong thing
Image 1 of 2

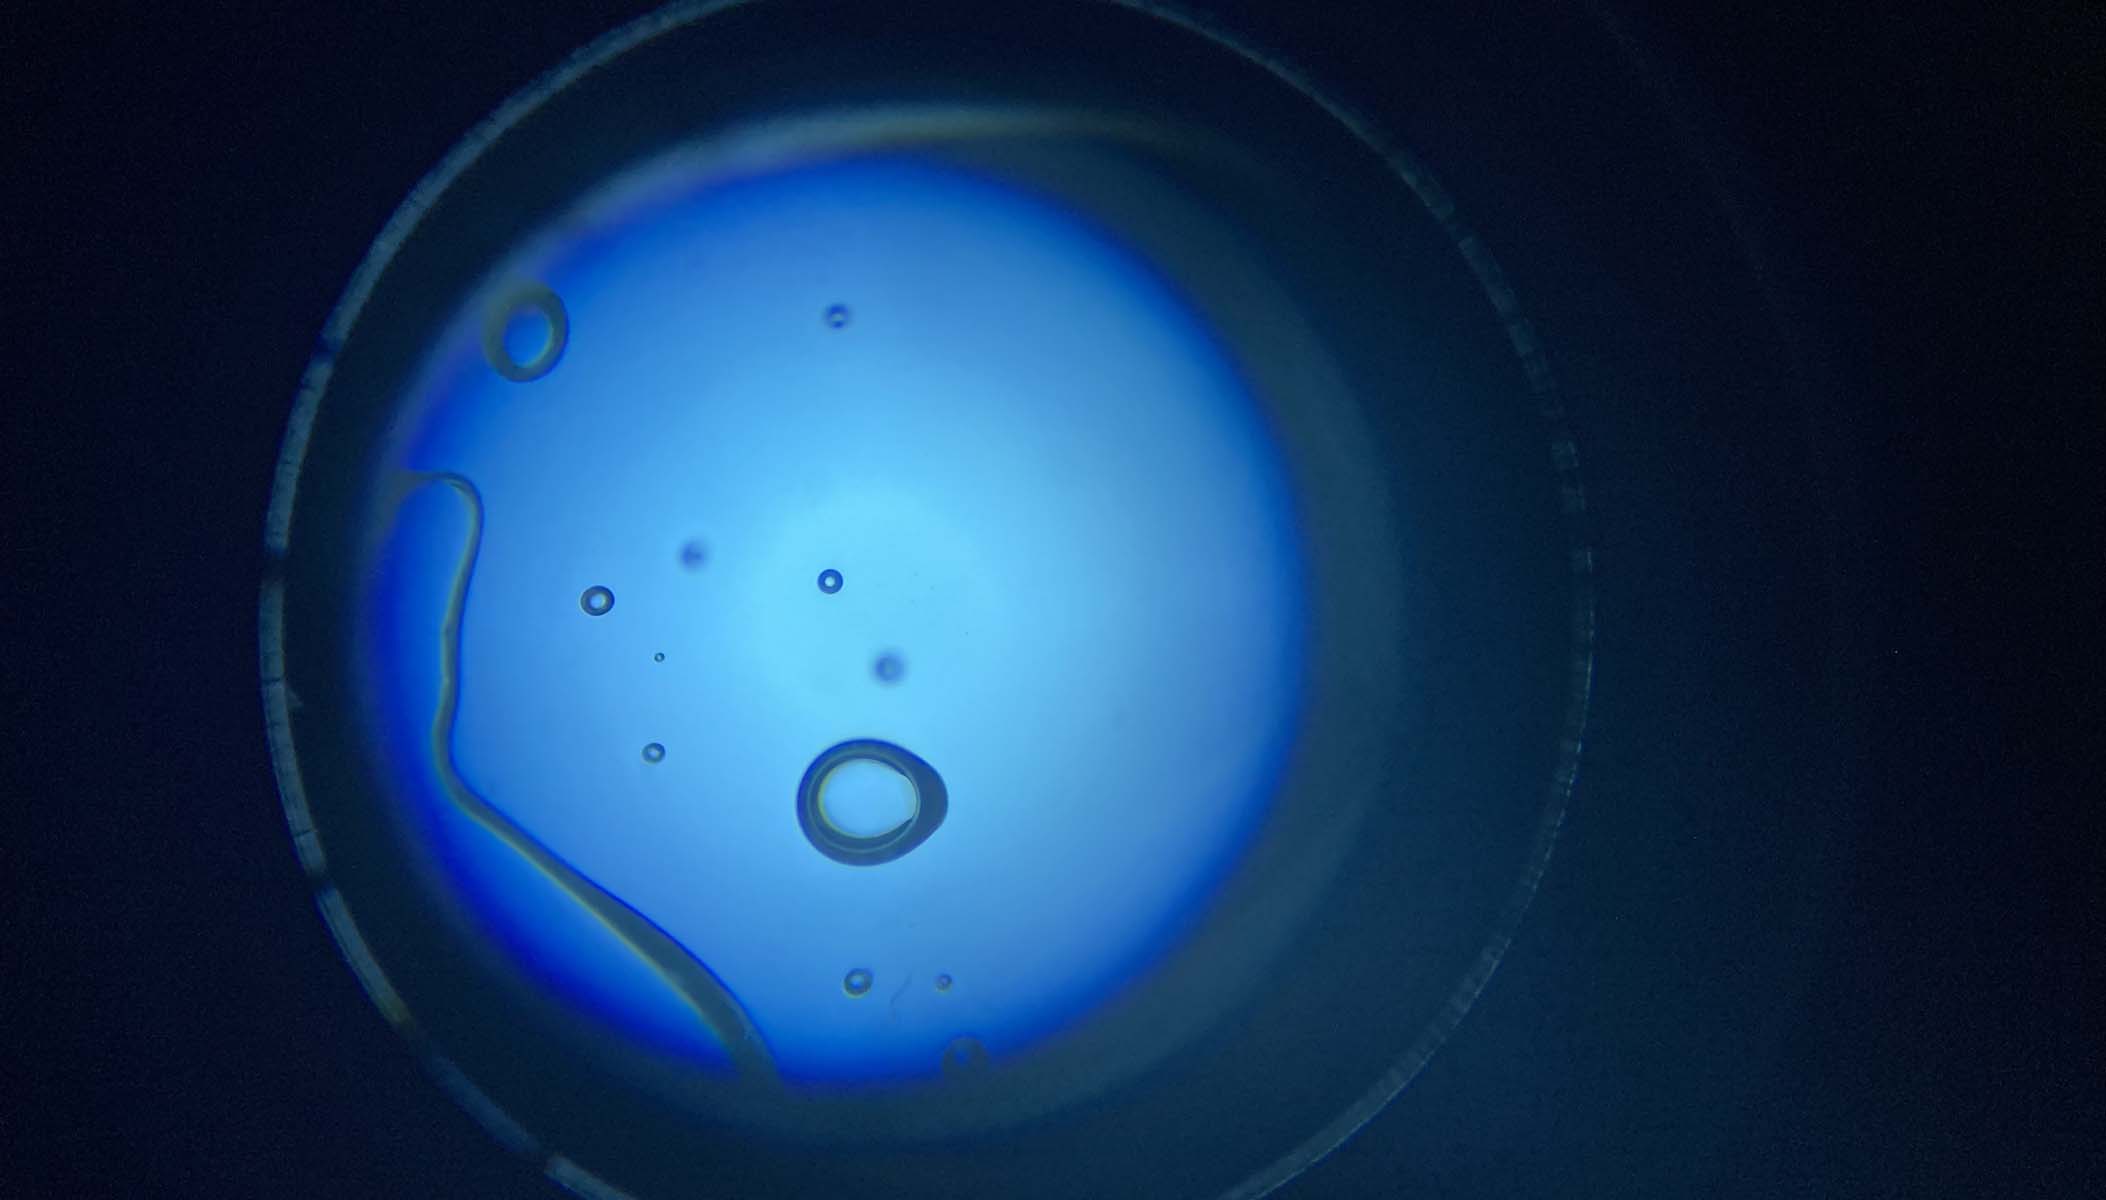
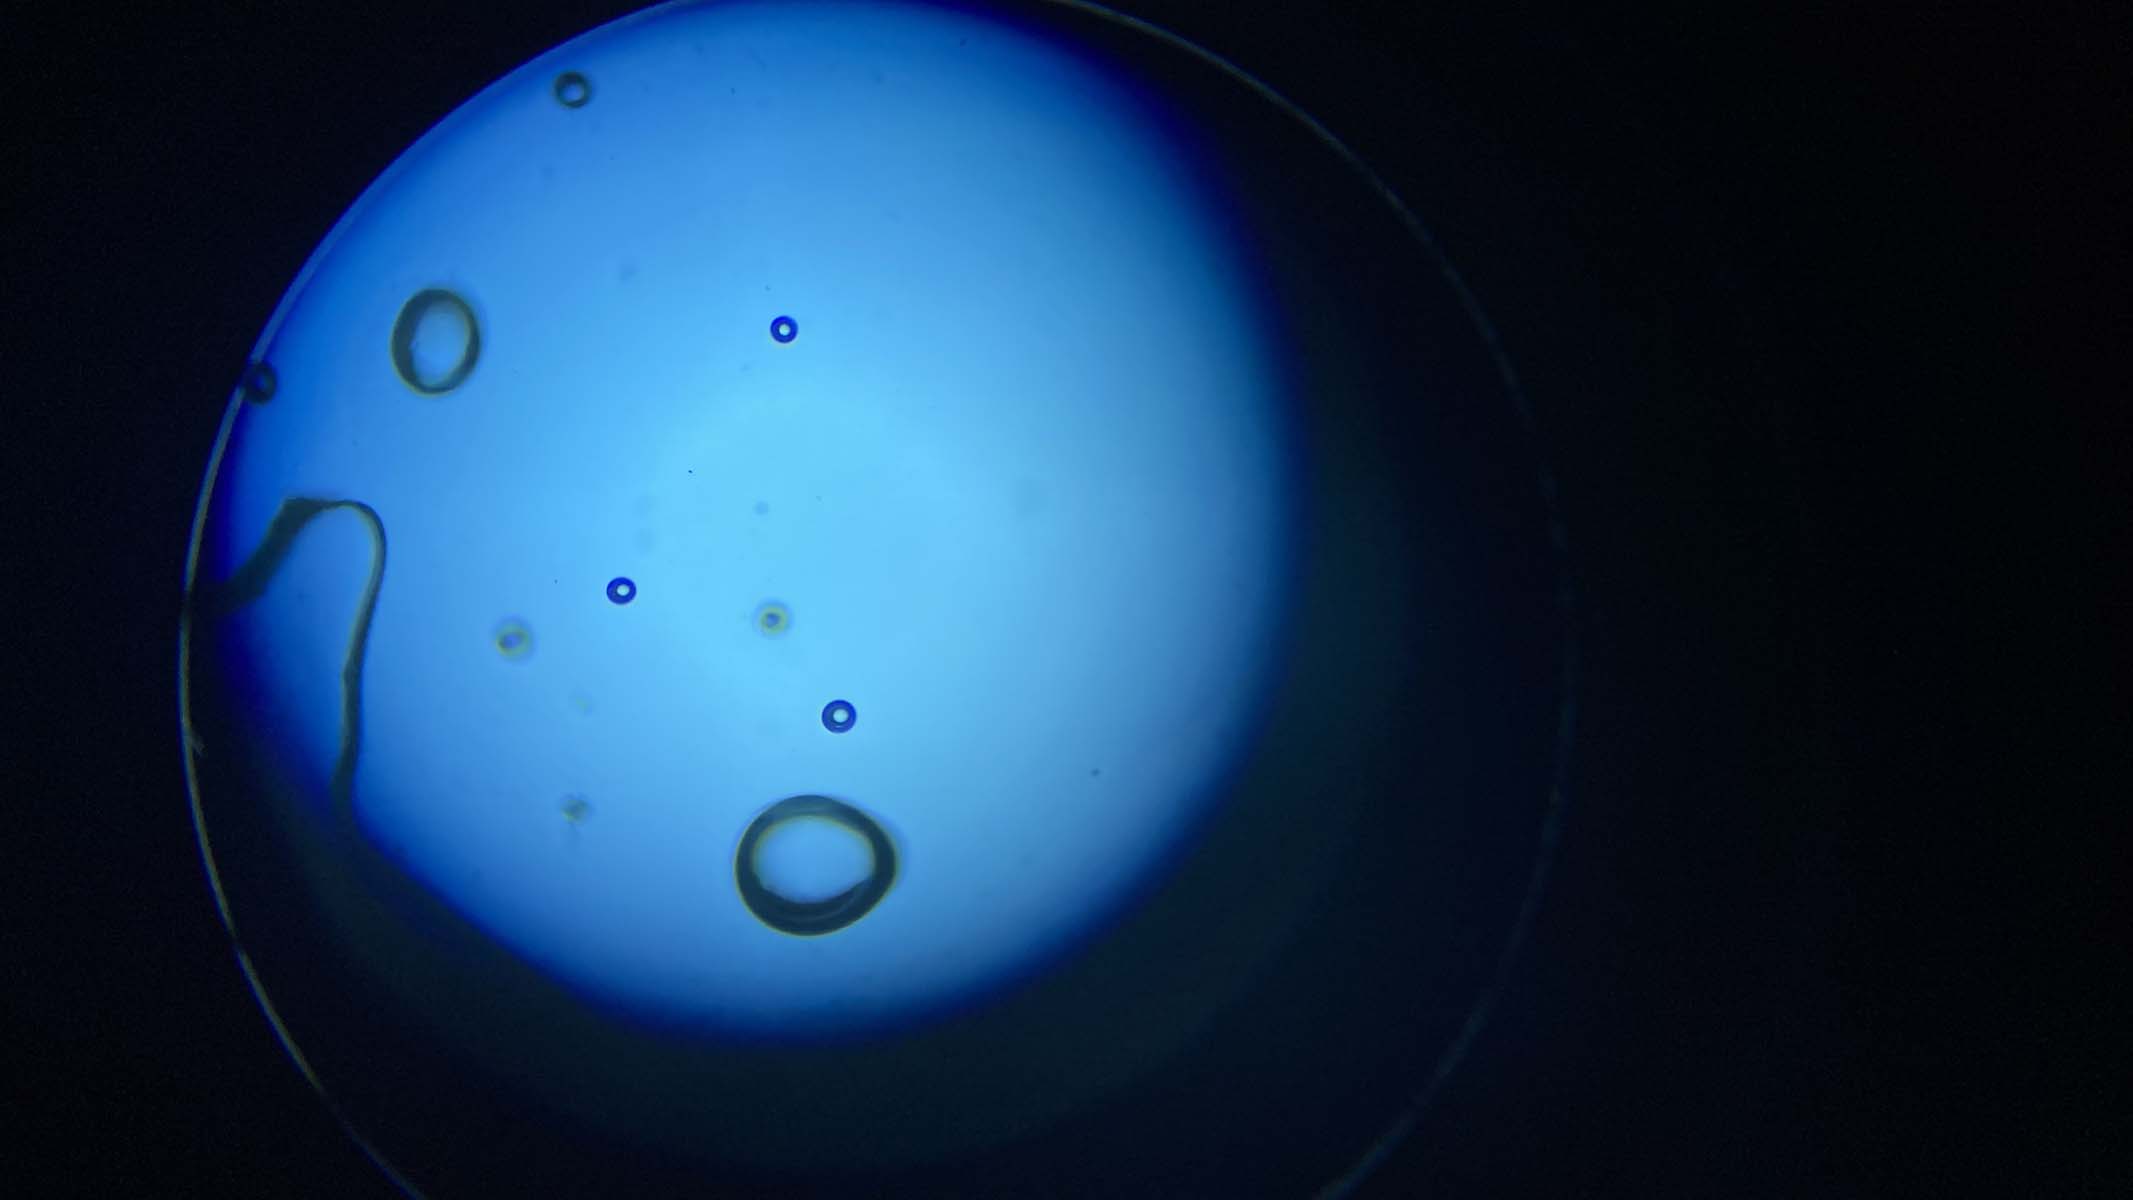
Another disheartening moment can be when responding to whoops of delight from a beginner microscope user, only to discover that they are excited by an air bubble or piece of fluff.
During the focusing process, the stage is moved up and down to achieve the required distance between the specimen and the objective lens so the image becomes sharp and clear. This is called the working distance.
A prepared slide consists of multiple layers: the top of the coverslip, the underside of the coverslip, the sample, and the top and underside of the glass slide. Hence, if the stage is manoeuvred so the working distance meets the top of the coverslip, or the bottom of the slide, anything on these surfaces will be in focus, rather than the desired specimen; cracks, scratches, dirt, for example.
Similarly, when preparing a wet mount, bubbles can be trapped in the mounting medium. These bubbles are clearly perceptible, with a strong outline, and are often mistaken for cells by beginners.
Eye strain and bad posture
Image 1 of 2

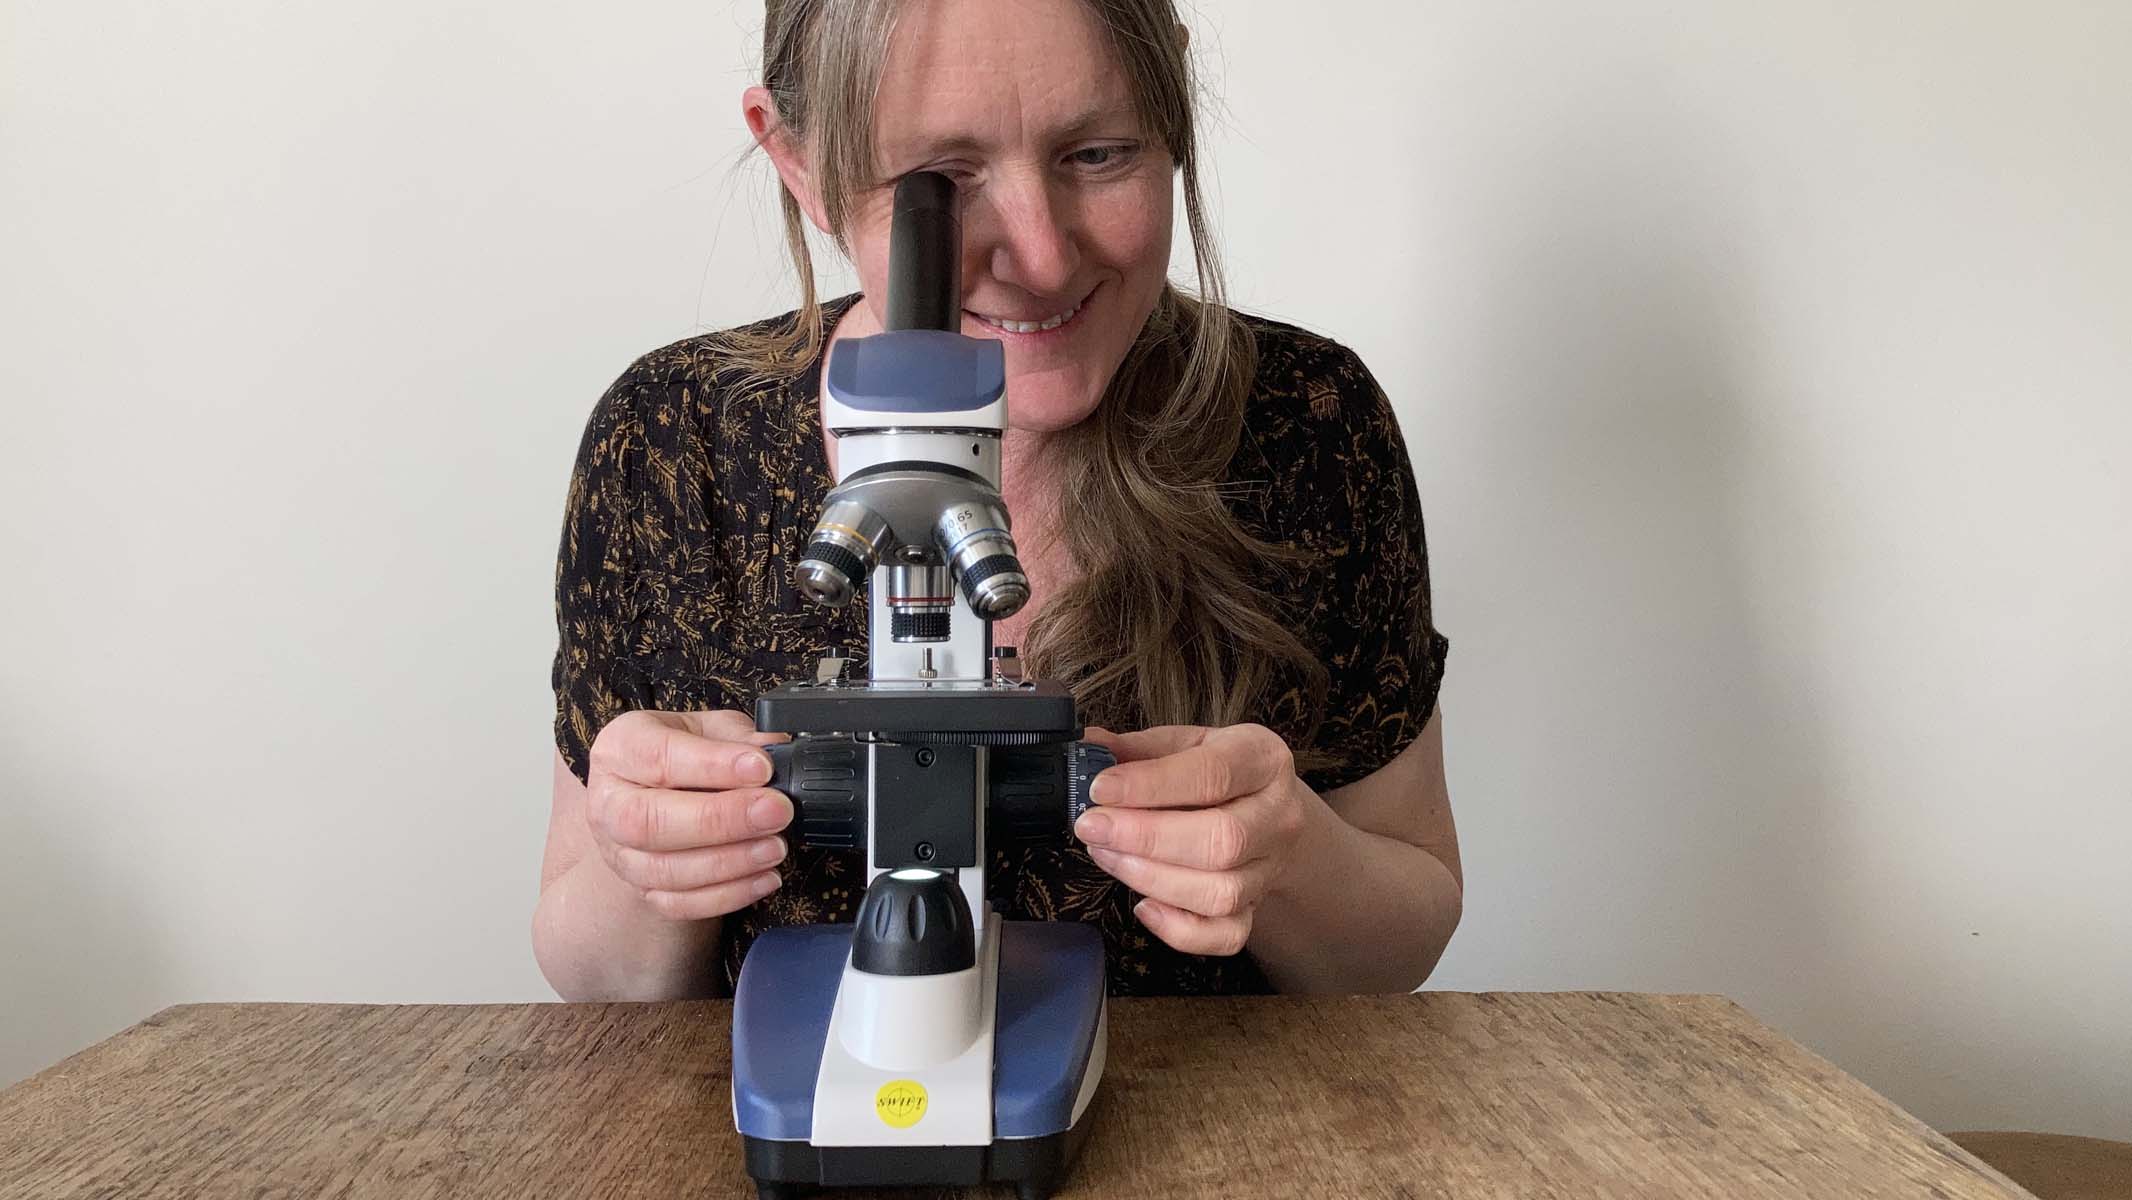
Finally, there are a number of physical ailments that people new to microscopy can suffer from. These include headaches, neck ache, eye strain and motion sickness — the majority of which can be resolved by adjusting posture and taking regular breaks.
Whenever your body starts a new activity, it has to get used to the new positions, movements and strains on the muscular system. Bending over the eyepiece and holding your arms out to manipulate the machine can cause the neck and shoulder muscles to become fatigued. Try a microscope with an ergonomic eyepiece angle of 30 degrees, or roll your shoulders regularly and hold your elbows close to your body.
Looking and concentrating for sustained periods of time can lead to headaches and eye strain. Furthermore, if you have a binocular microscope, keep both eyes open to minimise squinting. Lastly, when navigating slides the motion in your vision, even though your body is still, can leave you with slight nausea, similar to travel sickness. To minimise these effects, make sure you take a break to look into the distance every 20 minutes or so.


