


Whether you are collecting images for your schoolwork or report with one of the best microscopes for students, keeping a personal record for yourself, or teaching your young ones with the best microscopes for kids and sharing your discoveries with your social media friends, you are likely to want to photograph your specimens at some point. This can be done in a variety of ways: using a digital microscope, adding a microscope-compatible or generic camera, or simply pointing your phone camera through the eyepiece lens.
Options for using your microscope to take photographs
Imaging with a microscope is done for a multitude of reasons. In addition to documenting and sharing your findings for research or teaching purposes, photographing specimens is highly beneficial for those with eyesight problems, for capturing dynamic living specimens or for creative people using it as an artistic medium. If photomicrography is a hobby you wish to embark on, it will be beneficial to bear this in mind when purchasing your microscope.
Choosing a digital microscope, like the PentaView LCD by Celestron Labs, will mean that your instrument comes with software, AV/TV cable and an SD card, so you can take and display high-resolution, high-magnification still and video images out of the box. These digital images can then be transferred to a laptop or computer, to be manipulated or to add filters, colours, highlights and labels.
If you already have a compound light microscope and you would like to use it for photomicrography, you could purchase an eyepiece tube microscope camera. These are small cameras that fit inside the body of the microscope where the eyepiece lens would sit. They send digital images directly to a monitor or computer so that an image of the object being magnified can be captured. The SW380T model by Swift is a trinocular microscope that has a third eyepiece tube, specifically designed to accommodate the EC5R microscope camera.
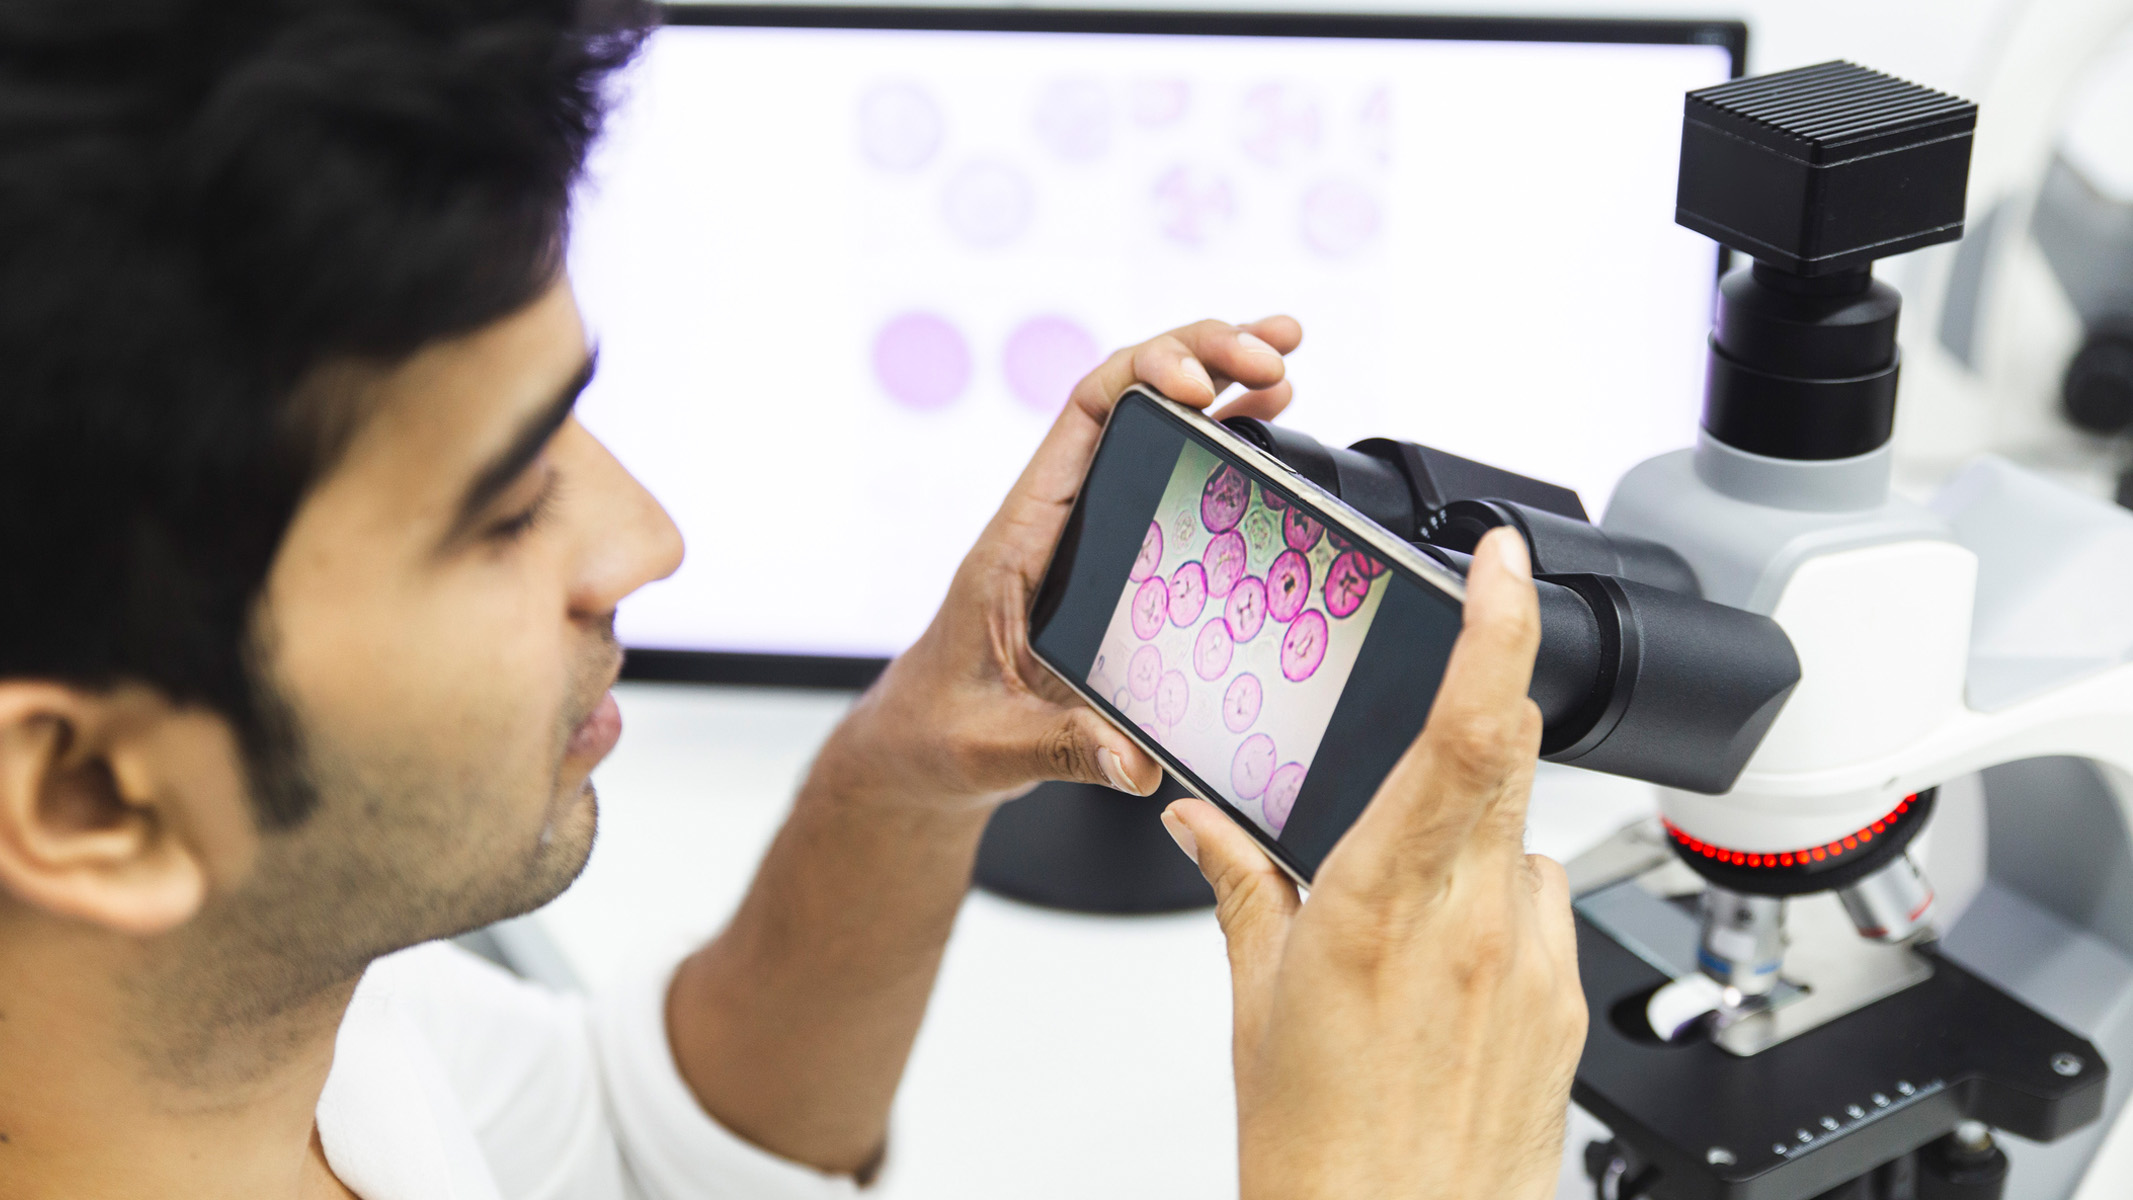
But the simplest and cheapest way to take a photograph of what you see through your microscope is to place the camera of your smartphone or tablet over the eyepiece lens of your microscope. You will need patience and a steady hand, but it is possible to focus, zoom in and take photographs or video in the usual way for your device.
Image 1 of 4

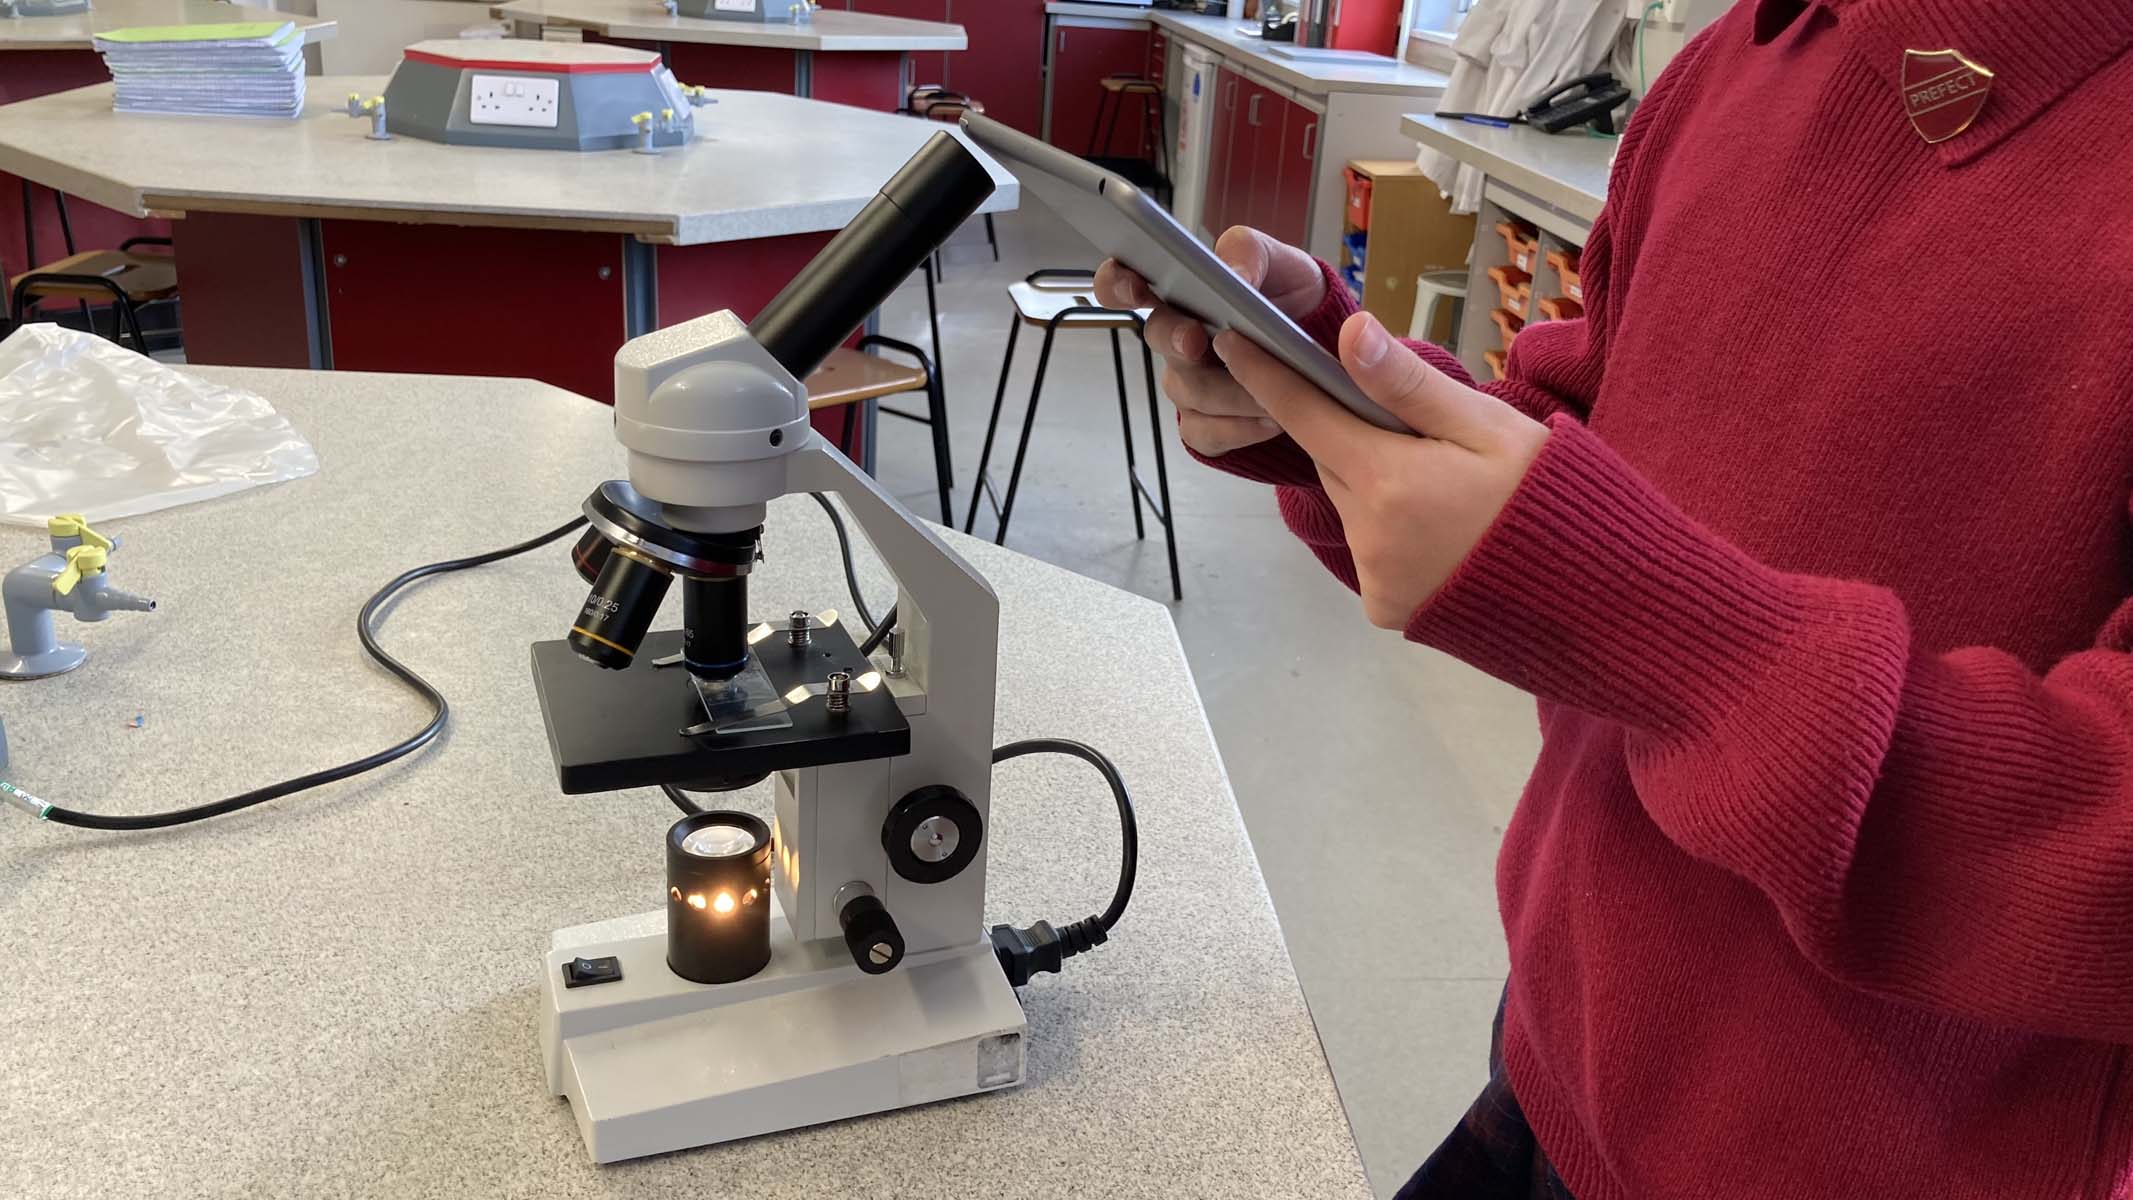
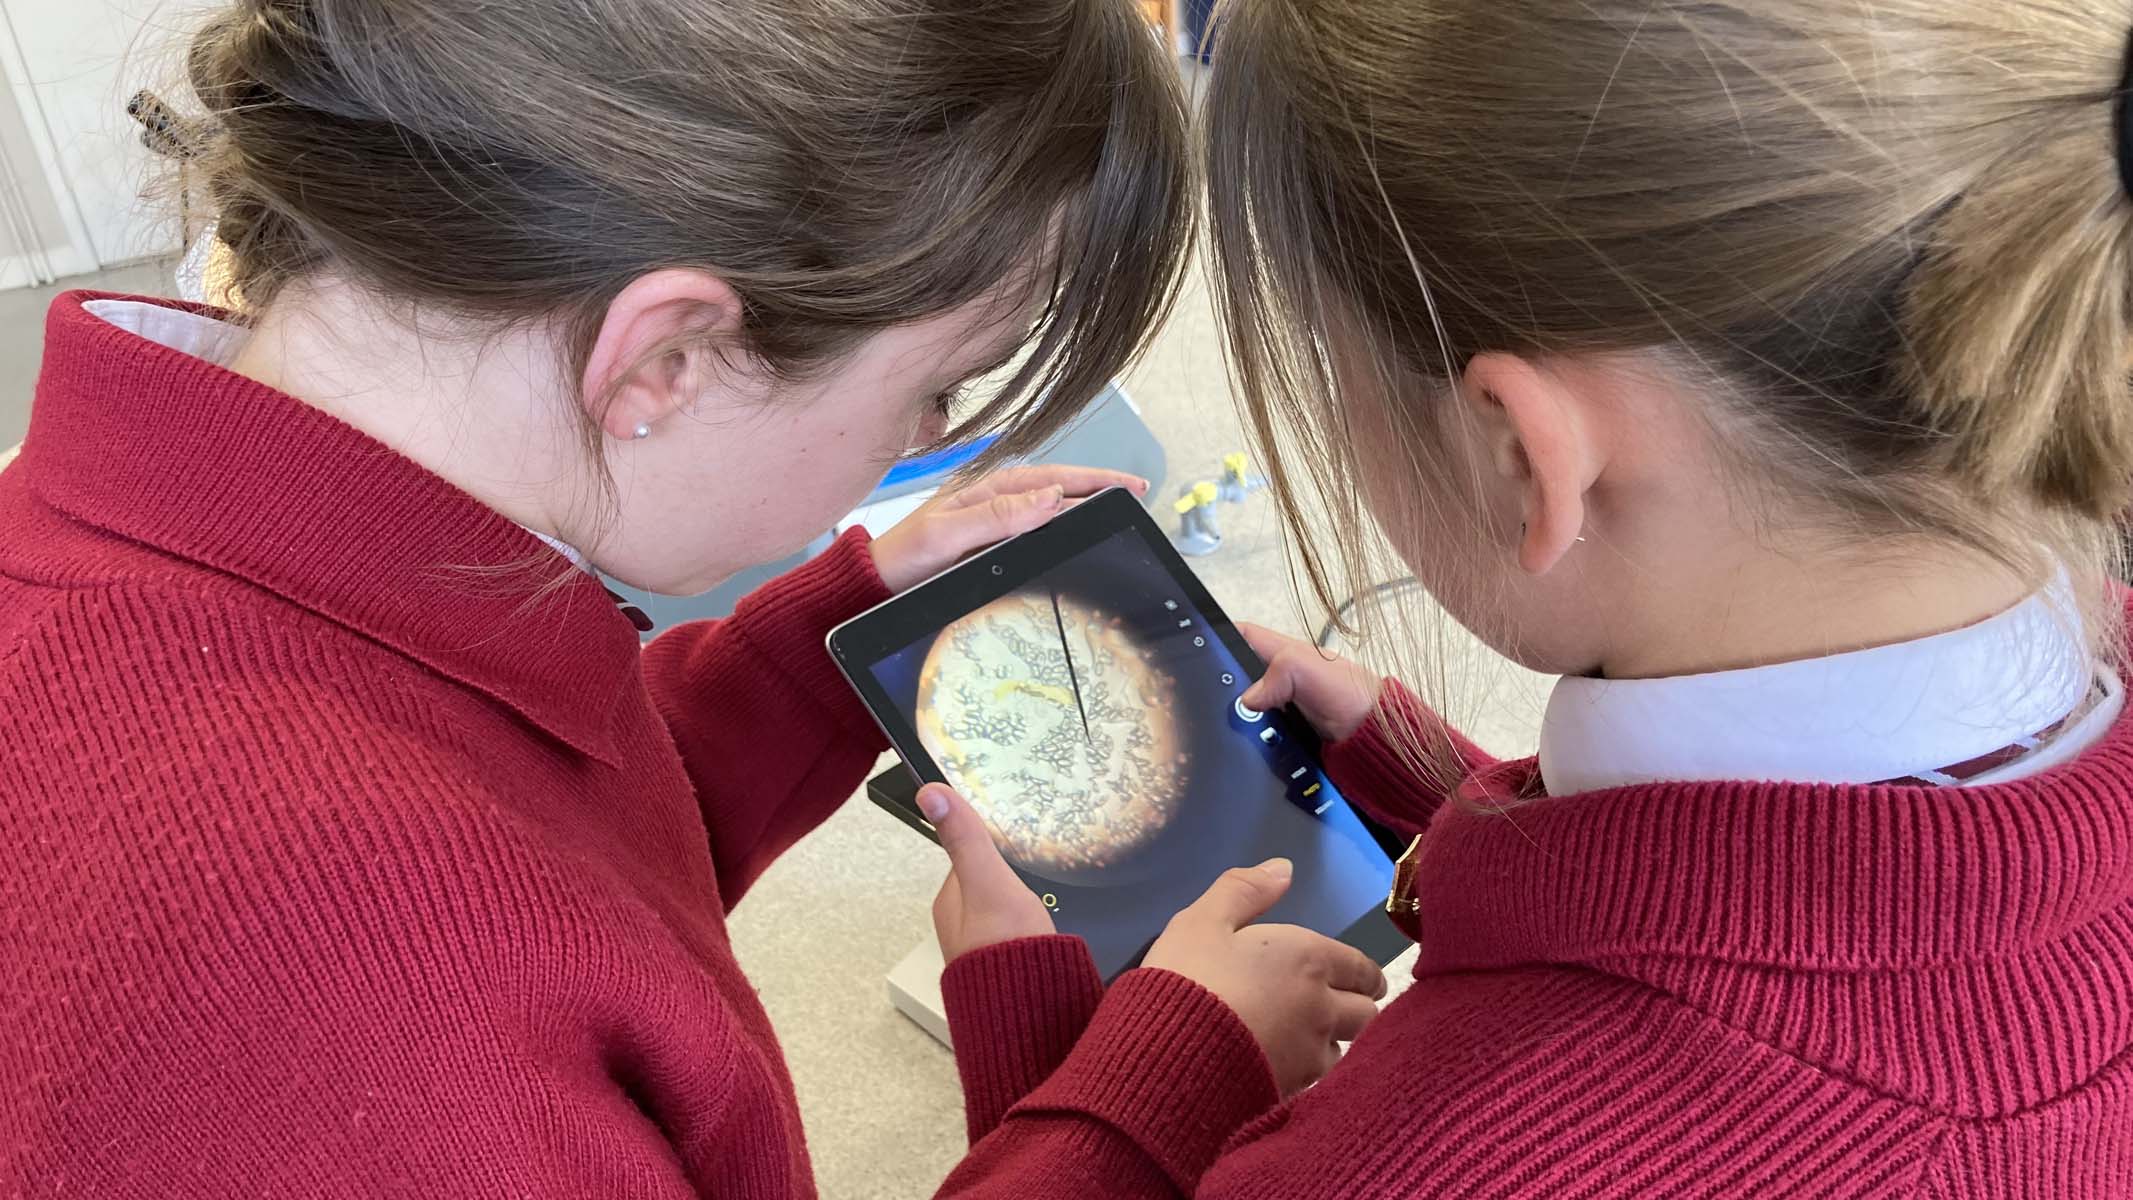
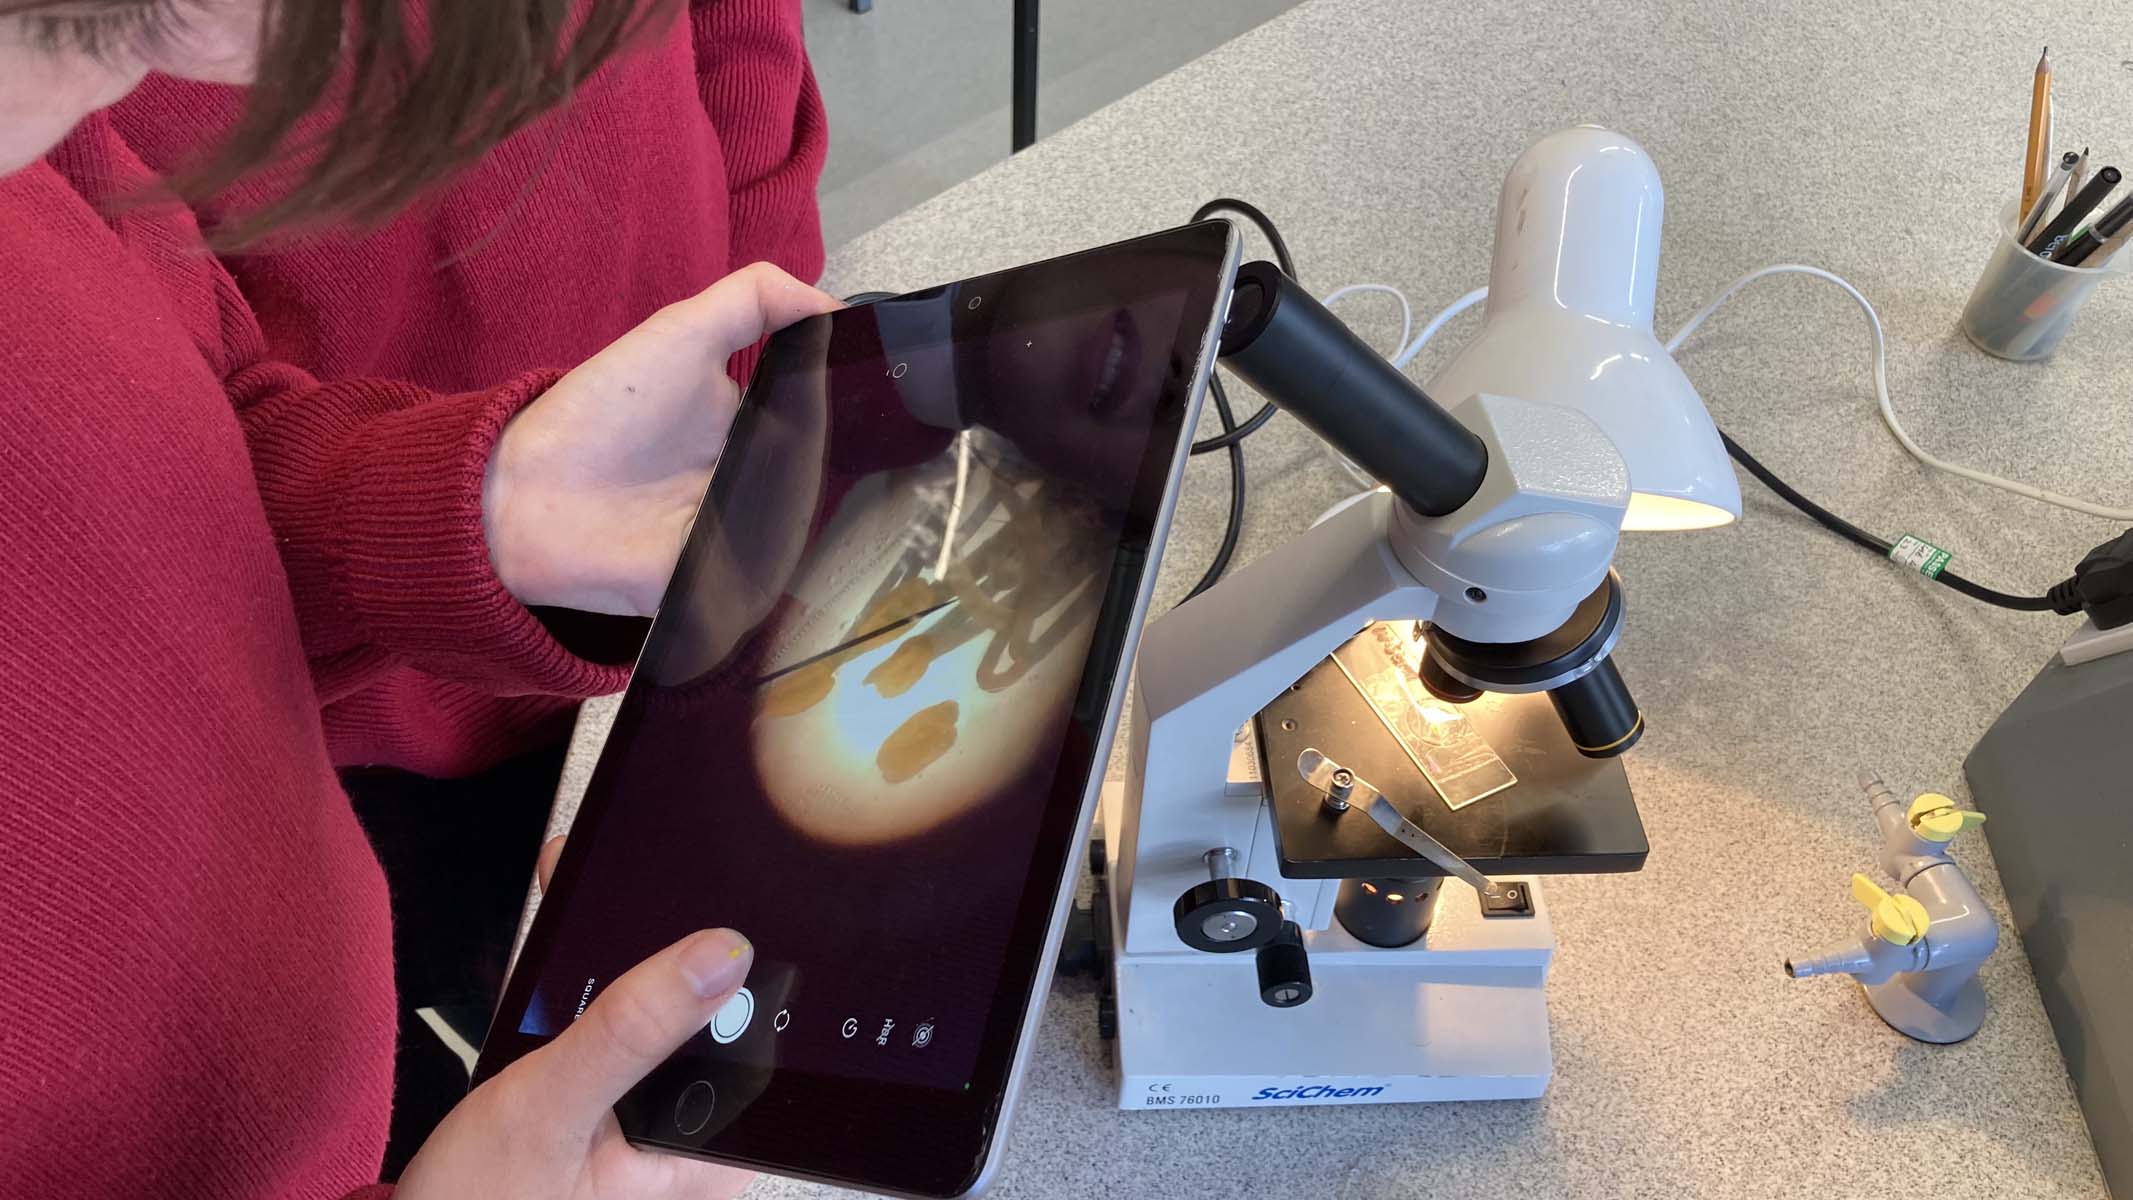
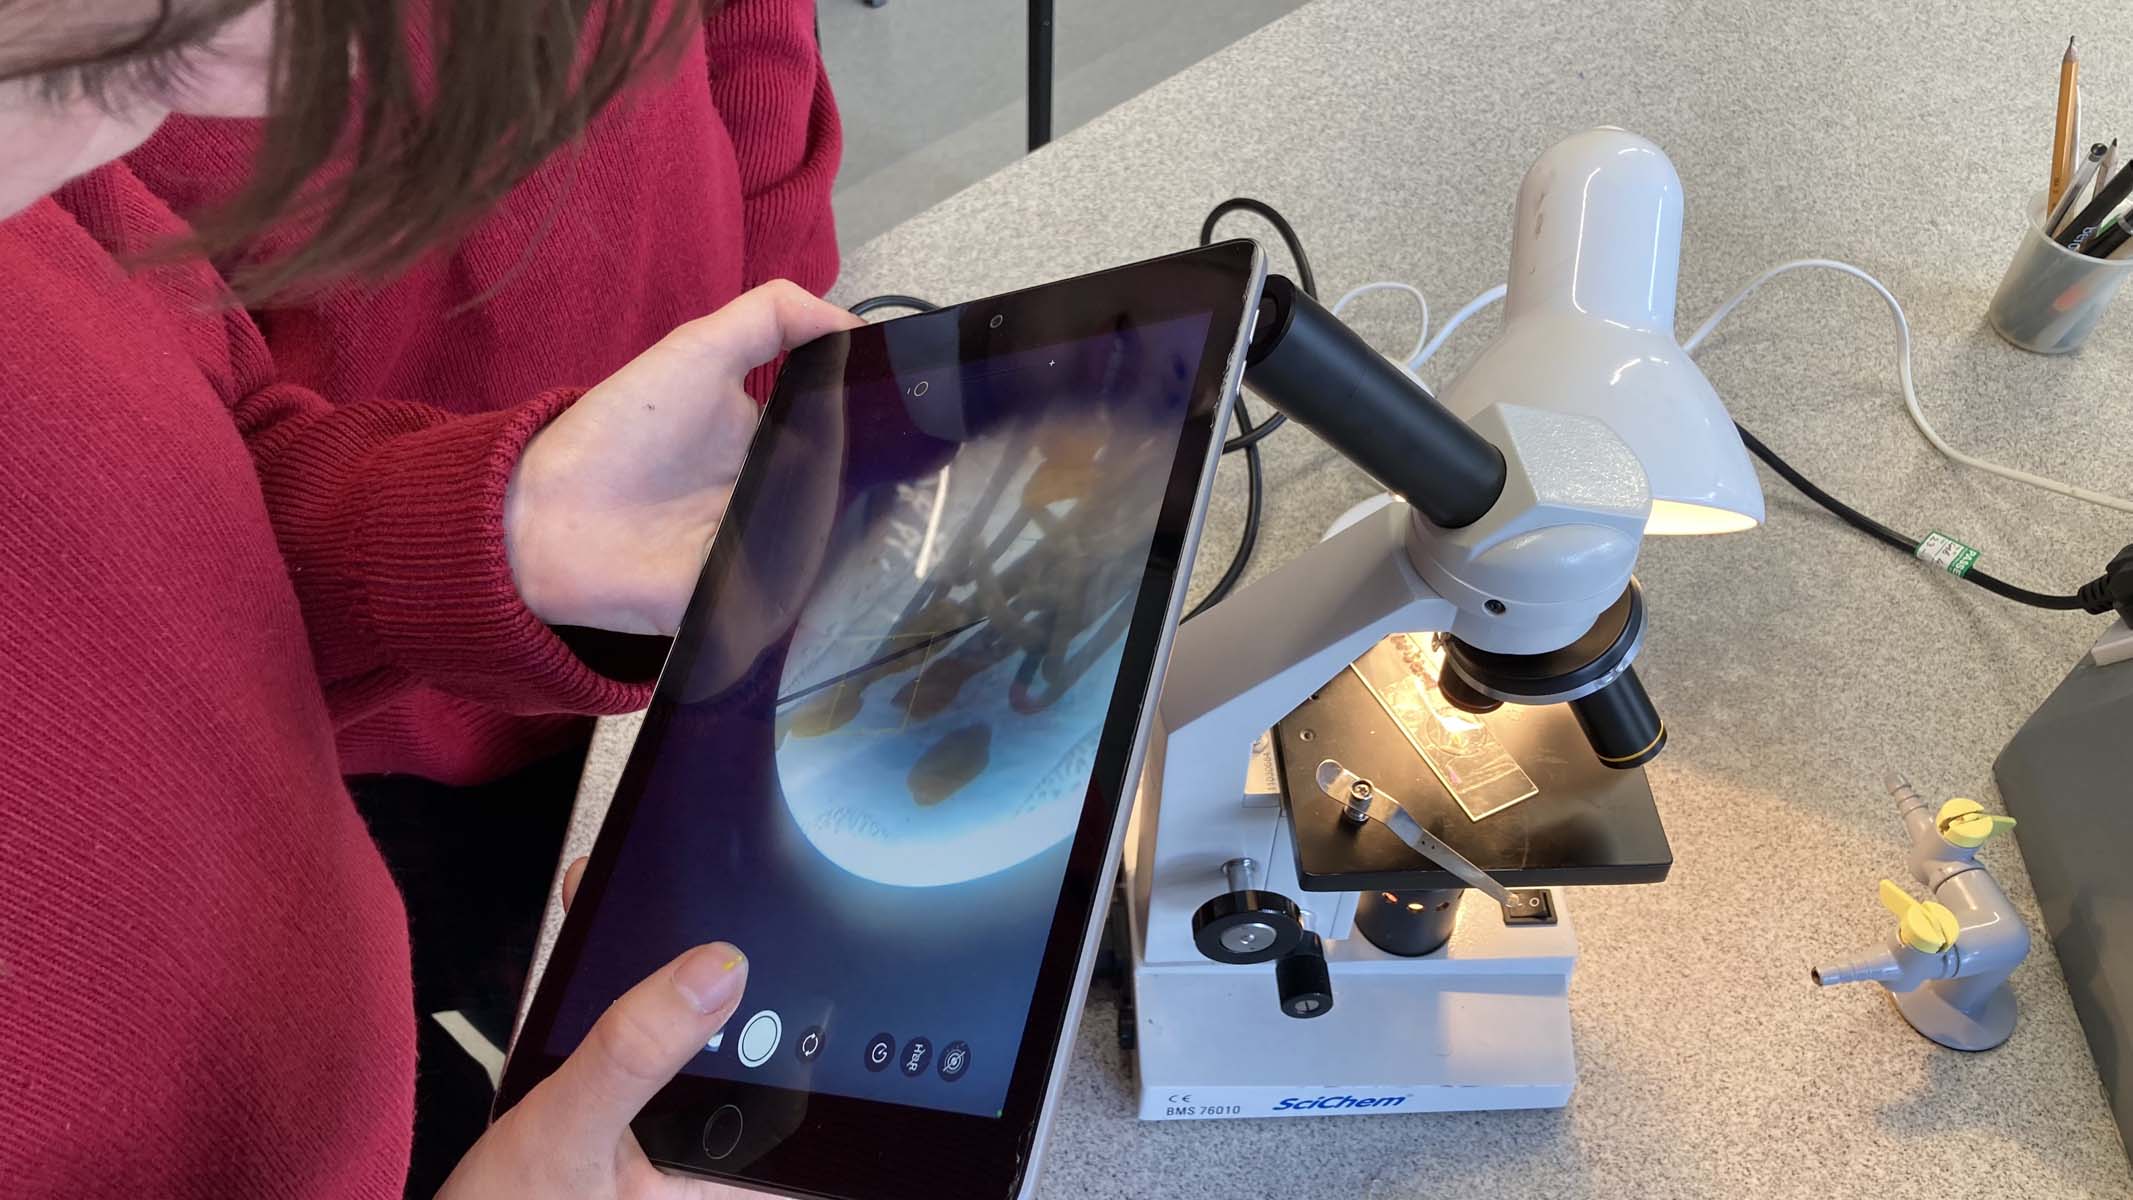
Bear in mind that, before cropping, images will show the whole field of view and bodytube casing. To make smartphone photomicrography easier, you could try using a universal smartphone mount, which will leave both hands free for operating the camera and minimize camera shake.
Similarly, for more professional results and higher quality images, a one of the best cameras can also be attached to a microscope. A DSLR is the obvious choice for optimum resolution photomicrography, increased detail at low light levels and a wider range of lens options.
A trinocular microscope is far superior in this scenario. These are more stable as the camera will be mounted vertically from above. If using an angled body to receive the DSLR, your microscope may need clamping to prevent toppling. If the camera and microscope are the same brand then a single T adapter connects the large DSLR lens opening to the much smaller eyepiece tube. When connecting two different brands, a second conversion adapter will be necessary. Compatibility is paramount, so be careful here.
Photographing specific subjects
Image 1 of 1
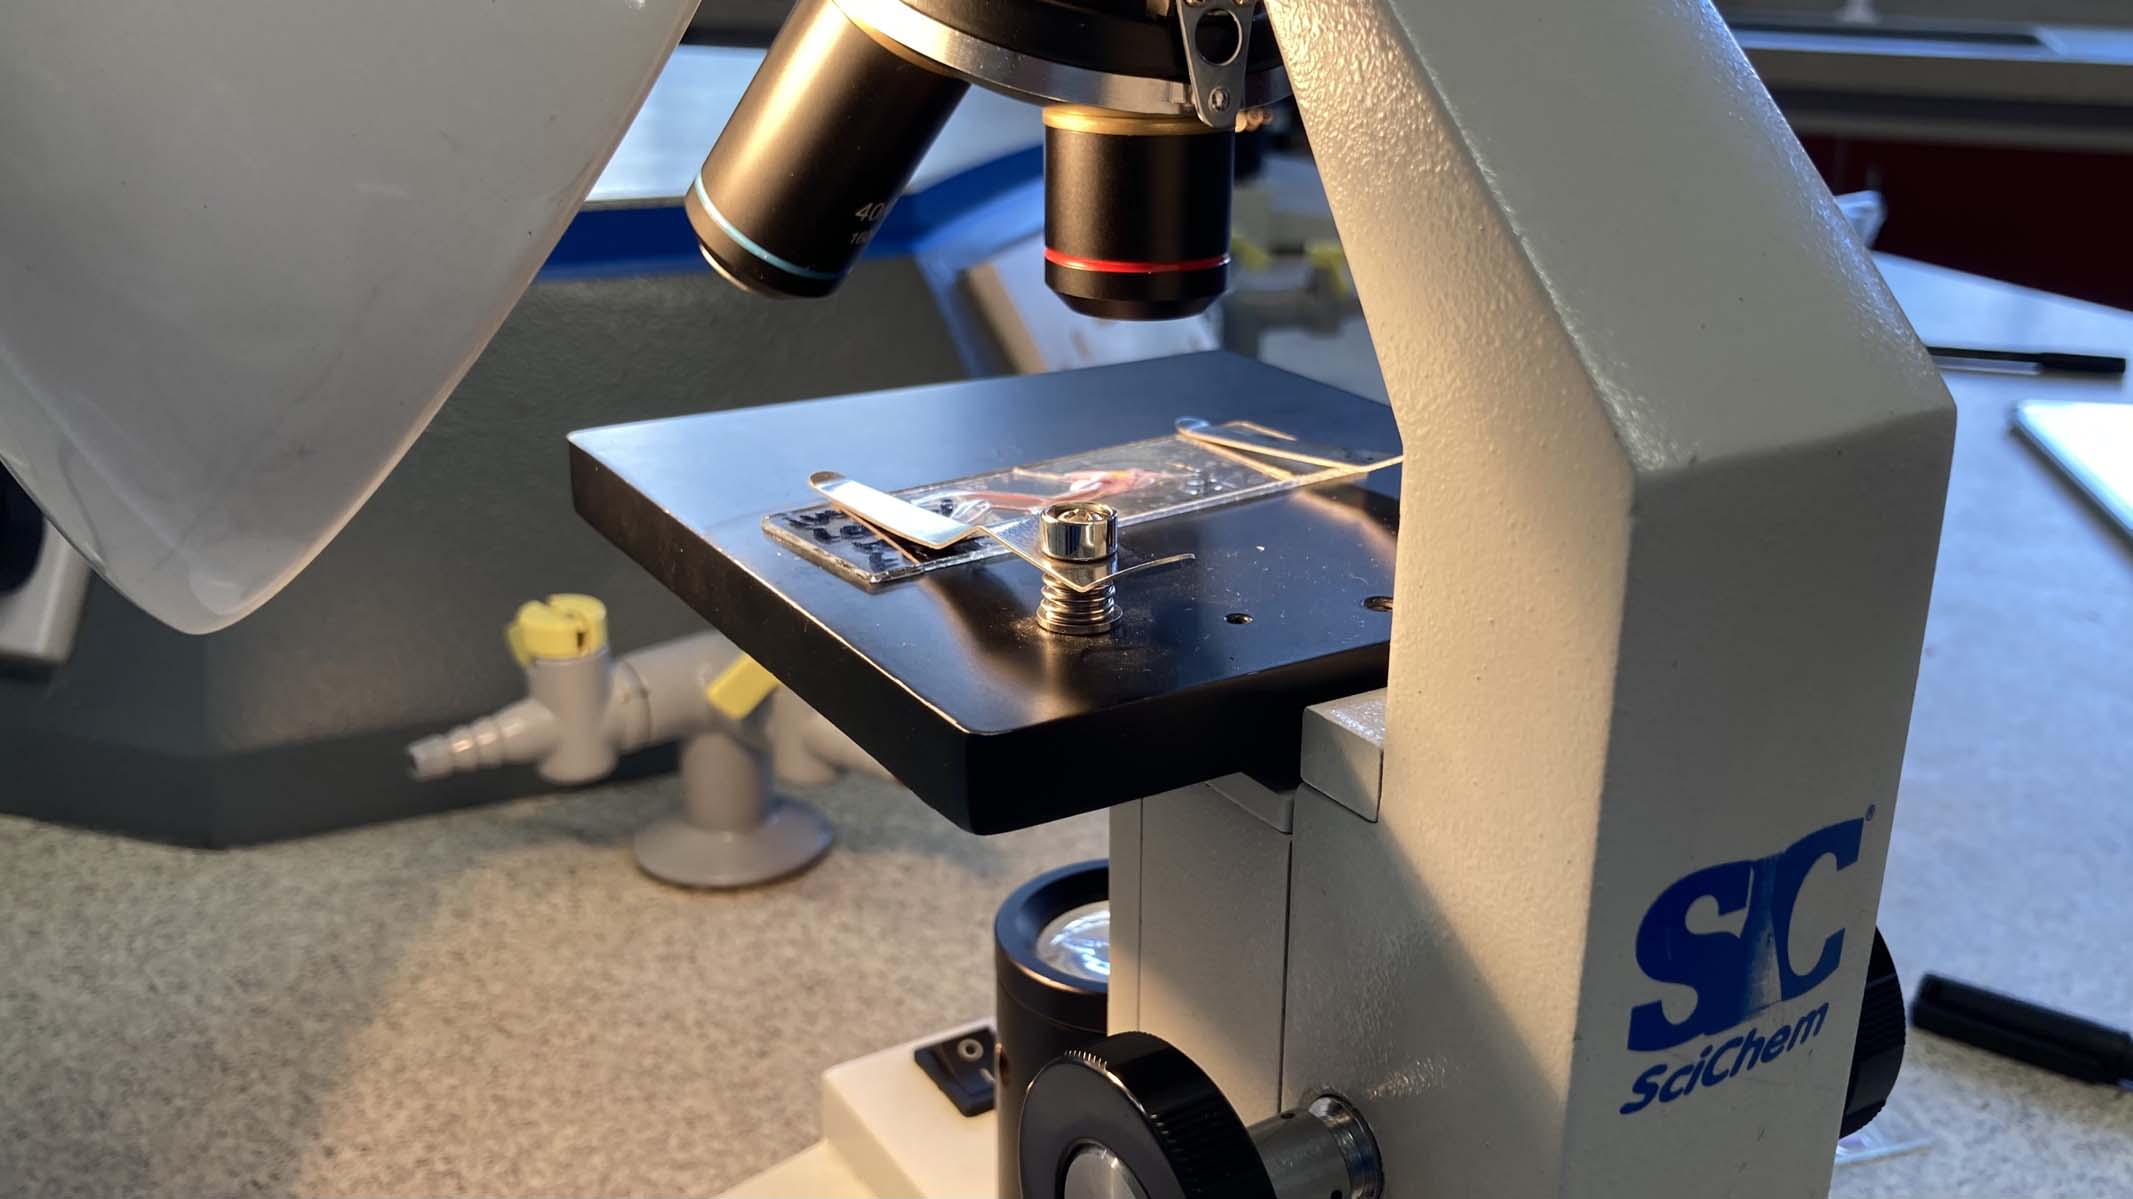
When considering how to set up your specimens for photomicrography, the general rule of thumb is to use the same conditions that you would use for optimum viewing. Achieving a clear, high-resolution image that is well contrasted, juxtaposed and in focus will give you the best chance of capturing a high quality image. Although photographs can be digitally manipulated afterwards, some microscopes come with a selection of coloured filters that sit above the condenser. These enhance particular cellular structures and colours and are worth experimenting with.
For cell photomicrography, to reveal the subcellular structures within, we would recommend a compound microscope, with an adjustable lower light source, that can magnify 400x or more. Achieving the correct brightness is vital for adequate exposure times. Varying the light source is a good place to start: ground glass can be used to diffuse light, or you could try using a neutral density (ND) filter to reduce light intensity without affecting colour.
Unfortunately, many common stains used in cellular microscopy do not photograph well and can give a muddy appearance. Using a didymium filter to block orange/yellow waves brings more vivid colours to your cell photomicrographs. Additionally, if you notice a blue cast over the specimen background, try an ultraviolet light-absorbing filter. This should improve contrast and give a cleaner background.
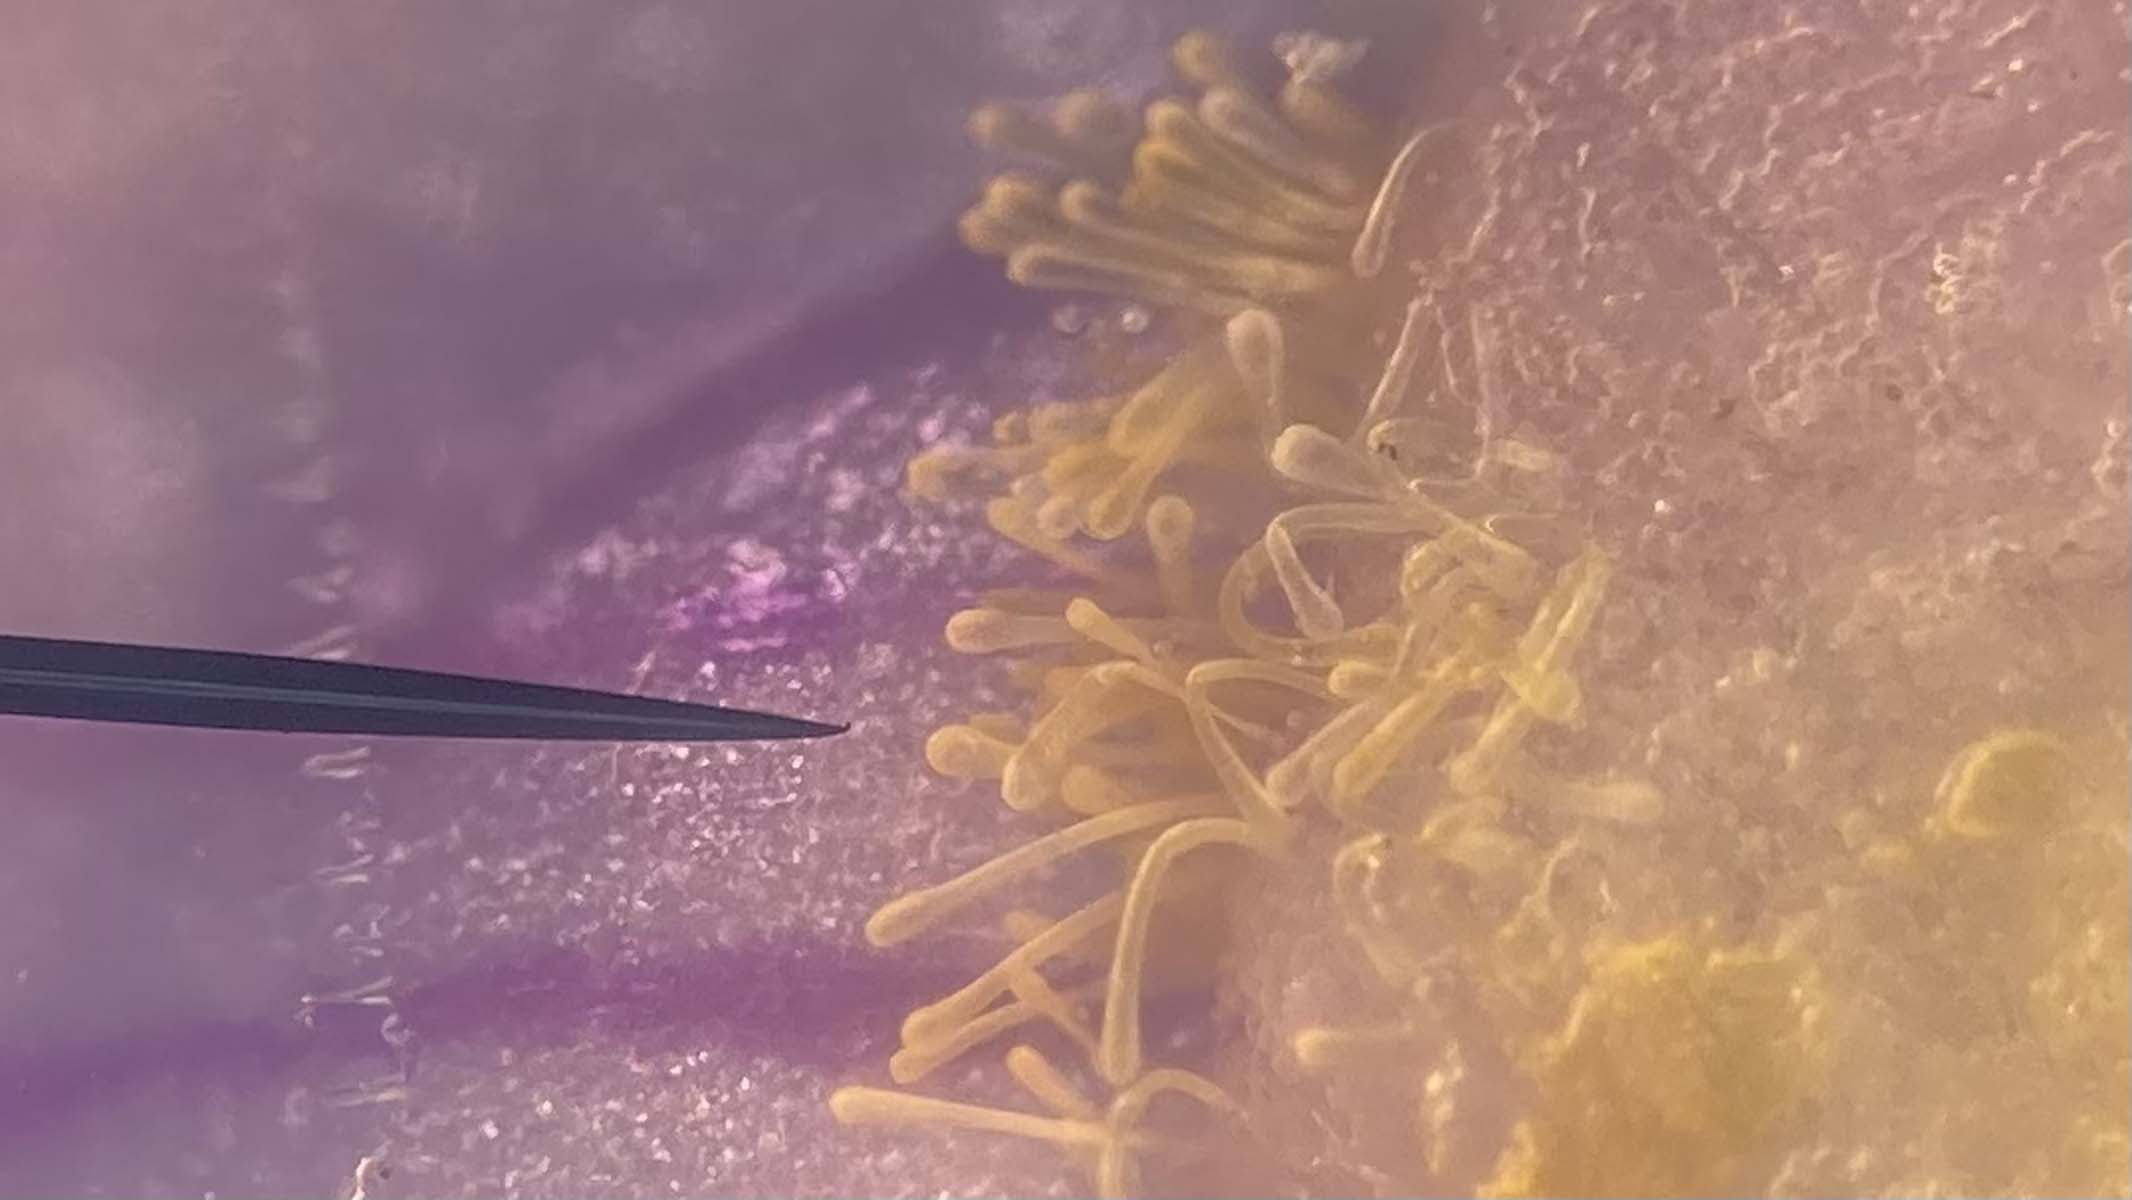

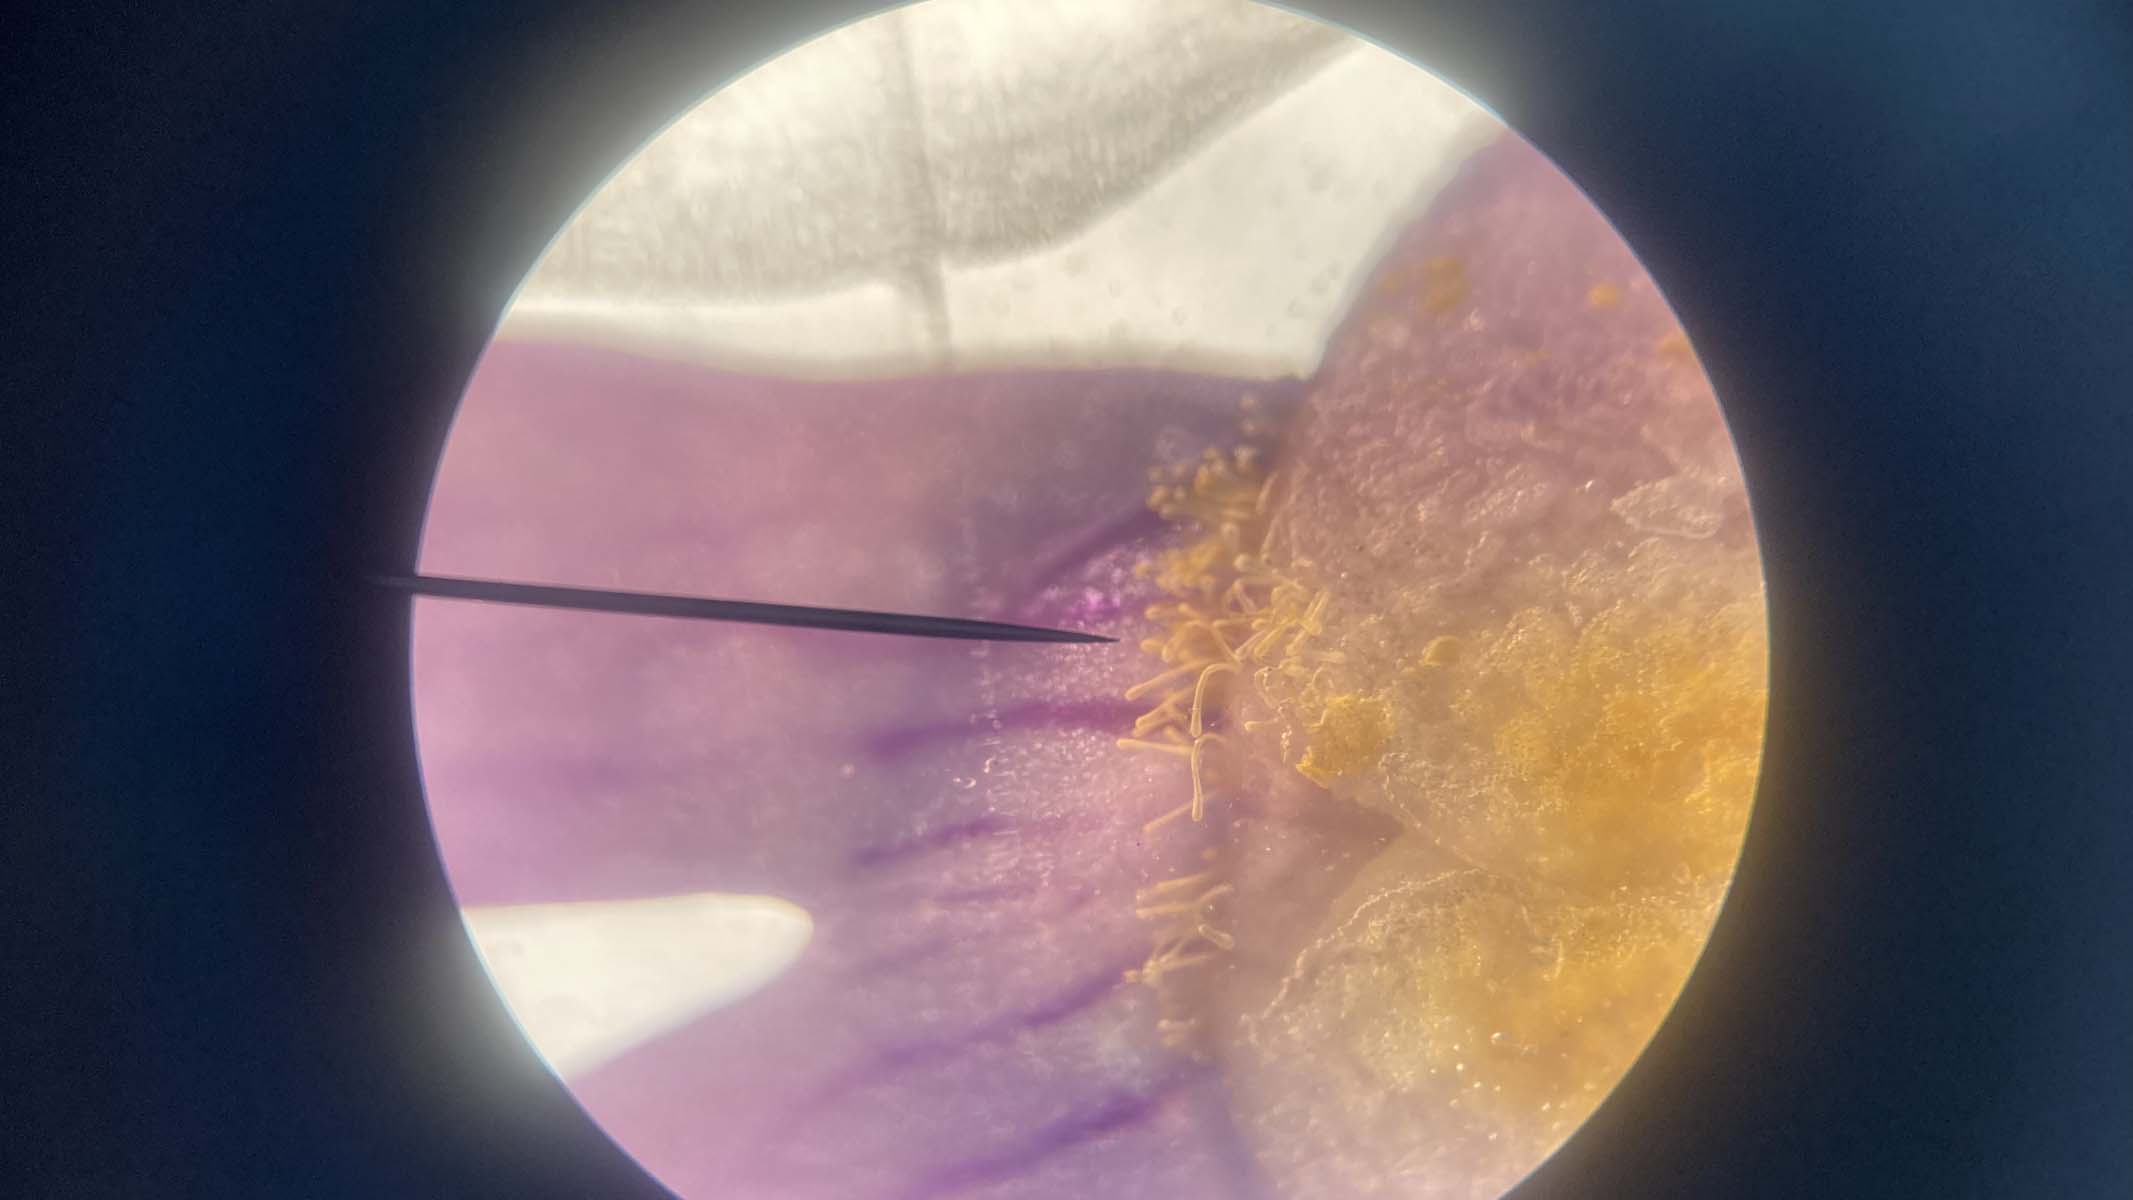
Opaque specimens like pollen grains or seeds cannot transmit light, so choose a microscope with an upper light source to reflect light up through the instrument. It can also be beneficial to set up an independent spotlight, to shine from the side and highlight specific areas or enhance colours. Some microscopes with upper illumination come with interchangeable stage plates that are great for varying contrast. Black, white and frosted plates are the most common. You could also try making your own from colored card or acetate.
Photographing single-celled organisms is similar to cell photomicrography, as long as you are willing to kill and fix your specimens first. Easily found in water samples, microscopic living organisms allow light to pass through them, which reveals their internal structures. For example, you can observe the contents of the digestive tract and internal organs of tiny water fleas.

Of course, it is much more humane and interesting to observe the anatomy and movement of living organisms. Yet this is not without its challenges! Organisms that are mobile, like tardigrades, can disappear out of view quickly. Videoing your sample at low magnification is a fantastic way to examine the movement patterns of living organisms. A digital microscope is invaluable for capturing the microscopic living world. Alternatively, use your smartphone mount with the video function. Later, you can select any still images from your digital footage.
Lastly, if you are extremely fastidious and have a steady hand, or camera mount, you could take a series of consecutive images as you move down the focus layers and focus stack and blend them in Photoshop. This simulates depth and gives a three-dimensional appearance to your final image.


")


