


Wildlife photography can feel like a rich person’s hobby. Giant lenses, camouflage, a four-figure camera that looks like it came off a movie set.
But here’s the truth: you don’t need a mega-zoom lens or a weekend in the Serengeti to take great wildlife photos. You just need a bit of patience, some strategy and whatever camera you’ve already got — even your smartphone.
These five simple tips will help you capture better wildlife shots without spending a penny on new kit.
1. Learn your subject first
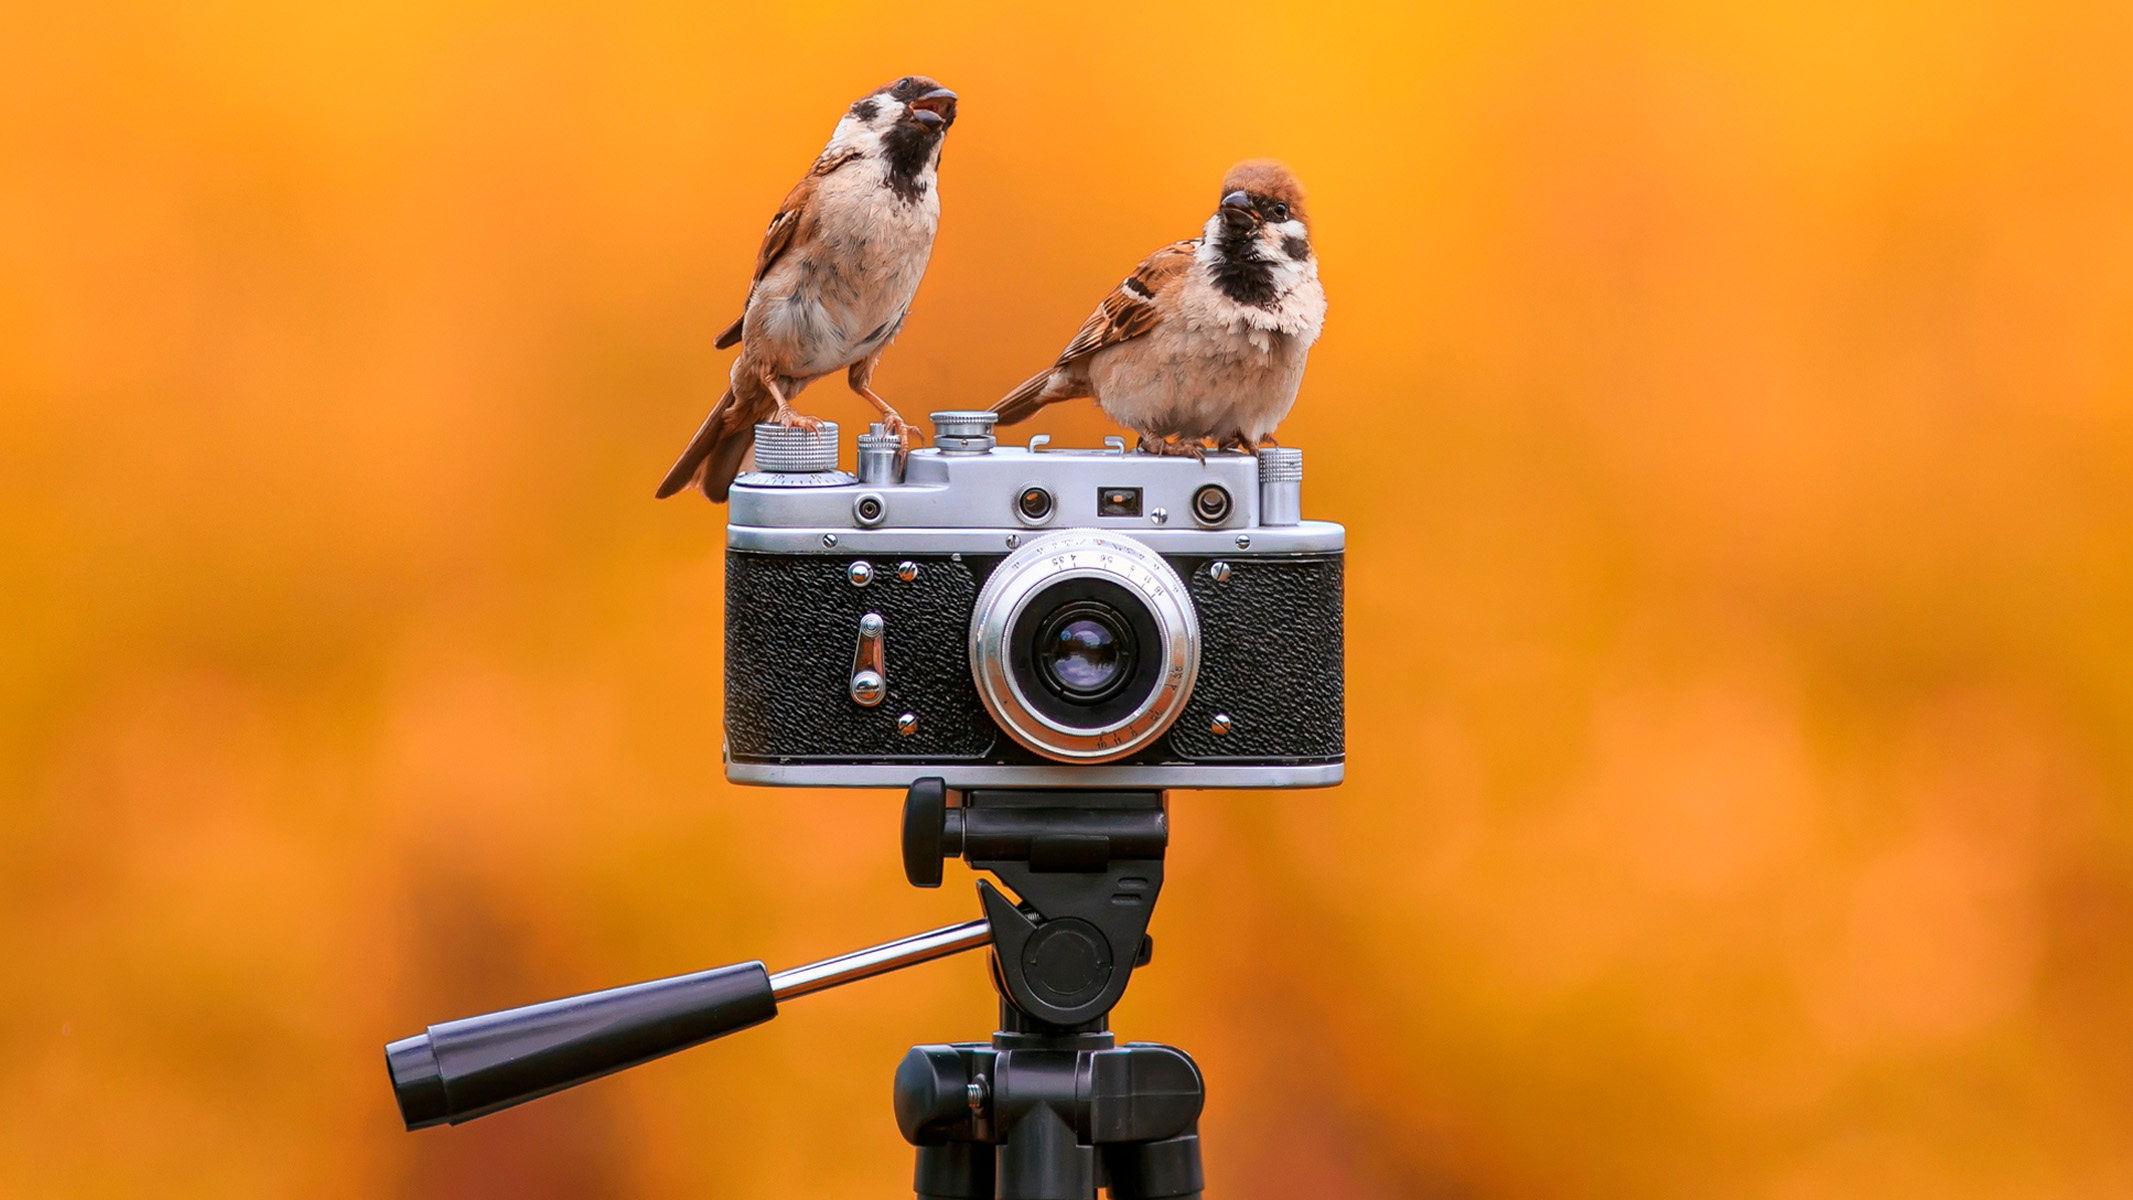
Before you even pick up your camera, you need to know what you’re photographing. Understanding an animal’s habits — when it’s most active, where it’s likely to be found and what it eats — can help you plan your shoot more effectively. For example, many birds are most active early in the morning and around dusk. Grab a pair of bird-watching binoculars and use free tools like the Merlin Bird ID app to help you identify species and learn their calls. The more you know about your subject — feeding habits, active times and favorite hangouts — the more likely you are to be in the right place before the moment happens.
There’s always the option to set up a trail camera to observe the wildlife in your local area. You can use the footage to find out what types of wildlife you have around you, and when they’re most active.
2. Use what you already have

You don’t need expensive gear to take great wildlife photos. Whether you’ve got a smartphone, a compact camera or a basic DSLR with a kit lens, it’s all about making the most of what you already own.
Modern smartphones are more capable than ever, and some have pretty good zoom. Use burst mode for action, tap to focus on the animal’s eye and shoot in good light to maximize image quality. If you already have a camera with a basic zoom or kit lens, you can get strong results by getting closer to your subject.
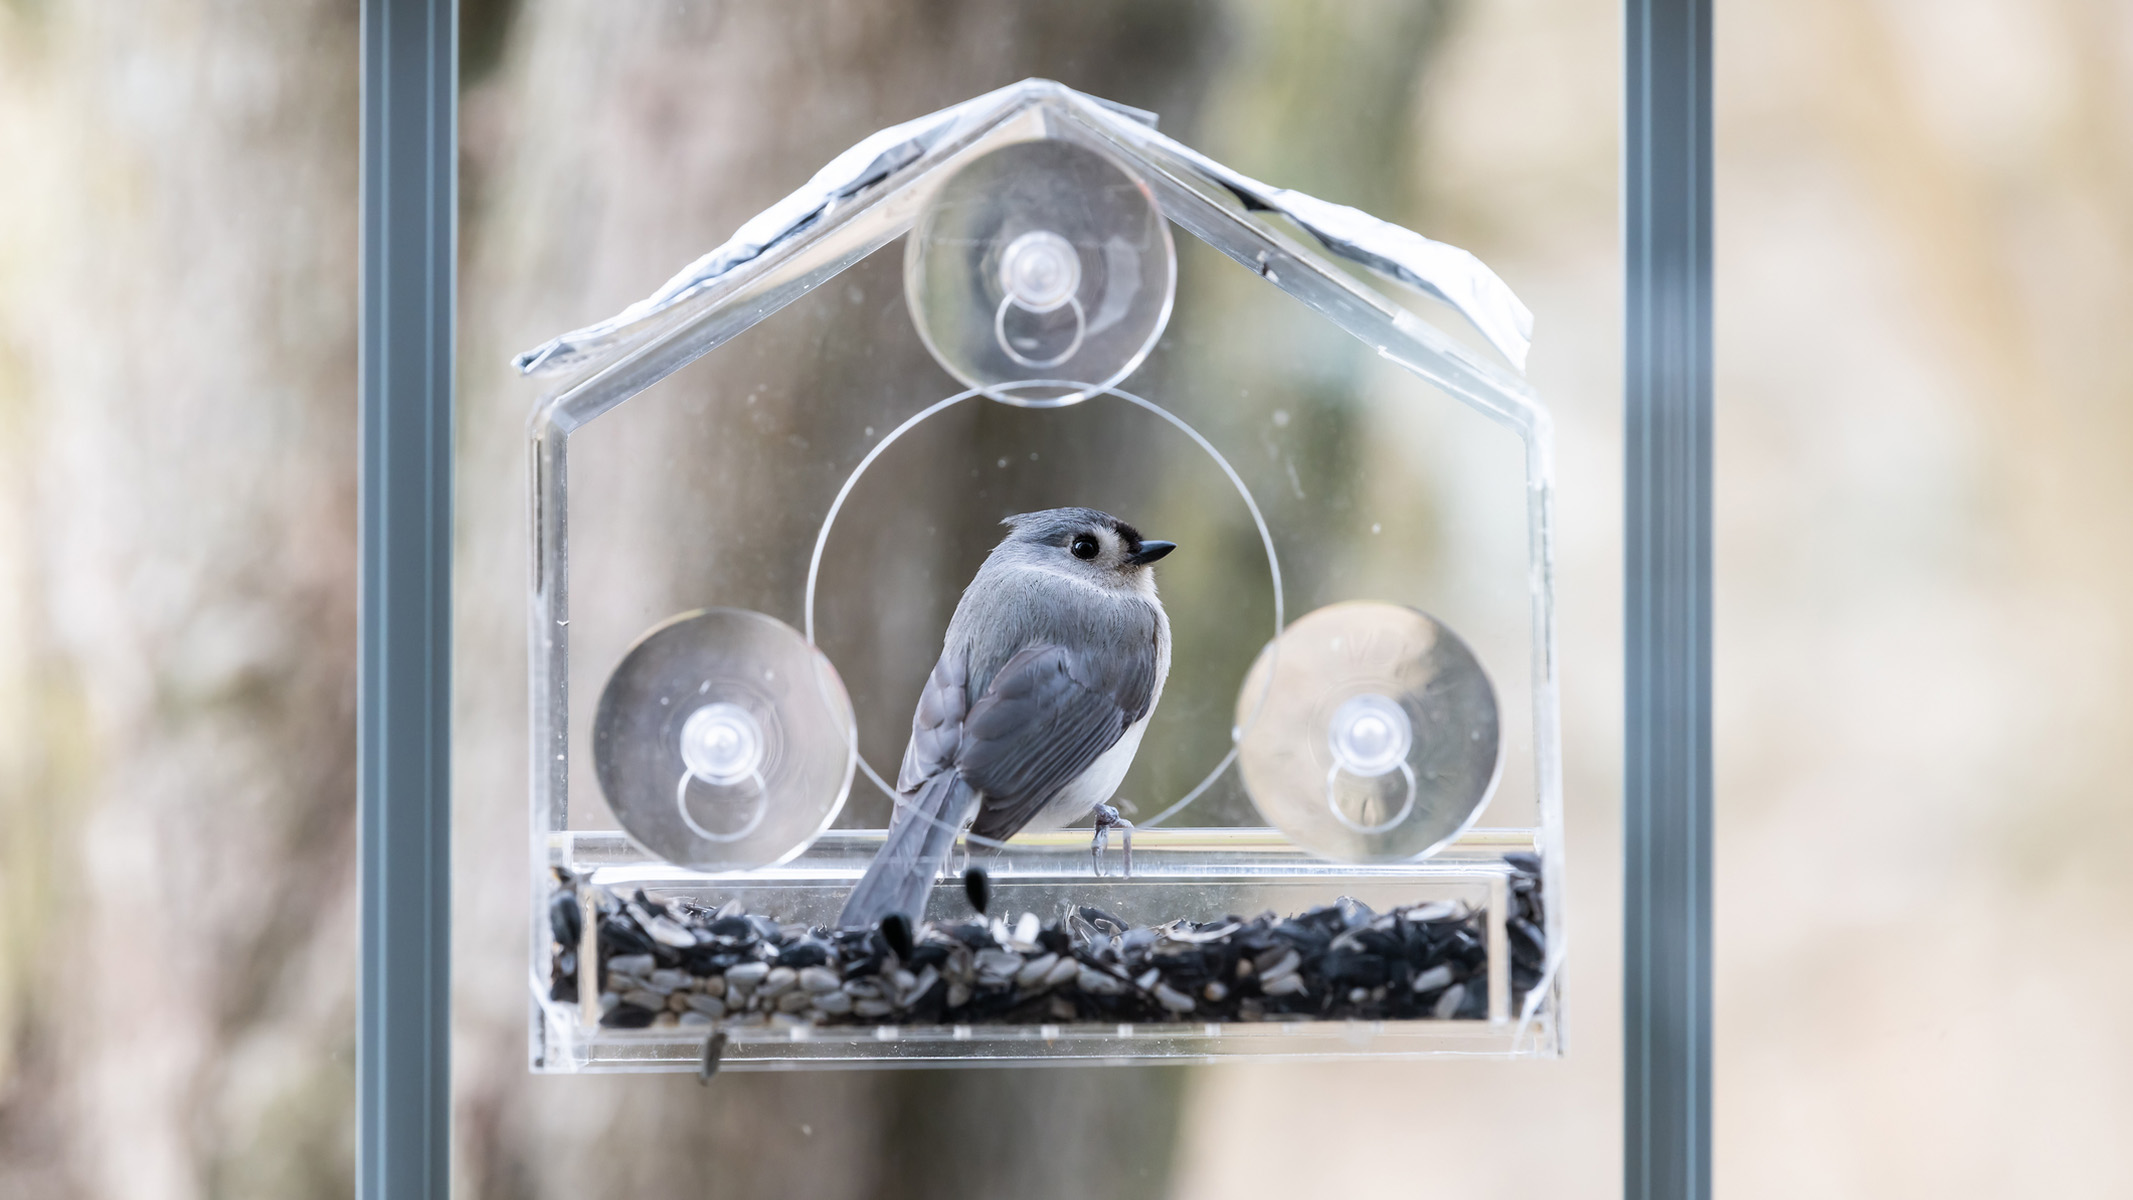
But you don’t need to book a trip to Africa to photograph wildlife. One of the best ways to improve your chances of a great shot is to bring the wildlife to you. Set up a bird feeder or bird bath in your garden to attract animals. Position them near natural perches like branches or rocks to create more photogenic scenes. You can even photograph them through a window, ensuring you stay hidden from shy wildlife and protecting gear that may not be weather-sealed. There are even clear bird feeders that stick directly onto your window.
If the gear you own isn’t quite cutting it and you decide it’s time to level up, you can find some good beginner wildlife lenses for under $1,000.
Good lighting can transform an average wildlife photo into a beautiful one. Learning to use natural light to your advantage is essential, and it doesn’t cost a thing.
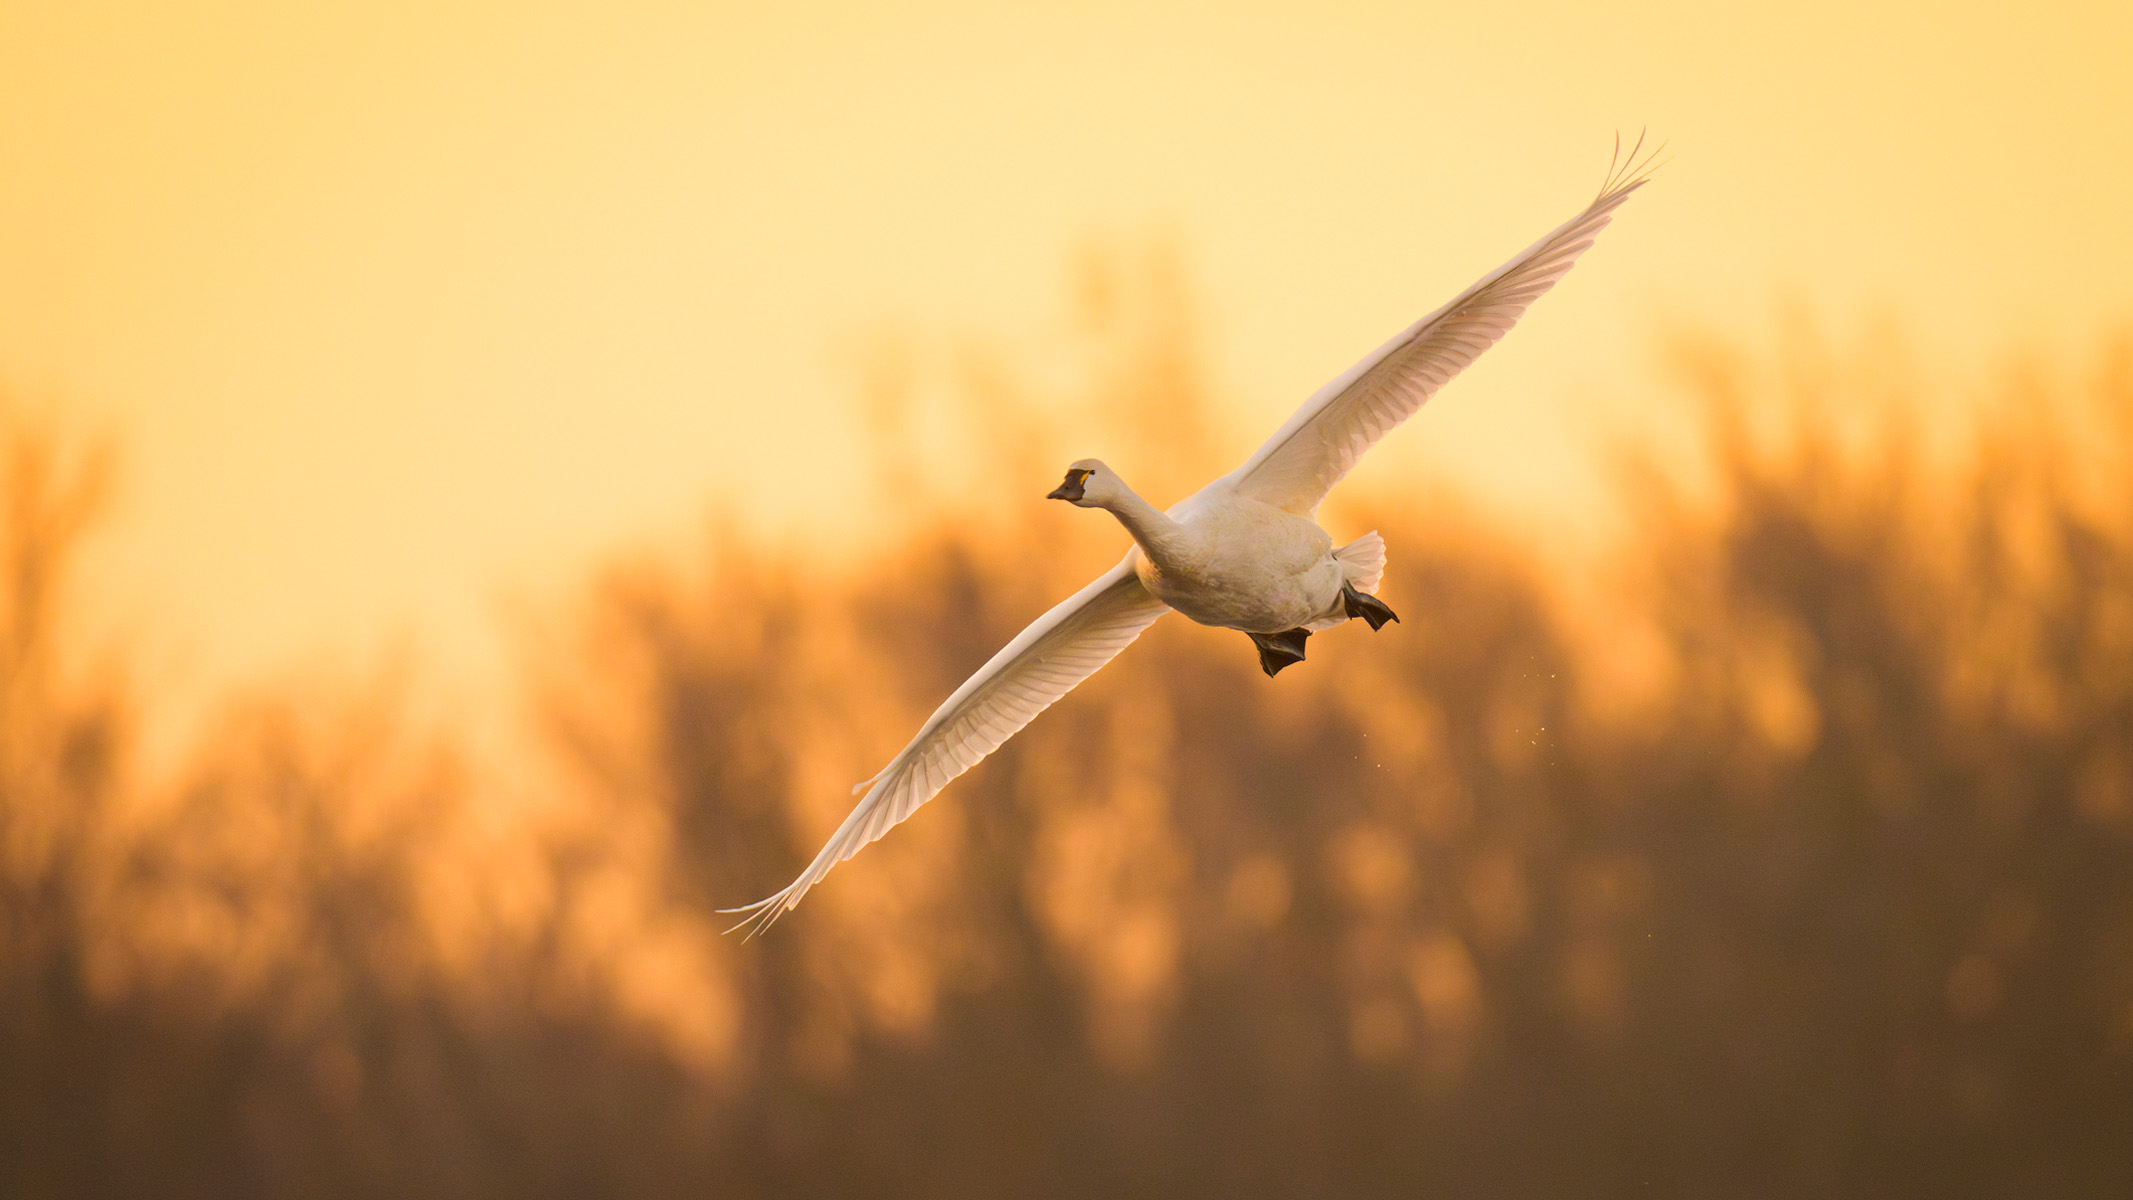
Soft, overcast light is often ideal for wildlife photography. Clouds act like a giant diffuser, reducing harsh shadows and making colors appear richer and more balanced. On bright, sunny days, direct light can be harsh and create strong contrasts, especially in midday sun. Shooting during golden hour, just after sunrise or before sunset, gives you warm, flattering light and long shadows that add depth and texture. The best lenses for wildlife photography excel in low light, like at dawn or dusk, thanks to their wide apertures.
As many animals are most active at dawn and dusk, this introduces another obstacle when you’re out shooting — the continuously changing light. Understanding the exposure triangle and knowing how to adjust your settings accordingly as the light changes will prevent you from ending up with over- or under-exposed shots.
4. Steady your shots
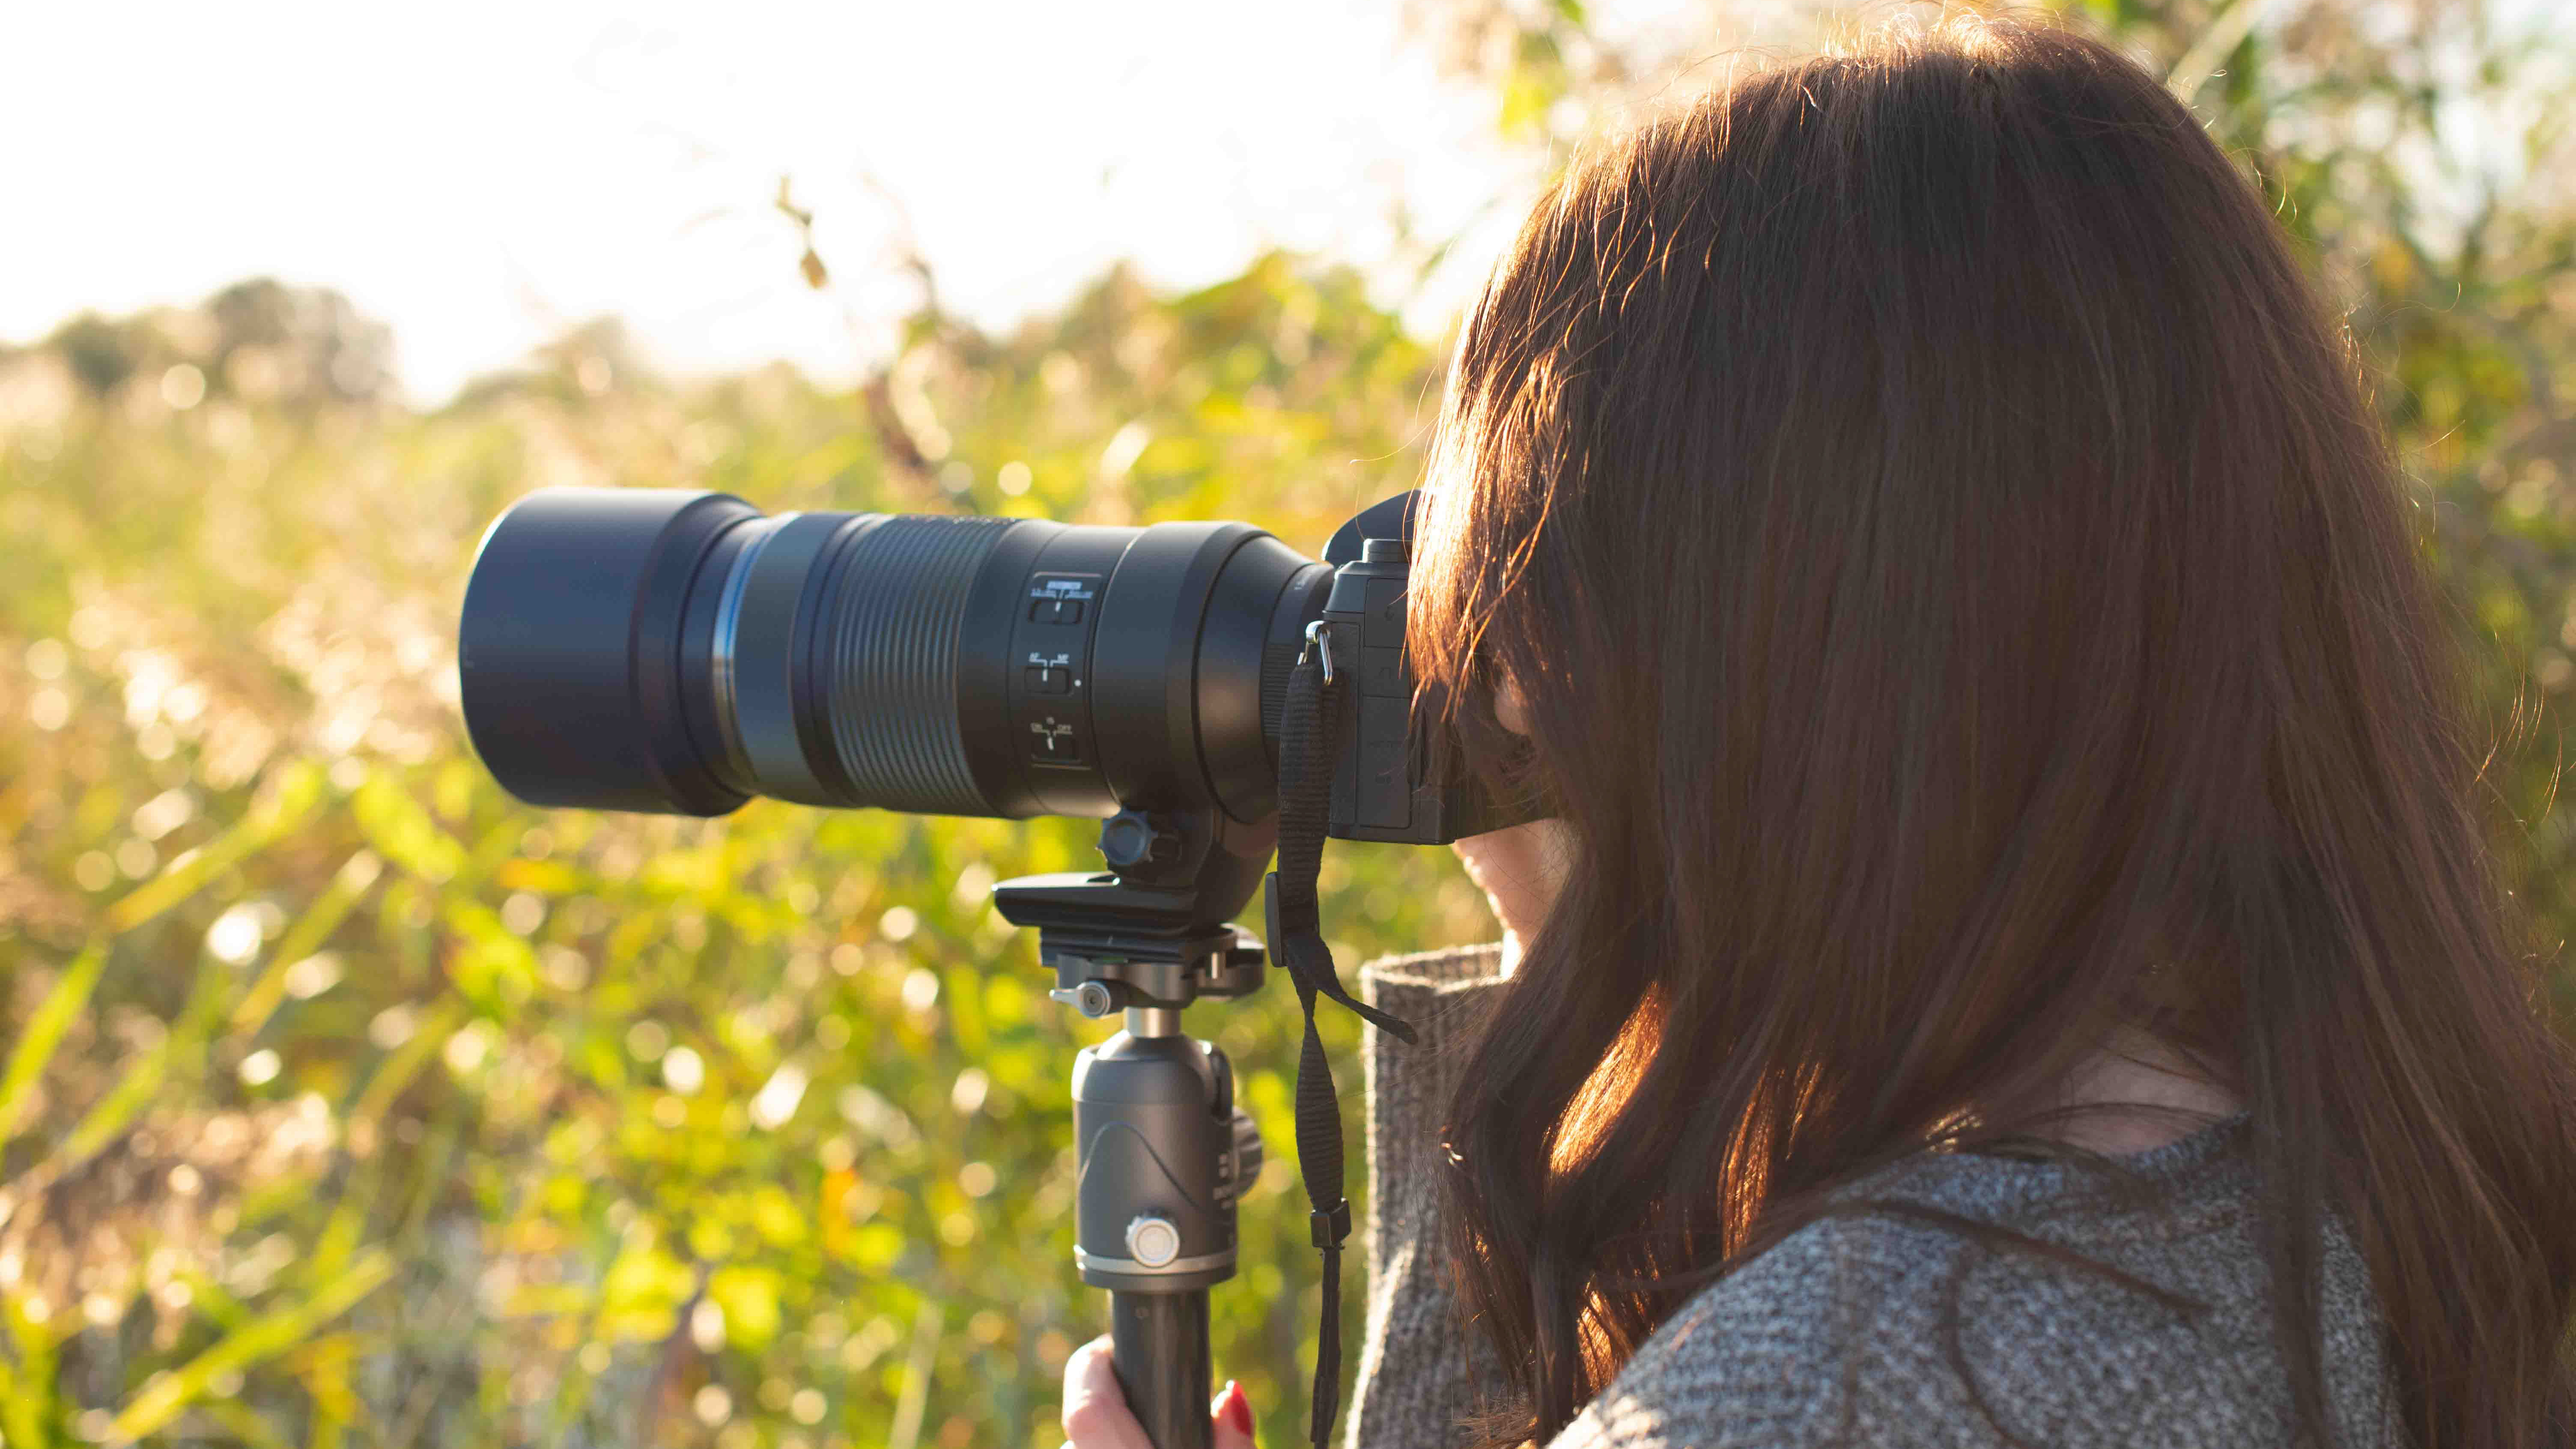

Sharpness is crucial in wildlife photography, and camera shake is one of the easiest ways to ruin and otherwise perfect shot — especially when you’re using a longer lens or shooting in low light. Many cameras and lenses have image stabilization, but even if yours doesn’t, there are still plenty of ways to keep things steady.
If you’re photographing an animal in a fixed setup, like at a bird feeder in your backyard, using a tripod or monopod can make a huge difference. Once you know where your subject is likely to appear, you can pre-frame the shot and wait without faffing around adjusting your composition every time something flies in. This not only improves sharpness but lets you focus on the timing and composition.
Out in the field, however, a tripod just gets in the way and ends up slowing you down when your subject is constantly moving. To stabilize handheld shots, tuck your elbows into your sides, hold the camera with both hands and gently exhale as you press the shutter. You can also learn against a tree, wall or rock for extra support.
Using a fast shutter speed (1/1000 and higher) will help freeze motion and reduce and camera shake. Combine this with good technique, and even without high-end gear, you’ll get sharper, more professional-looking wildlife shots.
5. Focus on the eyes
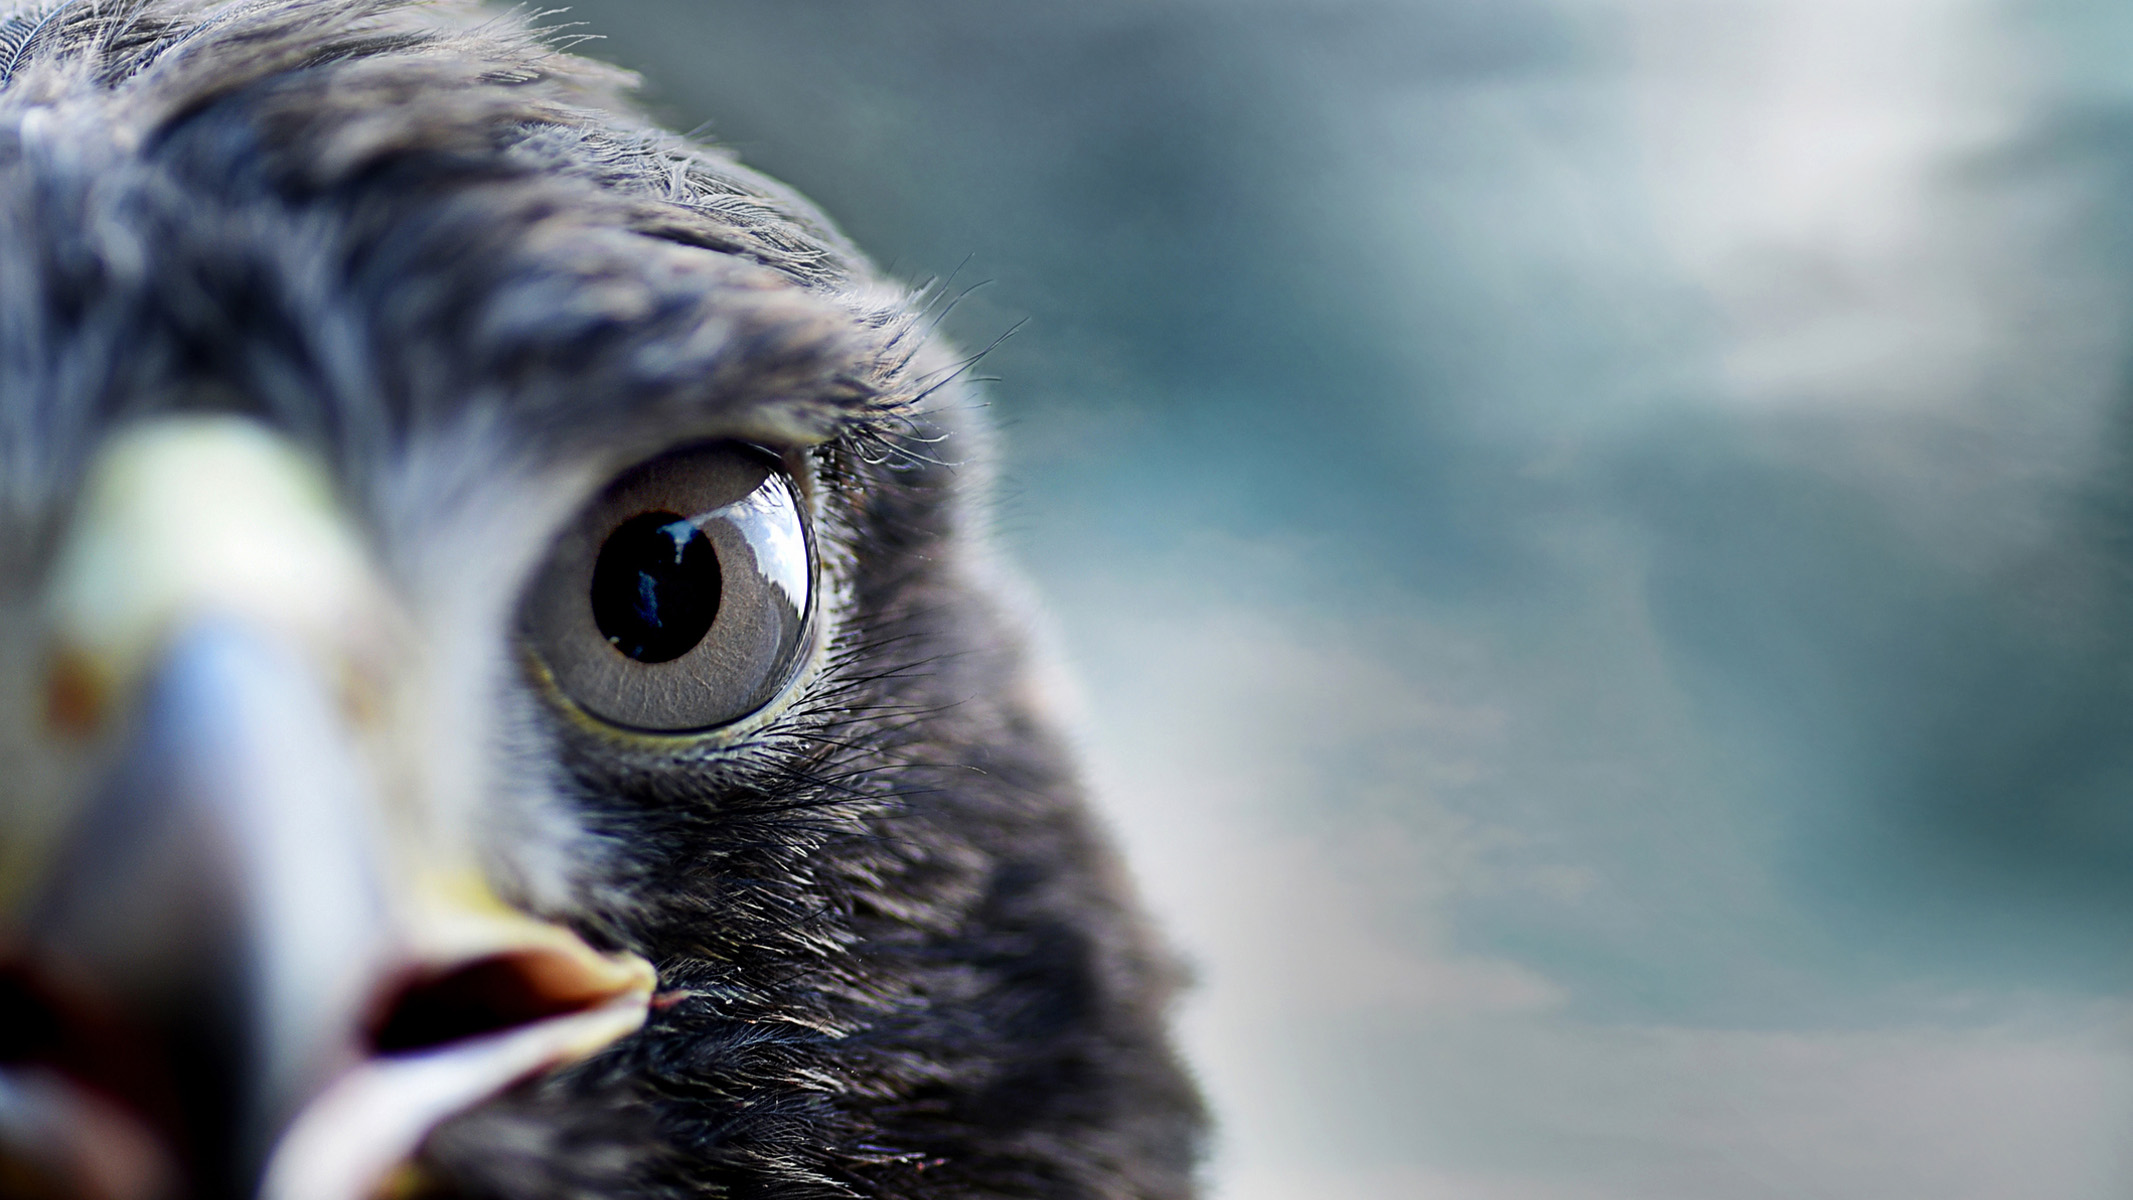
In wildlife photography, the eyes are everything. A sharp eye draws the viewer in and creates an instant connection with the animal. Even if the rest of the image is slightly soft, getting the eye in focus makes the shot feel intentional and engaging.
Shooting at eye level is just as important. When you’re on the same level as your subject, whether it’s a bird on a fence, a fox in a field or a squirrel on the ground, the image becomes more immersive. It feels like you’re part of the animal’s world, rather than looking down on it. Obviously, this is a lot harder to do when you’re photographing a bird in flight, but you get the idea!
Fortunately, focusing on the eyes is easier than ever. Many modern cameras and smartphones have touchscreen focusing, allowing you to tap directly on the animal’s eye to ensure it’s sharp. Some of the best wildlife cameras also have animal eye autofocus, which automatically detects and locks onto the eye and tracks it as the subject moves.
If your camera doesn’t have these features, use single-point autofocus and place the focus point over the eye. It takes a bit more care, but the payoff is worth it — your wildlife photos will feel more alive and powerful.


